The world bosses of World of Warcraft: Shadowlands are located in the four main leveling zones that also serve as the home world for the Covenants. In Shadowlands, much like in Battle for Azeroth and Legions, only one of the four world bosses will spawn at a time, and a new one will spawn each week in the rotation. When a world boss is defeated, they drop powerful loot, including armor, Soulbind conduits, and Legendary Powers. Each boss drops different loot, so players who miss one during a certain week will need to wait another three weeks to access that drop again. The world bosses will appear as a world quest on a player's map, and regardless of their Covenant affiliation, they will be able to try their hand at defeating one.
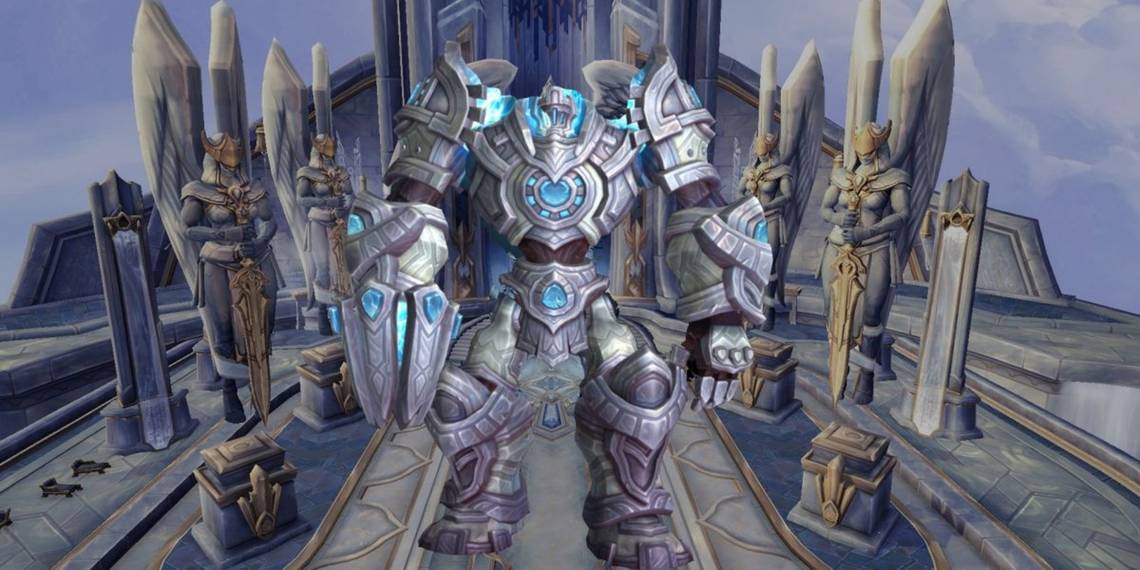
The four world bosses are Nurgash Muckformed in Revendreth, Oranomonos the Everbranching in Ardenweald, Mortanis in Maldraxxus, and Valinor, the Light of Eons in Bastion. Valinor is a large, mechanized warrior. According to lore, the Kyrian Covenant built him to use as a test for their toughest warriors. However, after being captured by the Forsworn and infected with doubt, Valinor sees almost anyone as a potential challenger. Valinor's major attacks are Anima-based. These deal Arcane damage and can reduce the amount of healing a player can take during the fight. Players' only recourse will be dodging and, if they are with a group, staying spread out. Here's how to defat Valinor in World of Warcraft: Shadowlands.
How to Defeat Valinor in World of Warcraft: Shadowlands

As with most of the world bosses in Shadowlands, players should consider using the find a party function and going after Valinor with a group. Unlike other world bosses like Mortanis and Oranomonos, players who choose to group will need to be careful to spread out during some of Valinor's worst attacks. However, it can still be beneficial to work with a team, especially one that includes a good number of Healers and Tanks. Players can also take him on solo if they prefer, though this will be more of a challenge.
Valinor spawns in Citadel of Loyalty in Bastion. He has six main attacks and one strong attack that he will use periodically to cover more of the boss arena. His attacks are:
- Vent Anima: Valinor vents his excess Anima, dealing Arcane damage to any player within 60 yards.
- Unleashed Anima: Periodical attack. Valinor peppers a certain area with Anima Charges every 0.5 seconds.
- Charged Anima Blast: Valinor targets a single-player character for a concentrated Anima blast, which will inflict Arcane damage and then jump to affect another nearby ally. This attack can affect up to 40 targets, and the damage dealt can increase by 25% per jump.
- Anima Charge: Valinor summons a bolt of Anima that deals Arcane damage to any player within a 6-yard radius. This will split into four smaller bolts as well.
- Mark of Penitence: Valinor can reduce the healing taken by any character by 20%. This effect can stack and may render healing abilities futile.
- Recharge Anima: Valinor shuts down for 30 seconds when his Anima meter reaches zero to recharge his Anima reserves. This is a good time for players to attack with their strongest abilities.
- Lysonia's Call: A call to nearby Forsworn marks a player character as an enemy and increases the detection radius for Forsworn to find the player.
Because there is little a player can do to fight against most of these attacks, they will need to be sure to dodge some of the Anima blasts and remain spread out by at least 10 yards to avoid taking damage from any attacks whose effects jump between Valinor's enemies.
Characters of any fighting style will need to specifically dodge Anima Charge to avoid its devastation. They will also want to spread out to avoid the chaining effect of Charged Anima Blast.

Tank players in particular are going to need to keep track of Mark of Penitence. If they take too many stacks of this debuff, it may be a good idea to swap until it runs out. When putting together a team, Tanks will be especially useful against this particular boss.
Healers will need to be aware of the Mark of Penitence debuff as well any time they try to use a strong healing ability. It may not work on affected tanks. Damage dealers should focus on times when Valinor uses Recharge Anima and use their strongest attacks to take advantage of his pause.
Each time he is defeated, Valinor will drop any of the following:
- Anima-Charged Wristbanding: Leather Wrist
- Doubtweaver's Handwraps: Cloth Hands
- Oversized Centurion Helm: Plate Head
- Servo-Chain Waistguard: Mail Waist
- Shroud of the Penitent: Cape
- Valinor's Ground Pounders: Plate Feet
- Memory of Archbishop Benedictus (Priest): Legendary Power. After Spirit of Redemption expires, the Priest will revive at up to 100% health, based on their effectiveness during Spirit of Redemption. After reviving, Priests cannot benefit from Spirit of Redemption for 10 minutes.
- Memory of the Final Verdict (Paladin): Legendary Power. Replaces Templar's Verdict with Final Verdict, a devastating strike that deals (194% of Attack power) Holy damage. Final Verdict has a 15% chance to activate Hammer of Wrath and reset its cooldown.
- Memory of the Windspeaker's Lava Resurgence (Shaman): Legendary Power. When a Shaman casts Earth Shock, they gain Lava Surge, which increases the damage of their next Lava Burst by 20%.
- Soulbind Conduits: Vary by class.
All items will be level 207, with the exception of the Legendary Powers, which is about the equivalent of what can be obtained from a normal difficulty Castle Nathria Raid. Players should be sure to return the Memories they pick up to the Runecarver to be used when crafting Legendary items.
World of Warcraft: Shadowlands is available for PC and Mac.