Final Fantasy XIV has been updated to version 5.45, and along with it comes an improvement to the Bozjan Southern Front. This continues the storyline of Bozjan Resistance and features cameos of Final Fantasy XII characters. Players can now not only upgrade their Relic weapon but must face an exciting new raid that pits them against one of the most unforgiving 24-man content to date.
Aside from the Relic weapon itself, the new raid has currency for purchasing the armor for Archadian Judges Bergan, Drace, and Ghis. This new gear is item level 510, making it on par with Eden’s Promise normal difficulty, or anything players having been crafting thanks to the Diadem.
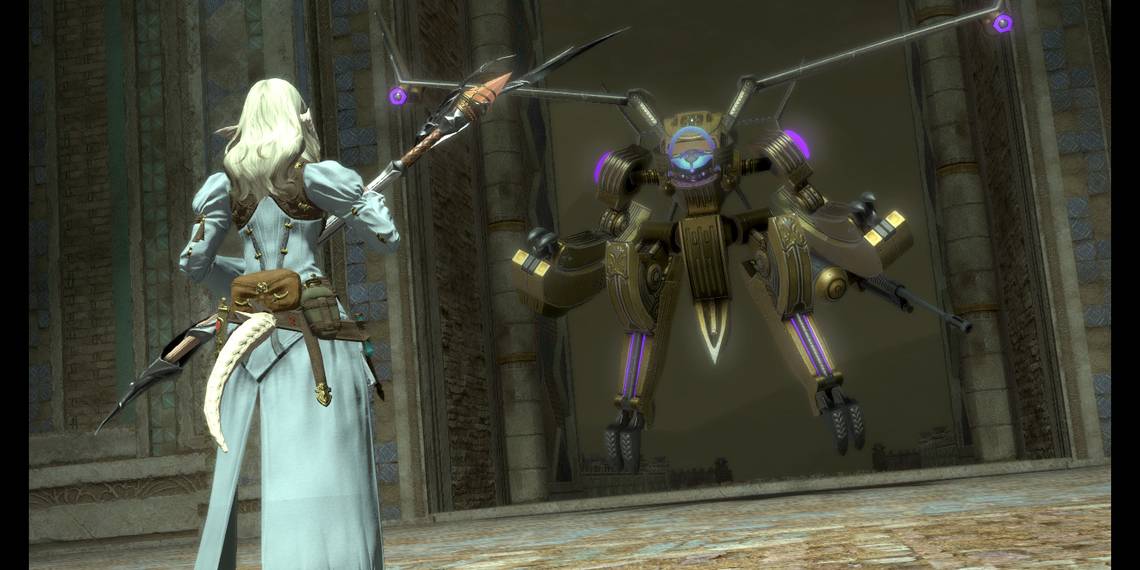
Castrum Lacus Litore Raid in Final Fantasy XIV

Unlike the older parts of the Bozjan Relic series, participating in the Bozjan Southern Front is mandatory to progress further. Players will need to get to a minimum of Rank 10 through any combination of Skirmishes and Critical Engagements. The amount of needed Mettle is 78,000 but bear in mind that Mettle is lost when initially dying and even more if forced to release instead of accepting a revive. This might seem like a daunting task, but this content also offers great EXP for classes level 71-79, and then weekly Tomestones at level 80. In addition to the Rank 10, players will need to complete the quest The Lady of Blades to gain access to Castrum Lacus Litore.
The actual raid spawns as a unique Critical Engagement allowing up to 48 participants. Only one attempt at the Castrum is available per instance, so leave and rejoin if it has already occurred. It is recommended to have 48 actual players for a first run, though experienced players might clear it with half that amount. This is because many fights and tasks need to be done simultaneously to avoid wipes and failures. For example, the first two bosses Brionac and 4th Legion Helldiver must be engaged at the same time or will immediately become enraged. Afterward, six Resistance prisoners must be saved at around the same time, requiring the group to split up and kill their tormenters before the soldiers are murdered. Six glowing platforms will also need to be accessed at the same time to move forward. Also, minimize username plates to make it easier to see treasure chests - all rewards are forfeit if one exits the raid before collecting them.
In the final encounter, the group will initially combat Dawon the griffin who uses many donuts and cross-shaped attacks. At one point it will summon multiple Obey markers with bar numbers and either Fervid (cross) or Frigid (donut) symbols on top. Players will need to move in order of the bars (lowest to highest) and stand to avoid the attack shapes. Partway through the fight, a jump pad will spawn to let 8 players engage Lyon. Only the strongest of the team should face him with a balanced party with at least a tank and two healers. Failing to defeat him will cause a wipe.
Delubrum Reginae Raid in Final Fantasy XIV

The next part of the Bozjan storyline will bring players to the Deluburm Reginae. At first, one will need to finish a solo trial against an Imperial Gabriel mech. The only thing to keep in mind is that it will completely fill the arena with staggered attacks. As with most fights, purposely stand in the second wave markers, and then walk into the location that the first wave just finished in. Next, one can enter Delubrum Reginae itself as a 24-man match made raid. One huge new feature is that players will automatically die if they fail two combat mechanics within a single minute of each other. So be sure to have plenty of healers and other revival actions. Thankfully, Lost actions can be changed by teleporting back to the start of the dungeon. Also, be warned that the raid is filled with traps, so someone should expend Lost Perception to reveal danger.
The first fight is with Trinity Seeker. His Four Mercies will shine one of each of his swords, indicating the direction of his next room wide slashes. When he uses Baleful Blade, hide behind the wall fortifications; for Phantom Edge, stand in front of the walls. For Iron Splitter, stand on the opposite terrain type as the boss (dirt, brick). The mini-boss Dahu uses many knock backs (invulnerability can’t prevent this) and conical attacks, the trick being to get knocked in a way that makes it easier to dodge the incoming fire breath. The third encounter is against four Queen’s Automations. Knight’s Sword Omen and Shield Omen alternate between point-blank and donut attacks, respectively. Gunner’s Automatic Turrets will fire in the directions of the facing arrows. Soldier’s Secrets Revealed will tether to two of the four clones, but the remaining two will use only fake area of effect marks, but not really attack; however, all four clones can jump around the room, so chase down the “safe” ones once they stop. For Warrior’s Bomb, stand next to the large heavy bombs before the gravity changes. When it switches to Reversal of Force, instead stand next to the smaller bombs before the gravity shift.
Descending into the next zone will bring the alliance to the second mini-boss Bozjan Phantom. It only has two mechanics: Summon will push back the party from south to north. Weave Miasma will create a moving donut area of effects from north to south, forcing players to move along with the attack. These will happen in sequence, so stand far south to be blown into the right starting position. The penultimate boss is Trinity Avowed, who uses many hot and cold mechanics. Players will need to bring their temperature to normal by purposely standing in the correct attacks. For one ice pip, a player would need to get hit by a single fire attack and vice-versa; for two pips they would need to get hit by a two pip strength fire. Accumulating three pips of either fire or ice will cause instant death. For the final battle against The Queen, watch out for Cleaning Slash, which puts Doom status on the main tank and requires Esuna. She will summon back her Automations that will use the same mechanics from their own boss fight. However, for Queen’s Will, the Automations will instead move forward the number of dots over their head before releasing cross-shaped attacks. When used with Queen’s Edict, players will also have their own dot symbols, and must stand in a starting square with enough forward space to hit zero dots (negative dots leads to death); the trick is to also arrive at a distance at the end of the Edict to be placed away from the Will attack blast.
Improving the Bozjan Relic in Final Fantasy XIV

After Delubrum Reginae is cleared once, players can speak to Gerolt about upgrading the Bozjan Relic to item level 515. For the quest Change of Arms, players will need to gain 15 Loathsome Memories of the dying by clearing the Crystal Tower raid series (one guaranteed drop per run) or randomly from Critical Engagements. For The Resistance Remembers, players will need to do a combined 32 runs of Heavensward raids, Stormblood raids, and zone FATEs across both Othard and Gyr Abania (though the drop rate is low). Last, for A New Path of Resistance one will need to complete a combination of Delubrum Reginae 15 more times, or clear 150 new floors of the Deep Dungeon.
This all might sound like a lot of work, but the revisit to older content encourages new players to intermix with veterans. Plus all of these provide lots of EXP, gear, or Tomestones.
Final Fantasy XIV A Realm Reborn, Heavensward, Stormblood, and Shadowbringers are available now on PC and PlayStation 4.