In Tiny Tina's Wonderlands, finding every Lucky Dice location in Weepwild Dankness may prove to be a difficult task for all Fatemakers. The Weepwild Dankness is one of the locations that players will come across in the story during the Emotion of the Ocean mission, and it's filled with all sorts of pathways and climbable areas. It also has a plethora of hiding spots for the Lucky Dice, making it difficult to find all 20.
Although Fatemakers can wait to find all of the Lucky Dice in Weepwild Dankness until after they beat Tiny Tina's Wonderlands, all 20 can be found as soon as the story mission and some of the side quests have been completed. This makes it easier to significantly increase the Loot Luck stat, which will help players acquire better gear at a more successful rate. While there are only 20 Lucky Dice in the Weepwild Dankness, there are 260 throughout the whole game. Finding all of them will permanently increase the Luck stat by 35%.
Finding all 260 Lucky Dice in Tiny Tina's Wonderlands becomes even more important as soon as players unlock the Chaos Chamber, the main source of endgame content. The Chaos Chamber is the place where Fatemakers will hunt for more Legendary Loot in Tiny Tina's Wonderlands, allowing them to create the best possible builds in the game. Having found all of the Lucky Dice, players can expect to have a much easier time getting the Legendary weapons they desire from the Chaos Chamber rewards.
All Lucky Dice In Weepwild Dankness

These Lucky Dice locations in Weepwild Dankness all succeed one another, so be sure to reference the previous die's location if the trail seems to get cold. Each Lucky Dice location should take between 20 and 60 seconds to find from one spot to the next, and Fatemakers will become more familiar with their surroundings as they cross over similar spots several times. The layout of the Lucky Dice below will help keep players on a designated path in Tiny Tina's Wonderlands.
- Weepwild Dankness Lucky Dice 1: From the entrance to Weepwild Dankness, follow the path until the major fork in the road has been reached past the vending machines and Fast Travel point in Tiny Tina's Wonderlands. Head down the long narrow pathway that leads northeast to the Murf village. After entering the village, turn left and head south to find the first Lucky Dice.
- Weepwild Dankness Lucky Dice 2: From the first Lucky Dice, turn around and hop on the mushroom lift. Turn around to find the next collectible.
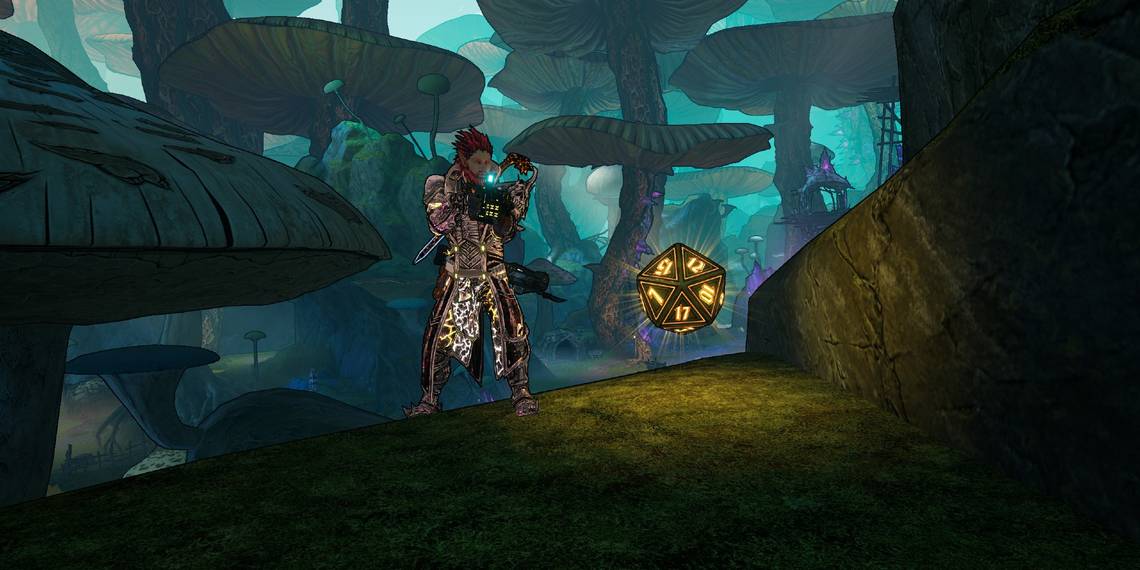
- Weepwild Dankness Lucky Dice 3: For the third Lucky Dice, head back into the Murf village, go past the well, then get on the deck of the house to the left of the well.
- Weepwild Dankness Lucky Dice 4: Next, turn around and head north a few paces to find the fourth Lucky Dice on the broken bridge.
- Weepwild Dankness Lucky Dice 5: The fifth Lucky Dice location in Tiny Tina's Wonderlands can be found by turning around from the fourth and heading northwest, then around the corner. Approach the large building and find the Lucky Dice behind the left broken wall.
- Weepwild Dankness Lucky Dice 6: Leave the broken building, then head down the west path, take the second left towards the river, and go over the edge of the waterfall to find the next Lucky Dice.
- Weepwild Dankness Lucky Dice 7: Continue to follow the stream south, and the next Lucky Dice will be under the upcoming bridge.
- Weepwild Dankness Lucky Dice 8: Take the path to the left and go up the hill, then make a sharp left turn towards the Goblin spawns. Continue heading slightly northwest toward the yellow mount-paint and poetry page, then go around the backside of the tree. Jump across the mushrooms to reach the next Lucky Dice in Tiny Tina's Wonderlands.
- Weepwild Dankness Lucky Dice 9: Continue west up the climbable rocks and go over the wooden bridge on the left towards the stone wall. Go through the left archway, head towards the yellow mount-paint, then look over the edge on the south side of the area to find the next Lucky Dice location atop a mushroom.
- Weepwild Dankness Lucky Dice 10: Go back through the stone wall. Follow the dirt road leading northwest, and look to the right side of the stone bridge to find the next Lucky Dice.

- Weepwild Dankness Lucky Dice 11: Turn back to the dirt road, and head south down the hill toward the Goblin spawn. The next Lucky Dice location in Tiny Tina's Wonderlands is behind the Goblin tent on the right under some large roots.
- Weepwild Dankness Lucky Dice 12: Head north back towards the stone bridge and cross it. Continue towards the purple crystal area, and take the mushroom lifts along the left wall. After reaching the next level, head east toward the marble and ammo chests, then jump across the mushrooms on the right to reach the next Lucky Dice.
- Weepwild Dankness Lucky Dice 13: Jump off the mushroom to the east, then head north back over the stone bridge. Instead of going into the crystal area again, turn right and go up the stone stairs. Continue going up the stairs, then take a left toward the graveyard and Ancient Obelisk. Look over the edge to find the next Lucky Dice location in Tiny Tina's Wonderlands on the left side.
- Weepwild Dankness Lucky Dice 14: Head back towards the stone path, and continue up the hill on the north pathway. At the river, head left toward the water wheel to find the next Lucky Dice.
- Weepwild Dankness Lucky Dice 15: Return to the small bridge over the river, then head west toward the Fast Travel point. Continue heading down the hill until the next wooden bridge is reached. Turn to the left to climb up through the archway over the waterfall to find the Lucky Dice behind the stone wall.
- Weepwild Dankness Lucky Dice 16: Go down the waterfall, and follow the river south. The next Lucky Dice location in Tiny Tina's Wonderlands is over the second waterfall.
- Weepwild Dankness Lucky Dice 17: Turn around and use the rocks to get back up the waterfall. Take the pathway to the left into Terra Sanguina. Take the mushroom lift that leads to the vending machines and it will launch Fatemakers to the next Lucky Dice.
- Weepwild Dankness Lucky Dice 18: Jump down from the previous Lucky Dice location and follow the path in between the rocks and roots west. In the next area, head south down the hill, then go past the Goblin camp and continue over the bridge. Look over to the right toward the hillside base to find the next Lucky Dice location in Tiny Tina's Wonderlands just beyond the mushroom lift.
- Weepwild Dankness Lucky Dice 19: Turn around and take the mushroom lift to reach the next level where the stone tower is located. Use that cliffside to jump back down to the Goblin camp and head north back up the hill. Instead of taking the stone bridge on the left again, head right towards the vending machines. Take the mushroom lift on the right, and continue climbing up the hillside. Instead of taking the next mushroom lift on the left, turn right toward the yellow mount-paint. Go around the corner to the left, the jump up on the mushroom to find the next Lucky Dice location in Tiny Tina's Wonderlands.
- Weepwild Dankness Lucky Dice 20: Jump off the mushroom and head east for a few steps, then head north up the zig-zagging pathway. In Murphshire, stick to the right side of the area and climb up the yellow mount-paint heading east in the village. Take the first mushroom lift on the right, and the final Lucky Dice location is inside the Murph tent.
Tiny Tina's Wonderlands is available for Xbox One, Xbox Series X|S, PlayStation 4, PlayStation 5, and PC.