Quick Links
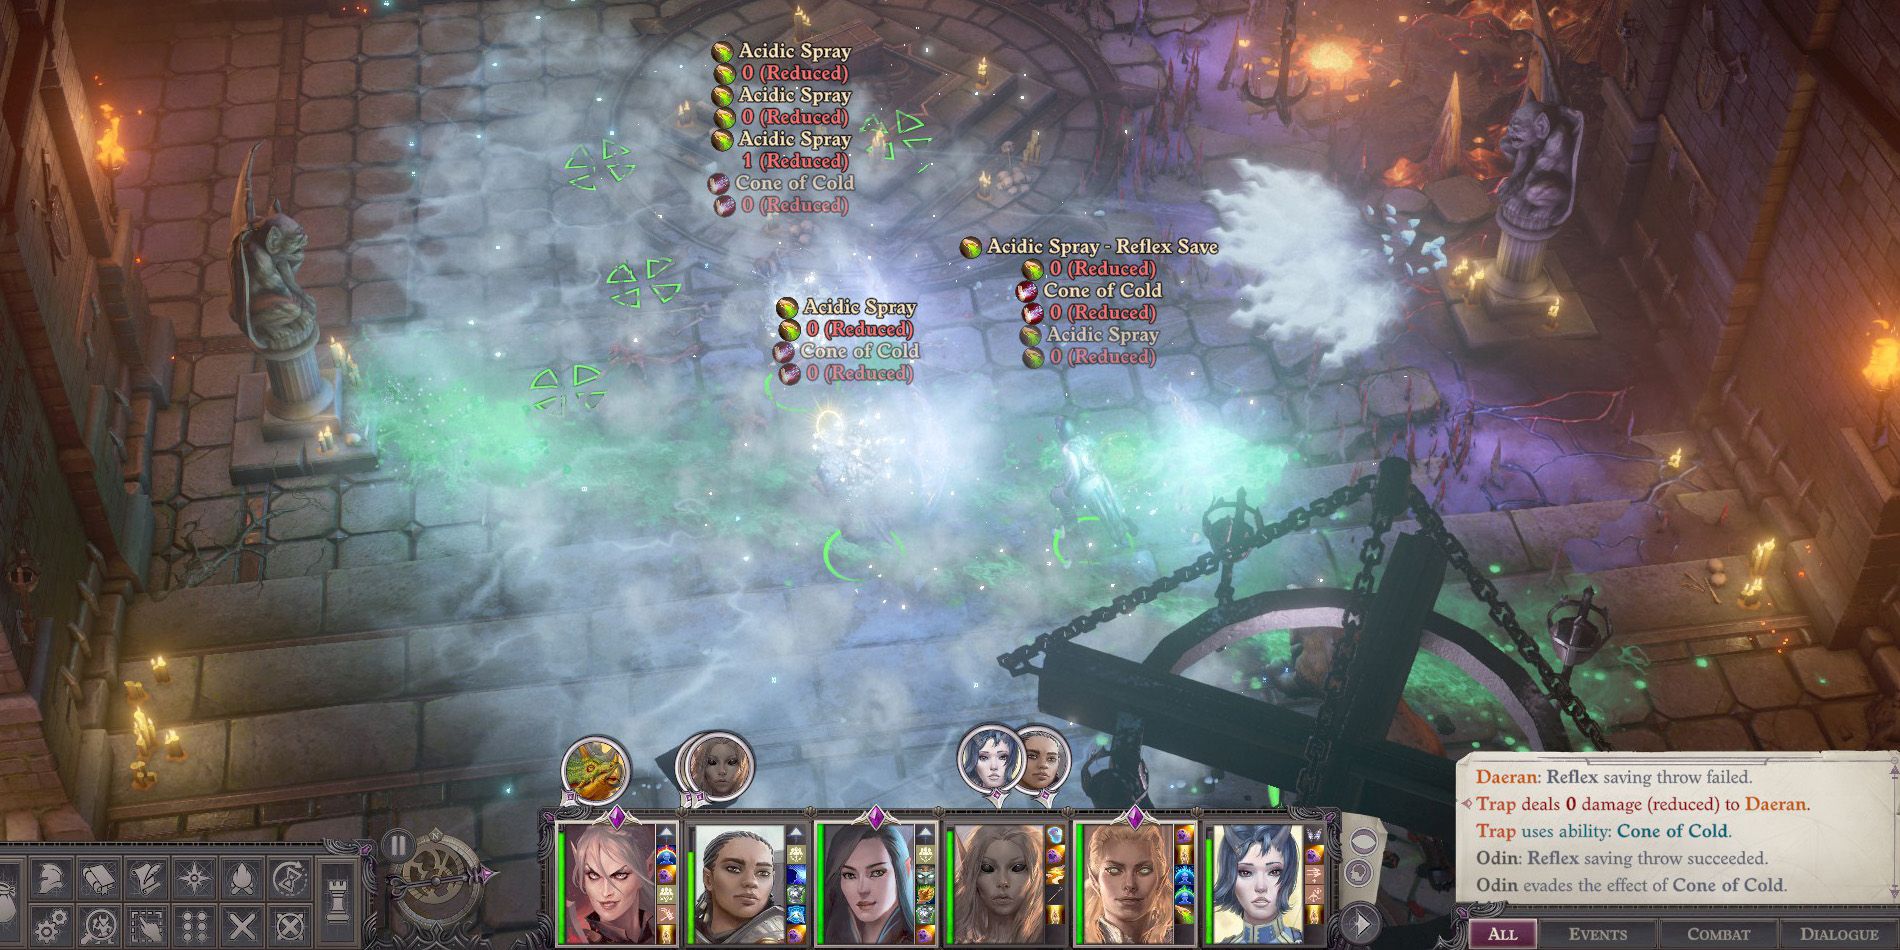
The second act of Pathfinder: Wrath of the Righteous concludes with the siege of Drezen in order to reclaim the Sword of Valor banner. This holy symbol is hidden deep in the city, guarded by cultists and deadly traps. One major obstacle is the Drezen Citadel puzzle, which controls a trap that fires off a barrage of elemental spells, including Cone of Cold and Fireball.
The main objective is to enter Drezen Citadel using a plan from either Irabeth, Regill, or Nurah. Irabeth will want to dangerously charge the front gate, Regill advises using the lead force as a distraction, and Nurah will help the party sneak through the town’s prison. Those wanting to get to the Sword of Valor puzzle quickly should go with Nurah's plan, though it will kick off with an ambush so it would be best to bring one of Pathfinder's healing team members.
Drezen Citadel Puzzel: Who to Bring?
Drezen Citadel is under a heavy curse that deals continual charisma damage every 10 minutes. If any character’s charisma is reduced to zero they will instantly die, and players will encounter a full game over if it is the main hero who falls. When choosing a team for the assault, it will take knowledge experts in religion, arcana, and world skills to fully lift the curse and remove the looming time constraint while solving the Sword of Valor puzzle.
Pathfinder: Wrath of the Righteous characters like Nenio and Daeran are good candidates for the Drezen puzzle. Additionally, a solid tank, like Seelah or Camellia, will make the follow-up encounters much easier.
How to Disable the Drezen Citadel Puzzle Trap
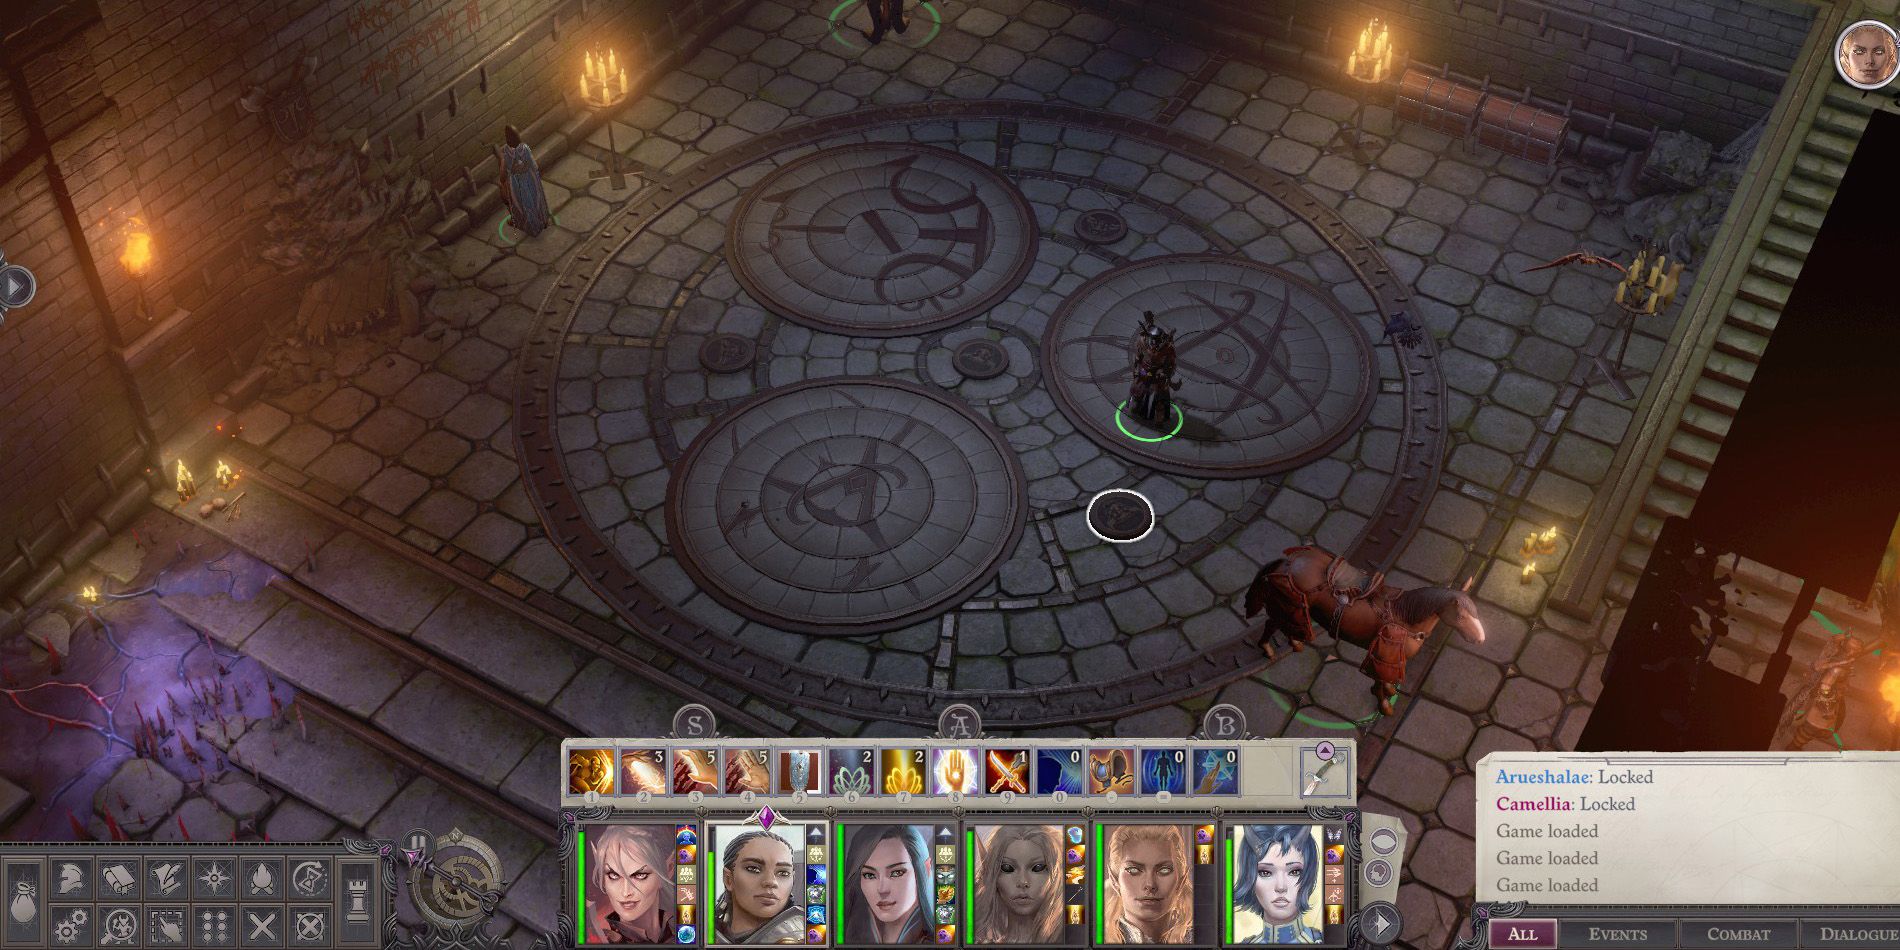
As parties approach Pathfinder: Wrath of the Righteous' Sword of Valor banner, they will discover it is immediately blocked by a trap that spews constant acid, cold, and fire damage. There are two options: solve the circles puzzle to disarm the trap, or simply bear the elemental damage. Those who choose the former should interact with the puzzle via their tank, while other members stand guard near the stairs or sides.
It is highly advised to save before interacting with the Drezen puzzle at all, as there is no easy way to reset it to the initial state once players begin. If it has already been altered, then finding a current solution will take additional effort from individual players.
Players should rotate their cameras so north is facing upwards. There will be four buttons on the puzzle’s circle: east, southwest, northwest, and center. If the puzzle has not been touched before then it can be completed with the following button combination:
|
Button Order |
Button Direction |
|---|---|
|
1 |
Southwest |
|
2 |
Center |
|
3 |
Center |
|
4 |
Northwest |
|
4 |
Northwest |
The Pathfinder: WOTR party will immediately be attacked by the demon Eustoyriax. If someone like Seelah, Cameilla, or Regill was the puzzle-solver, then they will be in a good spot to engage the monster. Like other demons, attackers will want to use cold iron or good-aligned weapons to bypass the enemy's damage reduction, and they should avoid using electricity, which Eustoyriax is immune to.
Having trouble defeating Eustouriax after solving the Drezen puzzle in Pathfinder: Wrath of the Righteous? Check out some battle strategies in the YouTube video from Werglia below!
How to Survive the Drezen Citadel Puzzle Trap
The Circles Puzzle in Pathfinder: Wrath of the Righteous deals a high amount of acid, cold, and fire damage. Parties with access to Protection from Energy and Resist Energy can combine multiple casting of those together to withstand each element. Since Pathfinder: WOTR parties will likely be low-level when encountering it, roughly around level 8, which will allow every member to absorb up to 96 damage of each energy type. The trap instantly ceases once anyone picks up the Sword of Valor banner.
However, using brute force like this might put the party in even more danger than attempting to disarm the Drezen puzzle. Once the banner is acquired, additional cultists and demons will burst through the western door and attack. If Eustoyriax wasn’t already defeated, it might now spawn in a perfect position to flank players. Still, if the WOTR party has strong specs, they may be able to defeat both encounters at the same time safely.


