Apple Mac desktops and MacBook laptops are some of the easiest computers to use but tend to be more complicated to set up than a smartphone. For anyone new to macOS, or new to computers in general, a few tips can make the process much quicker and easier. Of course, there is plenty of customization that can be done to really complete the computer set up, but the first time startup and initialization process are what will be covered here.
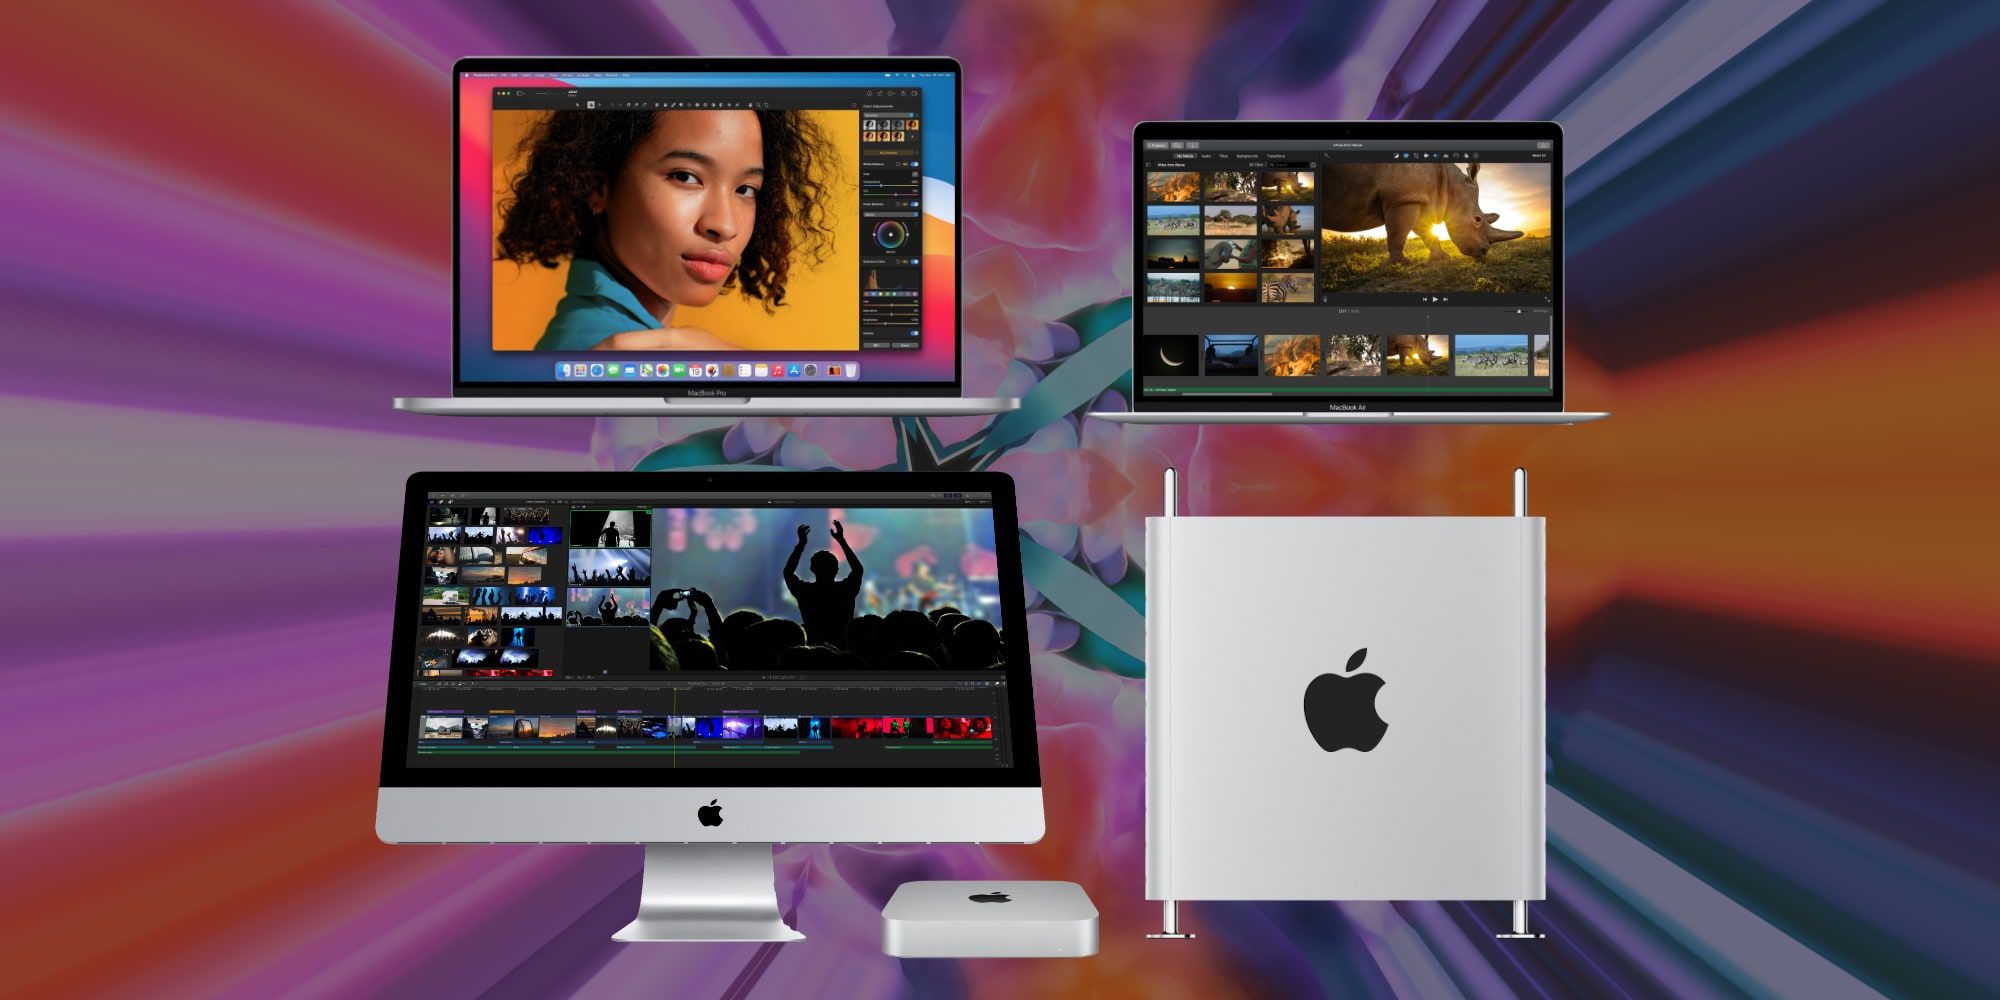
Apple has Mac computers ranging from the smallest Mac mini, which is a small rounded 8-inch square that stands only an inch and a half high, to the 40-pound Mac Pro tower computer that measures 18 by 9 inches and is 22-inches tall. Apple makes the all-in-one iMac computer in 21.5-inch and 27-inch screen sizes. The MacBook laptop is available with 13-inch and 16-inch screens. Of course, every model and size share macOS in common and the setup is basically the same for any Mac. The only difference is that the Mac mini and Mac Pro require connecting a monitor, while those two and the iMac need a keyboard and mouse. MacBook laptops come complete, though an external keyboard, mouse, and monitor can be used if desired.
Beyond hardware connections, which are covered in Apple’s quick start guide that comes with the computer, there are some initial steps to start up a Mac for the first time and get macOS ready for use. After powering on the Mac, an app called ‘Setup Assistant’ will provide help. The country or region window will appear with a long list of possible countries to choose from. This sets the date, time, currency, and measurement preference, as well as language and time zone options, though each can be changed easily in the Settings app later. Wi-Fi network settings come next, but an Ethernet cable can be used, possibly with the use of an adapter if the Mac doesn’t have an Ethernet port. Network connections can be set up later if preferred. If transferring information from another Mac computer, this can be done next or later on using an app called ‘Migration Assistant.’ There is also a version of this app that is made to assist in transferring data from a Windows PC. Information can be moved wirelessly using Wi-Fi, via an Ethernet cable, or with a USB drive.
Apple ID & Personalizing A Mac
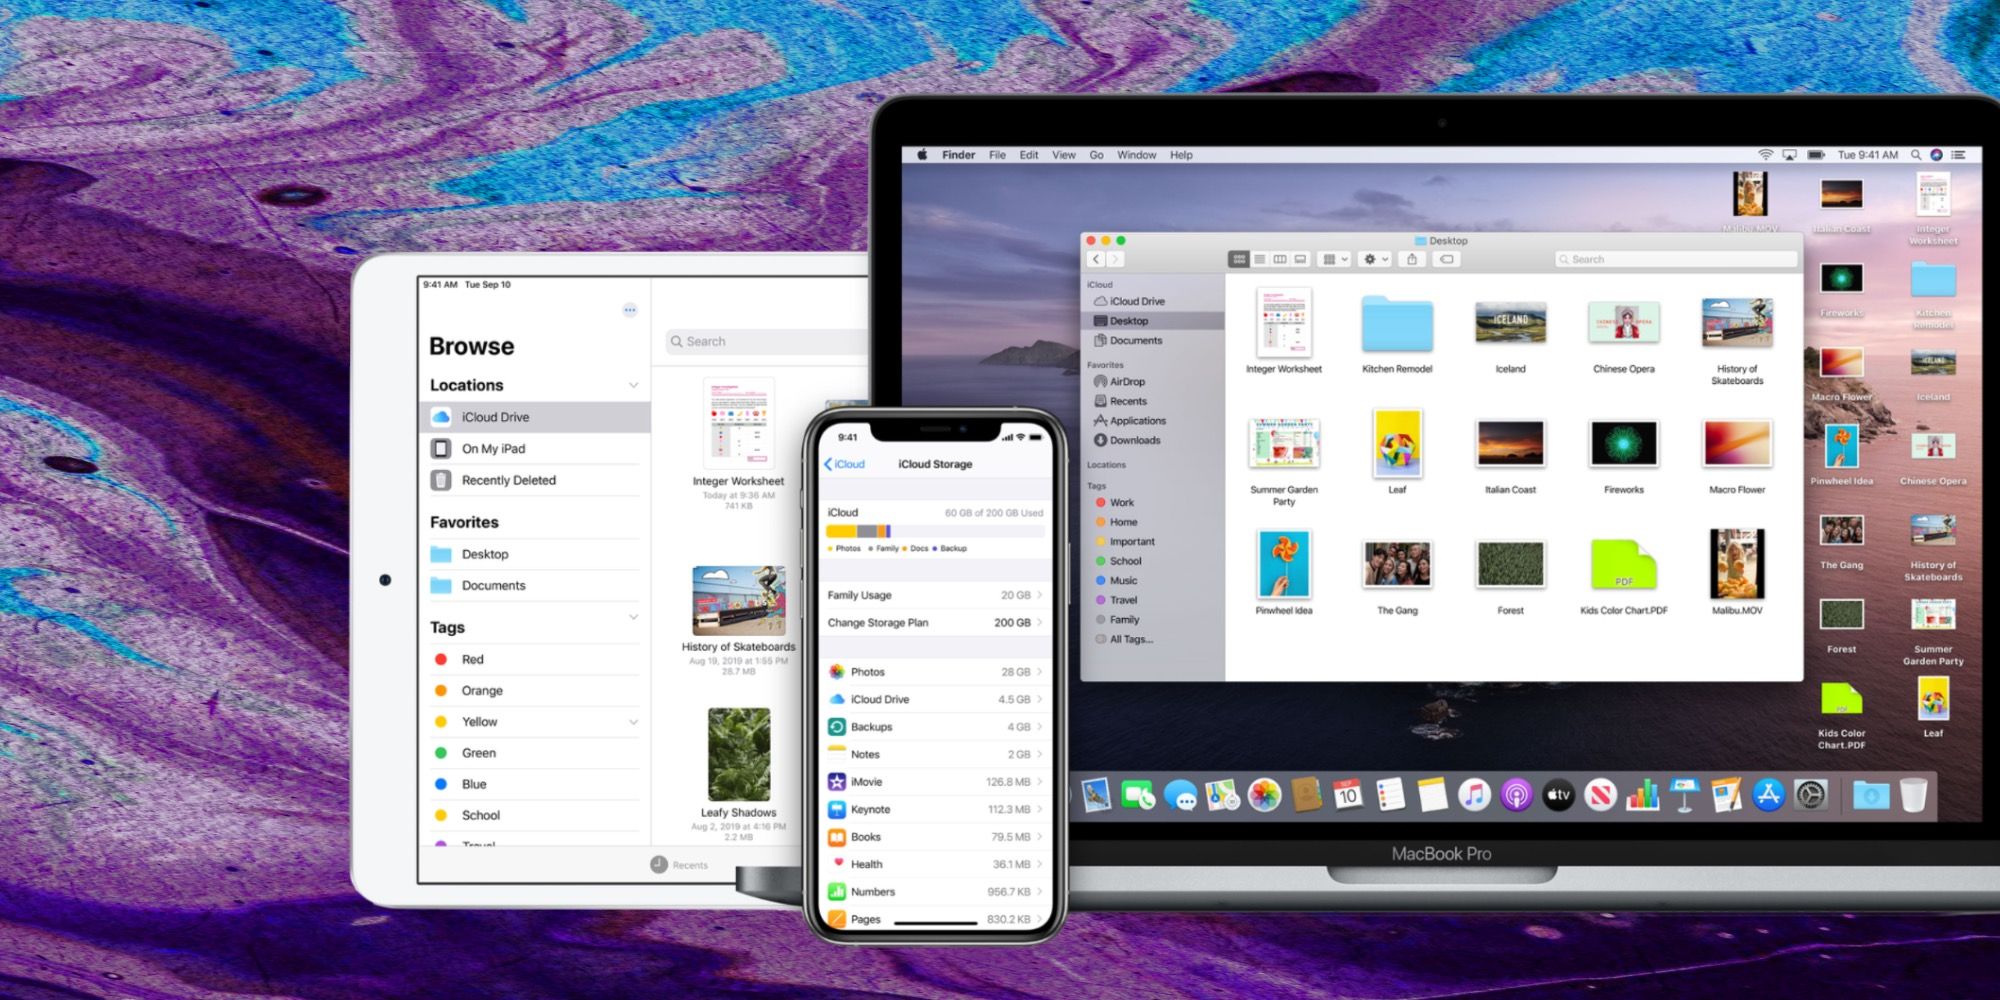
For those new to an Apple device, an Apple ID is needed for many of the features to work best. Setting up an ID just requires an email address and password. The new computer will prompt the owner to enter an Apple ID or create a new one. This is used to access the free five gigabytes of iCloud storage and to sync information and services between Apple devices. The Mac requires a user name and password. Next are optional steps to monitor the usage of the Mac with the ‘Screen Time’ app, enabling Siri voice control by saying, ‘Hey Siri’ and enabling iCloud storage settings. It may be surprising how quickly five gigabytes can be filled when using a computer. By default, all photos, email, documents, and some other content will be stored in iCloud. Unless subscribing to an iCloud storage plan, it might be a good idea to switch off photos and email in the iCloud section of the Settings app after finishing the initial setup. This will use the built-in drive of the Mac instead. Many of the other iCloud settings provide good convenience and take little space.
If using a MacBook Air or MacBook Pro, setting up Touch ID is quick and makes using the Mac much faster and easier. Simply follow the on-screen instructions to place a finger on the fingerprint sensor, lifting and touching repeatedly until the computer has enough data. Touch ID allows unlocking the MacBook as well as authenticating for purchases and accessing website passwords. Dark mode can be enabled during setup, which simply favors a darker layout with light text instead of the usual dark on light style. This can be changed later in the Settings app, as well as choosing an automatic switch to dark mode in the evenings if preferred. Apple Pay setup allows quick payment for Apple products and services, purchases through the Mac App Store, and use of Apple Pay on some websites. Once the payment information is entered, using Apple Pay just requires authentication with Touch ID or a password. Setting up a Mac for the first time is relatively easy but does involve several steps. It’s best to set aside about half an hour, particularly if transferring files from another computer.
Source: Apple


