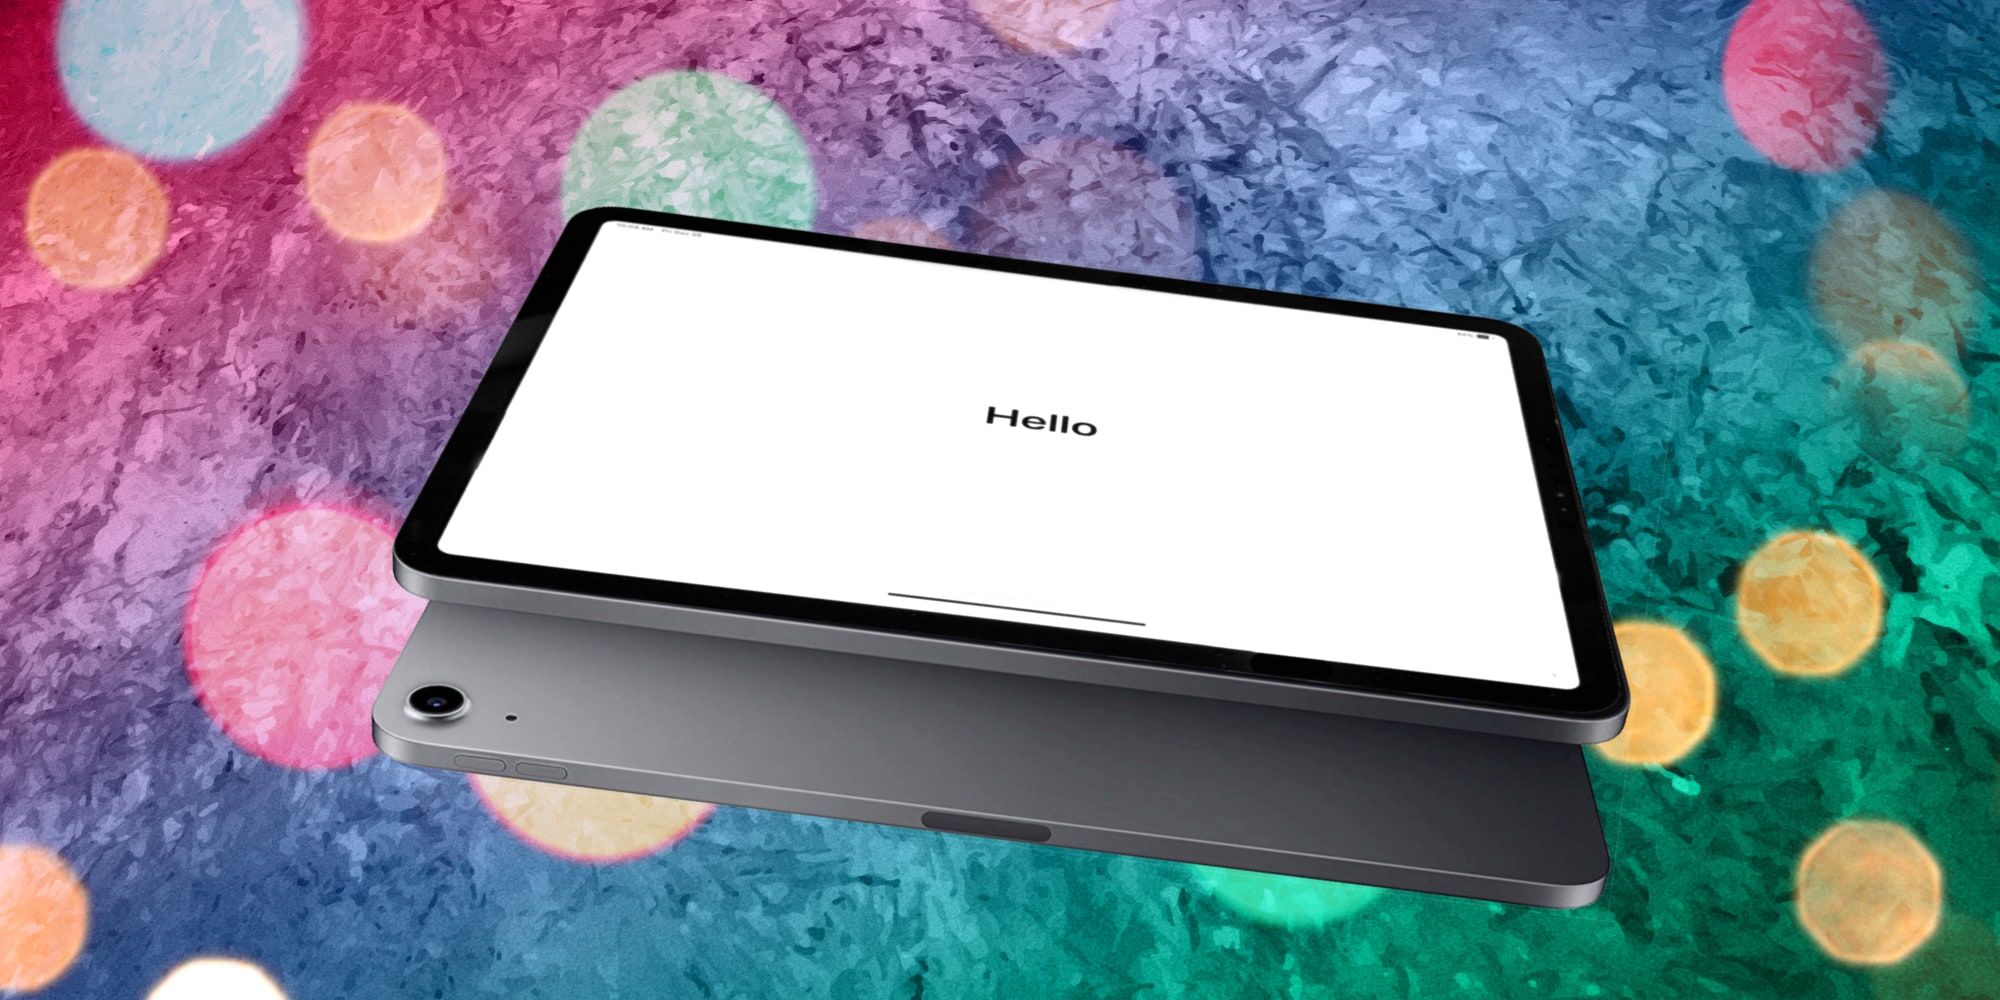
Apple’s tablets are recognized by most as the best and easiest to use, but there are several steps involved in setting up an iPad. Each step gives the owner options and understanding what these mean will help make the process quick and stress-free.
Apple currently sells five sizes of its popular iPad tablet, ranging from the smallest iPad mini, which has an 8-inch screen to the largest, the 12.9-inch iPad Pro. About one in three tablets in use worldwide is an iPad. These well-made and reliable devices are fast enough to compete with many laptops, yet many still use them simply for games and movies. However an iPad is used, a bit of setup is needed before using them for the first time.
Apple has made setting up an iPad easy, with on-screen instructions guiding the user to pick from several options. However, knowing the options and what they mean in advance will speed up the process. Holding the power button until the Apple logo appears on-screen starts the setup. The first choice is language and the iPad supports over 40. After choosing a language, the Quick Start option is next. This is useful for those that own an iPhone or another iPad. Bringing the two devices close together, will present the option to use iCloud, a computer backup, an iPhone, or a second iPad to transfer data, apps, and settings to the new device. An iPad can also be set up manually, which is nice if it serves a different purpose. The user may not want iPhone apps on an iPad, for example.
Manual Set Up Of An iPad
If the iPad Quick Start option wasn’t chosen, the iPad can be set up manually. The iPad will ask the owner to choose a Wi-Fi network but, if the iPad has cellular capability, it can also be set up using a mobile network instead of Wi-Fi. If the iPad has Face ID or TouchID, this will be the next step. The on-screen instructions will guide the user to position their face to enable FaceID or touch the sensor to enable TouchID. Every iPad has passcode options that need to be chosen as well. This is a four-to-six-digit code that can include numbers, letters, and symbols. These authentication options can be skipped if the user wants to get started quicker. After the wireless network is set up and authentication is completed or skipped, it’s time to transfer apps and data from iCloud, a computer, a phone, or a tablet. This can be an Apple or Android device, though some Android apps may not be found on the App Store and won’t be installed on the iPad. The iPad will guide the user through the transfer. This step can also be skipped to shorten setup time.
Signing in with an existing or new Apple ID is required. Creating an Apple ID is the same process used to sign up for an email account and, in fact, an iCloud email account is created automatically. Siri set up is quick and simply needs a few phrases to be spoken aloud, but this step is optional. Screen Time options allow the device to be configured for a child or an adult, with special protections and limits possible with a device intended for children. The on-screen instructions will guide the owner through the choices. A few display preferences will appear to finalize the setup process. Every setting can be changed later, so skipping choices during set up is okay for those who just want to dive right in.
Source: Apple


