The iPhone 14 series is nearly identical to the previous iPhone 13 lineup, but a noticeable difference is that the latest Apple smartphones do not have a physical SIM card slot. Instead of using a physical SIM card, the iPhone 14 uses eSIM technology. Though the iPhone 14 lineup is Apple's first to be eSIM-only, iPhones have been shipping with eSIM capabilities since 2018. Essentially, an eSIM is a digital subscriber identity module (SIM) that stores information about a user's phone number and cellular plan without a physical chip. While this technology may seem foreign to the average user, it is a reasonably straightforward process to set up — most of the time.
Apple has a history of removing ports before their users are ready to say goodbye to them — including the infamous removal of the headphone jack. However, there are pros and cons to producing eSIM-only iPhones. For example, in a perfect scenario, Apple could use the extra space saved by removing the SIM card tray to provide better features or a bigger battery. But in this case, the additional space inside the iPhone 14 was not used to its full potential. Also, for most users, the setup process for eSIM is a lot easier than getting a new physical SIM card.
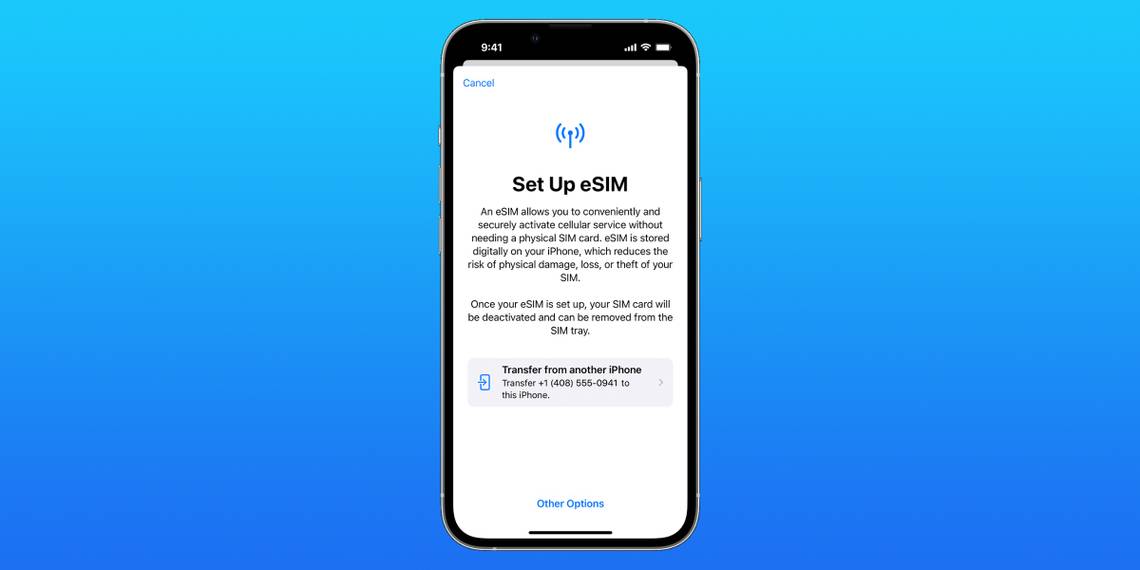
Many users can set up their iPhone 14's eSIM without contacting their carrier through a process called Quick Transfer. It is similar to Quick Start — the simple way to transfer an old iPhone's settings and data to a new device — but transfers a SIM card instead. Quick Transfer works when an older iPhone already has an eSIM setup, but it can also convert a physical SIM card to an eSIM on a new iPhone 14. During the iPhone 14 setup process, follow the on-screen prompts to transfer a SIM card from a user's old device to their new one. To use Quick Transfer after an iPhone has already been set up, navigate to Settings > Cellular > Add Cellular Plan.
Other Ways To Set Up eSIM On iPhone 14

After users open the 'Add Cellular Plan' screen, they should be greeted with a list of phone numbers associated with their Apple ID. Then, return to the older iPhone to confirm the transfer on-screen. Next, tap 'Transfer' to confirm the swap, and enter the verification code displayed on the iPhone 14, if applicable. It may take a few minutes for the cellular plan to activate on the new iPhone 14, and after the switch, the previous SIM is deactivated. For some users, there is an additional setup required through their cellular carrier. If this is needed, a banner will appear that says, '"finish setting up your carrier's cellular plan." Tap the banner, and finish the setup process on the cellular carrier's website.
Some carriers might not support eSIM Quick Transfer, but major U.S. carriers support eSIM Carrier Activation. When an iPhone 14 is bought through a carrier — or at Apple on a carrier plan — an eSIM is already assigned to the new device. To activate these devices, simply turn on the iPhone 14 and follow the on-screen prompts. For carriers that do not support either activation method, a QR code option allows users to scan a code to activate their eSIM. On the 'Set Up Cellular' screen, tap 'Use QR Code' and scan the code. If none of these options work with a user's carrier, they should contact their cellular provider directly for assistance. Though eSIM can be more complex than swapping physical SIM cards, setting up an iPhone 14 with an eSIM is a quick process for most users.
Source: Apple Support