Sekiro: Shadows Die Twice has a unique mechanic at its core - the ability to use different prosthetic toolkits is what will get you around the various environments in the game, and help you defeat the various bosses that haunt your route. Our Sekiro prosthetics guide will tell you what prosthetics are available and how best to acquire them.
The prosthetics in Sekiro are vital to your ability to wear down your enemies and to generally make your life easier in the endless cycle of rebirthing, killing, and dying. Knowing what tools to use against which enemies is a valuable lesson to learn, and there's honestly a prosthetic for almost every occasion in the game.
This is the list of prosthetics available for you to unlock in the game. Check out the rest of our Sekiro prosthetics guide for the individual details of where to find the following tools:
- Loaded Axe
- Loaded Shuriken
- Loaded Spear
- Loaded Umbrella
- Sabimaru
- Flame Vent
- Firecracker
- Mist Raven
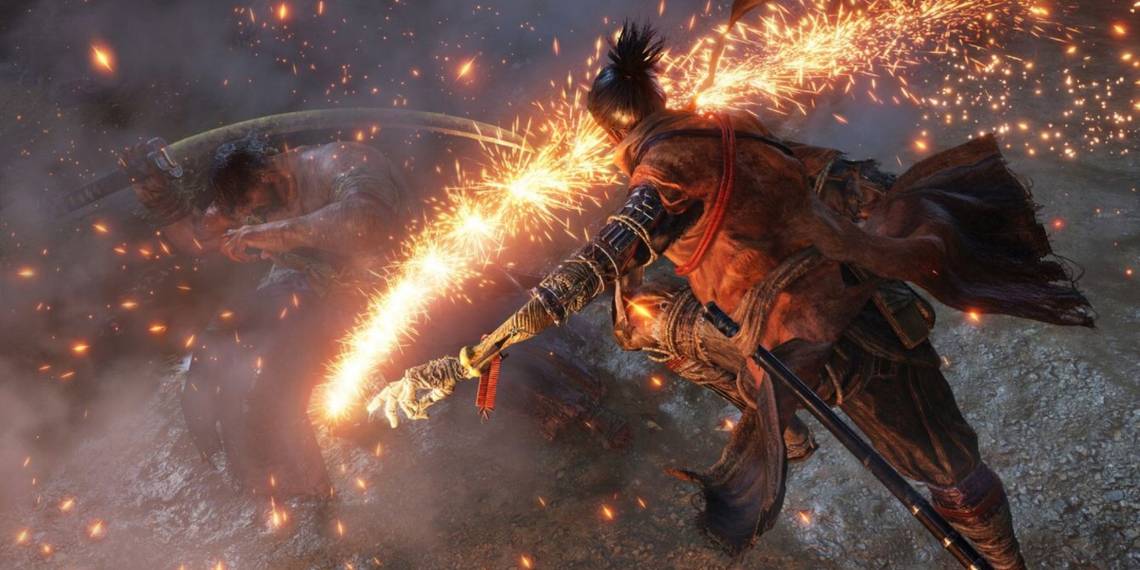
Sekiro Prosthetic Guide: Flame Vent

This is particularly useful against certain enemies, and you'll note that we recommended it against the Chained Ogre in our guide. Protip: that boss is terrified of fire, which means that you'll be able to cut short some of their attack animations by using the Flame Vent, and potentially inflict a DOT effect.
To acquire the Flame Vent prosthetic, you'll have to convince the woman in the burned house in the Ashina Outskirts that you're her son. Once you offer the bell she gives you to Buddha, you'll be whooshed back in time and have to kill the bandits along the Estate Path in the Hirata Estate. Following the path culminates in an area with a small fire, where you can take out the enemies and loot the fire itself for the prosthetic. Bring it back to the Sculptor and he'll have you running hot.
Sekiro Prosthetic Guide: Loaded Axe
The loaded axe is one of the less complicated prosthetics in execution. Like the other loaded tools (spear, umbrella, shuriken), its purpose is pretty straightforward; it gives you the opportunity to do more damage. The axe does this mainly by smashing through things, which opens your enemies up to deathblows.
If you remember where you found the Flame Vent prosthetic just above, continue up the path that you were on and you'll see a wounded Samurai who mentions the presence of the Loaded Axe at a shrine not too far from where you are. Head back to the main Estate Path, and there will be some chatty foes that you can eavesdrop on who mention not wanting to set the shrine sitting behind the closed gate alight. Get rid of them, and loot said shrine for the Loaded Axe before bringing it back to the Sculptor.
Sekiro Prosthetic Guide: Loaded Shuriken
The Loaded Shuriken is, as the name suggests, a way for you to do ranged damage to your foes in Sekiro. As you upgrade the weapon later on in the game, you'll be able to throw multiple shuriken and to increase the damage that you do with this tool. If used effectively, it can have the ability to halt the Posture recovery of foes.
Finding the Shuriken isn't difficult. It's located conveniently next to a corpse in the Ashina Outskirts and accessible by rooftop. If you head up to the second floor of the pagoda by the idol, there'll be a way for you to enter it structure. In it, there's a corpse in poor condition who will be hanging on to a Shuriken Wheel. Bring that item back to the Sculptor to gain the ability to harass your foes from afar with spiky projectiles.
Sekiro Prosthetic Guide: Loaded Spear
Like the other Loaded items, this is a straightforward prosthetic to find, and straightforward in its effect. It gives you the ability to poke your enemies with an unblockable attack, and you can later then cleave them if you're smart about your upgrades (and hit everything within the reach of your weapon to boot).
To find the Loaded Spear and to acquire it, you'll have to make sure that you have an item called Gyoubu's Broken Horn. This particular item is housed in a Gatehouse near Ashina Castle. Once you get to the Idol in the reservoir by the Castle, head to the main structure and you'll be able to unlock the gatehouse to acquire this item. Bring the Horn back to the Sculptor to unlock the Loaded Spear.
Sekiro Prosthetic Guide: Loaded Umbrella
The Loaded Umbrella is the last in our list of the Loaded tools, and as you may have been able to guess from its name it's about helping you deflect attacks from foes. The Umbrella isn't able to protect you from sweeping attacks from your enemies, but it has the ability to block projectiles. You can also upgrade it to enable you to repel projectiles back at enemies.
To find the Loaded Umbrella, you'll have to go to Ashina Castle and head towards where the Old Grave idol is. There's a convenient hole in the top of a structure nearby, and taking a leap of faith off that ledge into the hole will land you in front of a very small creature with a very large hat. They're a merchant, and they'll sell you the Loaded Umbrella prosthetic for 1,600 sen. Take this prosthetic back to the Sculptor to get your very own stylish barricade.
Page 2 of 2: Sekiro - Even More Shinobi Prosthetics

Sekiro Prosthetic Guide: Sabimaru
The Sabimaru tool is unique because it gives you the ability to poison your foes. This definitely has its uses, though it's potentially not as valuable as some of the other more disruptive prosthetics like the Firecracker because it lacks the crowd-control utility that the latter would provide. That being said, the Poison status is handy in its own right for whittling away at tricky foes.
If you want to acquire the Sabimaru, it's a matter of going to Ashina Castle. Head to the chamber in the Upper Tower where the Idol is, and take out any roaming enemies who get in your way. If you wander around on the floor above the idol and pop out onto the railing inside the building, you'll see a samurai and some adds on the ground floor. Take them out to find a chest on that level which has Sabimaru, and take it back to the Sculptor to use it.
Sekiro Prosthetic Guide: Firecracker
This is one of the most useful prosthetics in Sekiro. It does its fair share of damage against animals, and it's also valuable because using it gives you the ability to divert the attention of your enemies enough to interrupt their attacks. In a title all about learning attack animations and responding to them, even the smallest reprieve from the cycle can leave you with enough of an opening to get a leg up on the bosses that are out for your blood.
The Firecracker costs 500 sen, and you can buy it from a merchant in the Outskirts Wall area who hawks his wares at the top of a stone tower by the Gate Path. Once you pick up the Firecracker from this merchant, get the Sculptor to pop it in and you'll be setting off sparks in no time.
Sekiro Prosthetic Guide: Mist Raven
The Mist Raven prosthetic is probably one of the coolest ones out there. It affords you the opportunity to maneuver more efficiently around your foes by giving you the power to move and dodge faster. To get this tool, you're going to have to loot the Mist Raven's Feathers item.
To find the elusive feathers, you first have to go to the Hirata Estate. When you reach the bamboo thicket, move to the ledge to the upper left of the Idol and take a dip in the river that you find. Struggle against the current before grappling to a tree and cutting down some bamboo to reveal an enemy. Once you kill him, you'll be able to access what he's guarding and pick up the Mist Raven's Feathers. Take those back to the Sculptor and voila!
Now that we've shown you how to get all of these cool tools in our Sekiro prosthetic guide, it's time for you to get grappling and exploring so that you can be the lethal shinobi that you were meant to be. Check out our other guides for tips on how to beat some of the mandatory bosses and also how to unlock all of the game's endings.