Throughout the course of Ratchet & Clank: Rift Apart players will be able to take part in many different side quests to keep them busy. Players will be tasked with locating important collectible items, presented with special enemies that they must bring down, and even explore areas that they wouldn't see during the main story line. Those who take the time to do this will earn many different unique and special rewards.
Players will actually find one of these side quests on the desert planet of Savali. Their job is to track down some special ancient artifacts called Lorbs that are spread around the area and return them to the Monk Scholar in the city. In all, there are twelve of these Lorbs, and if the player is able to collect all of them for the Monk they will be awarded a special armor set. This guide shows players how to track down all twelve Lorbs in Ratchet & Clank: Rift Apart.
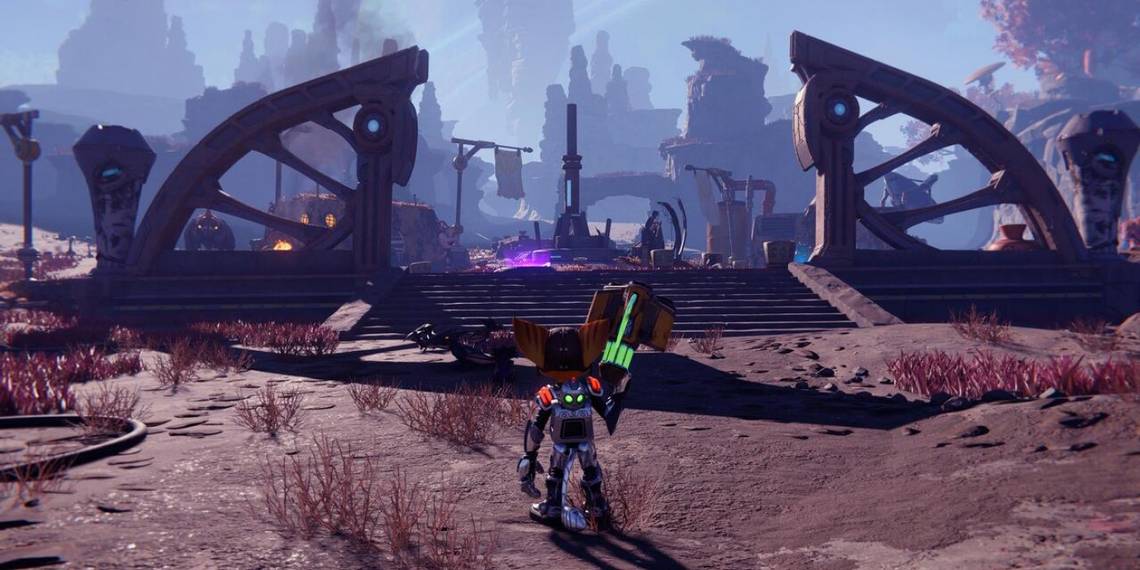
Ratchet & Clank - Where to Find Savali's Lorbs

In order to begin this quest players will need to go to the town in Savali and first speak to the Monk Scholar that is there. He will then tell the player about Lorbs and ask them to collect some so he can study them. As the player collects the Lorbs they will unlock pieces of the Wasteland Armor Set which grants the player 20% protection against indigenous creatures if the player is wearing the whole set. After collecting three Lorbs they will receive the Wasteland Leg Armor, after seven they will get the Wasteland Chest Armor, and after twelve they will get the Wasteland Helmet to unlock the full set. Also with each Lorb found the player will acquire an audio log that details the journey of an old Lombax.
Keep in mind as well that the Lorbs can be acquired in any order that the player wishes, but they are listed here in the order that players are most likely to come across them. Here are all twelve Lorb locations:
- Location #1 - The very first Lorb is easy enough to find because the player is specifically pointed right towards it. Right after speaking to the Monk Scholar about the mission, he will tell you what the Lorbs look like and then point out the shrine where the first one is located. The player will just need to walk over to it and smash the Lorb when it rises out of the shrine.
- Location #2 - From there the player will then need to travel due west from the town until they come across a ramp that is marked by some yellow and white banners. This ramp will be pointing straight towards a rock pillar that the Lorb is sitting on top of. The player will need to move towards the ramp and then hoverboot off of it in order to get enough speed and air to reach the far-away pillar.
- Location #3 - To get to the third one the player will need to travel west from the second Lorb until they reach a a pipe that they can enter. Inside they will discover a pressure lock that can be triggered, and then they can step back outside to find a cable that they can follow as well. This cable will lead to two more pressure locks that can be activated as well to unlock the area containing the Lorb by the lake. After this the player should return to the Monk to receive the first part of their gear set and have the Monk mark all of the other Lorb locations on the map.
- Location #4 - On the western side of the map the player will find the canyon that runs through this area. Right at the mouth of this canyon, the player will need to face off against some Nefarious Troopers in order for the shrine to reveal the Lorb to them.
- Location #5 - In the northwest corner of the map the player will find the fifth Lorb near the structure that they were tasked with rescuing some monks from earlier. The shrine that the player must get to is on top of a platform that moves whenever the player approaches it. The trick here is to use the hoverboots to chase it down in order to get close. The player will probably need to cut a few corners and take some sharp turns in order to move faster than the platform. Eventually, they will be given a prompt to use their Swingshot to hop on and stop the platform from moving.
- Location #6 - The player will then need to go to the northeastern part of the map and explore the canyons that are found here. There will be a cave within these canyons that is near a pressure plate for another side quest. Inside this cave, the player will encounter several Sandsharks and Savali Spitters that must be defeated before the shrine offers up its Lorb.
- Location #7 - On the far east part of the map the player will need to take the road up to the Forest Temple. Right off this road and near the river the player will see the seventh Lorb's shrine but it is completely surrounded by Sandsharks. The player must defeat all of these Sandsharks to clear a path to the shrine and collect the Lorb for themselves. The player can then return to town in order to get the chest piece from the Monk.
- Location #8 - From the town the player should head southeast until they find a cliff right on the edge of the Primordial Forest. This cliff can be found very close to two crashed Nefarious Trooper ships, so it's pretty hard to miss. The player will need to use their Rift Tether to pull themselves up and along the cliffs and snag the Lorb.
- Location #9 - In the southern section of the map the player will come across a shrine on top of a cliff near the lake. On top of this cliff the player will see four large glowing pillars surrounding this shrine that resides here. Three of these pillars will be blue and one of them will be red. Players must take out their weapon and shoot the red pillar. Doing so will cause another pillar to turn red, and the player should then shoot that as well. Once all four pillars have been shot the player can collect the Lorb.
- Location #10 - If the player goes back to the southeast corner of the map they can find the tenth Lorb on the very edge of the land. Right off the cliff and inside a small cave the player will be able to see the shrine here that contains the Lorb, but it is blocked by boxes and guarded by some Savali Snappers. Players need to defeat the enemies and destroy the boxes before walking inside to pick up the Lorb.
- Location #11 - On the southern portion of the mainland area and just east of the bridge that heads towards Mountain Temple. Right on the side of the cliff face, the player will see three pressure plates above a bottomless pit that lead straight towards a shrine. The player will need to wall run and hit all three of these plates in order to activate the shrine and acquire their Lorb.
- Location #12 - The final Lorb is found at the beginning of the road leading to the Mountain Temple. There will be some wooden bridges that the player needs to cross and then they can turn right to head under a rocky arch. Right ahead of them will be a rift on top of a pillar that can be tethered to. There will be a second rift to be tethered to ahead of them and then a third that will need to be tethered off to their left. Once the player has made it here they can turn left and grind down a rail to make it to the final shrine.
Ratchet & Clank: Rift Apart can be played on PlayStation 5.