Quick Links
Puzzles are the norm in Pathfinder: Wrath Of The Righteous, and one of the more complex puzzles is the platform challenge found in the Sacred Lands. The puzzle itself needs a lot of planning to solve, has a twist players might not expect, and solving the Sacred Lands puzzle in WOTR will require players to make an important, story-impacting choice.
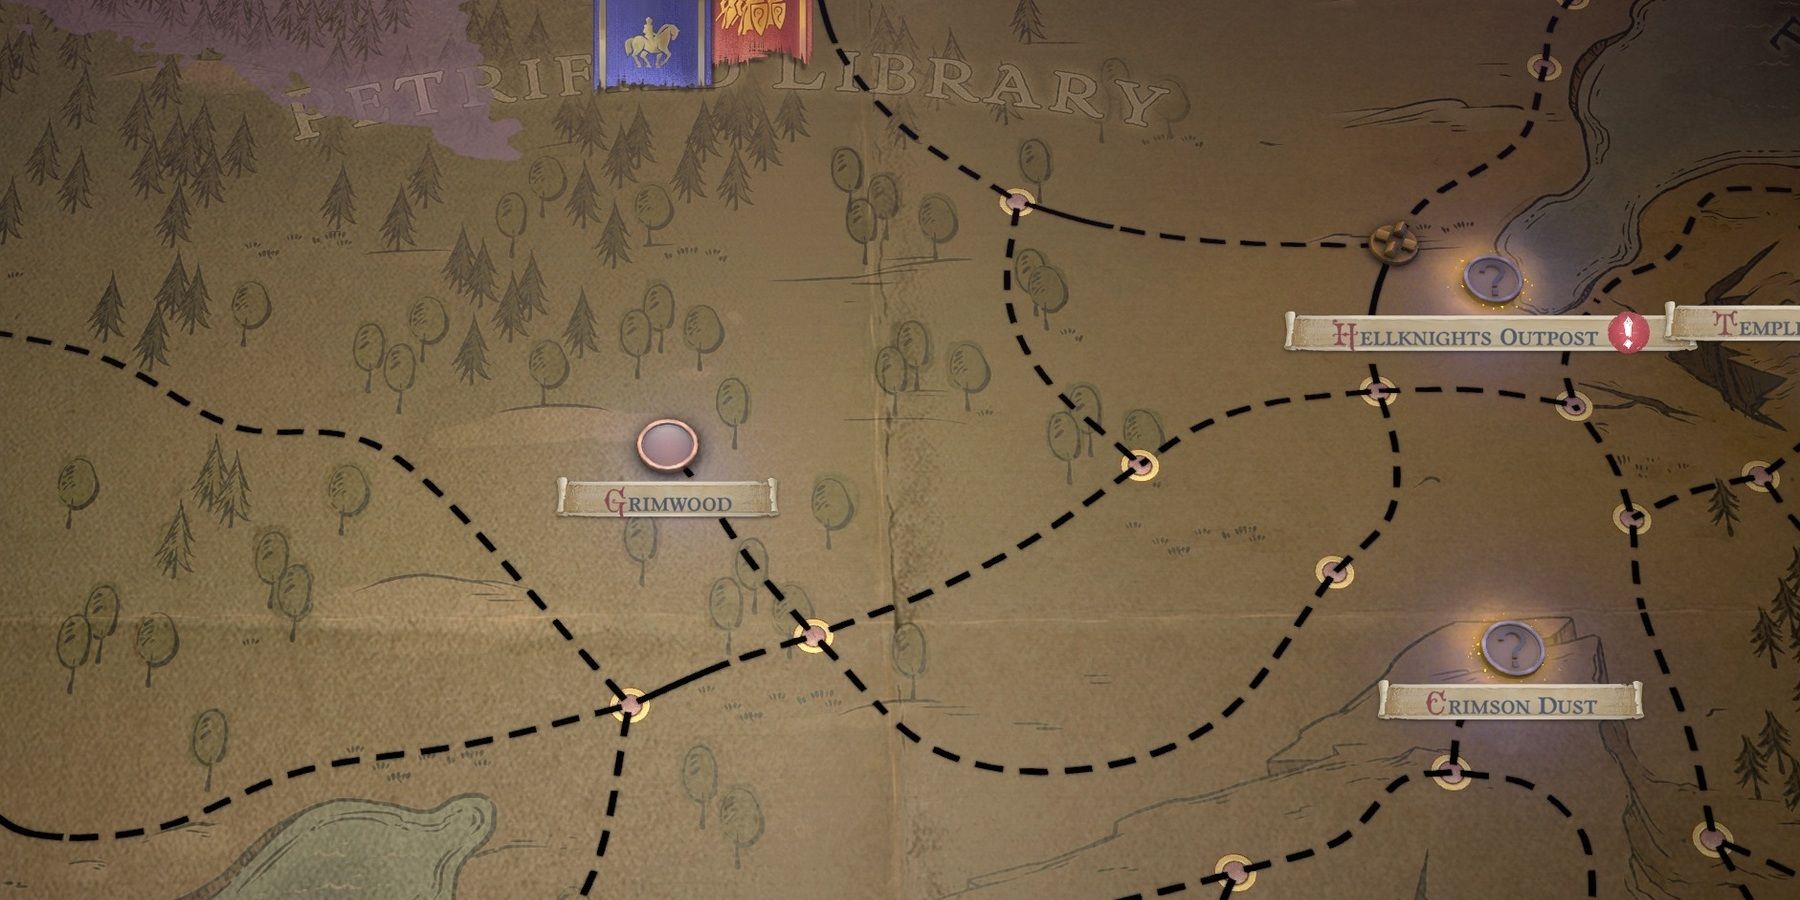
The Sacred Lands is a small area in Pathfinder: Wrath Of The Righteous located to the West of Grimwood, in the Stonewilds area, on the northeast corner of the map. Upon arrival, players meet up with a Primal Treant who will talk about how they are sick after some prying, and they are the protectors of the Shrine. What they are protecting is a mystery, and they want to know more about what is inside the Shrine. It's up to the player to discover what's inside and to report back to the Primal Treant, opening a quest in WotR called "Weary Guardian."
Solving the Sacred Lands puzzle in Pathfinder: WotR doesn't take too long, but the steps are complex. We've detailed everything you need to do in order below, but if you are just looking to see what the solution is in action check out the video walkthrough from Wizard Worm on YouTube below!
Sacred Lands Puzzle: The First Chest
The Stonewilds used to be a heavily forested region, which would explain the presence of Pathfinder's Primal Treant and their sickness. However, with the Stonewilds losing much of their foliage and becoming a barren wasteland, the old Forest of Stone is a shadow of what it used to be. In addition, the land was devastated by demons, giving a clue on what could be waiting for players in the Shrine.
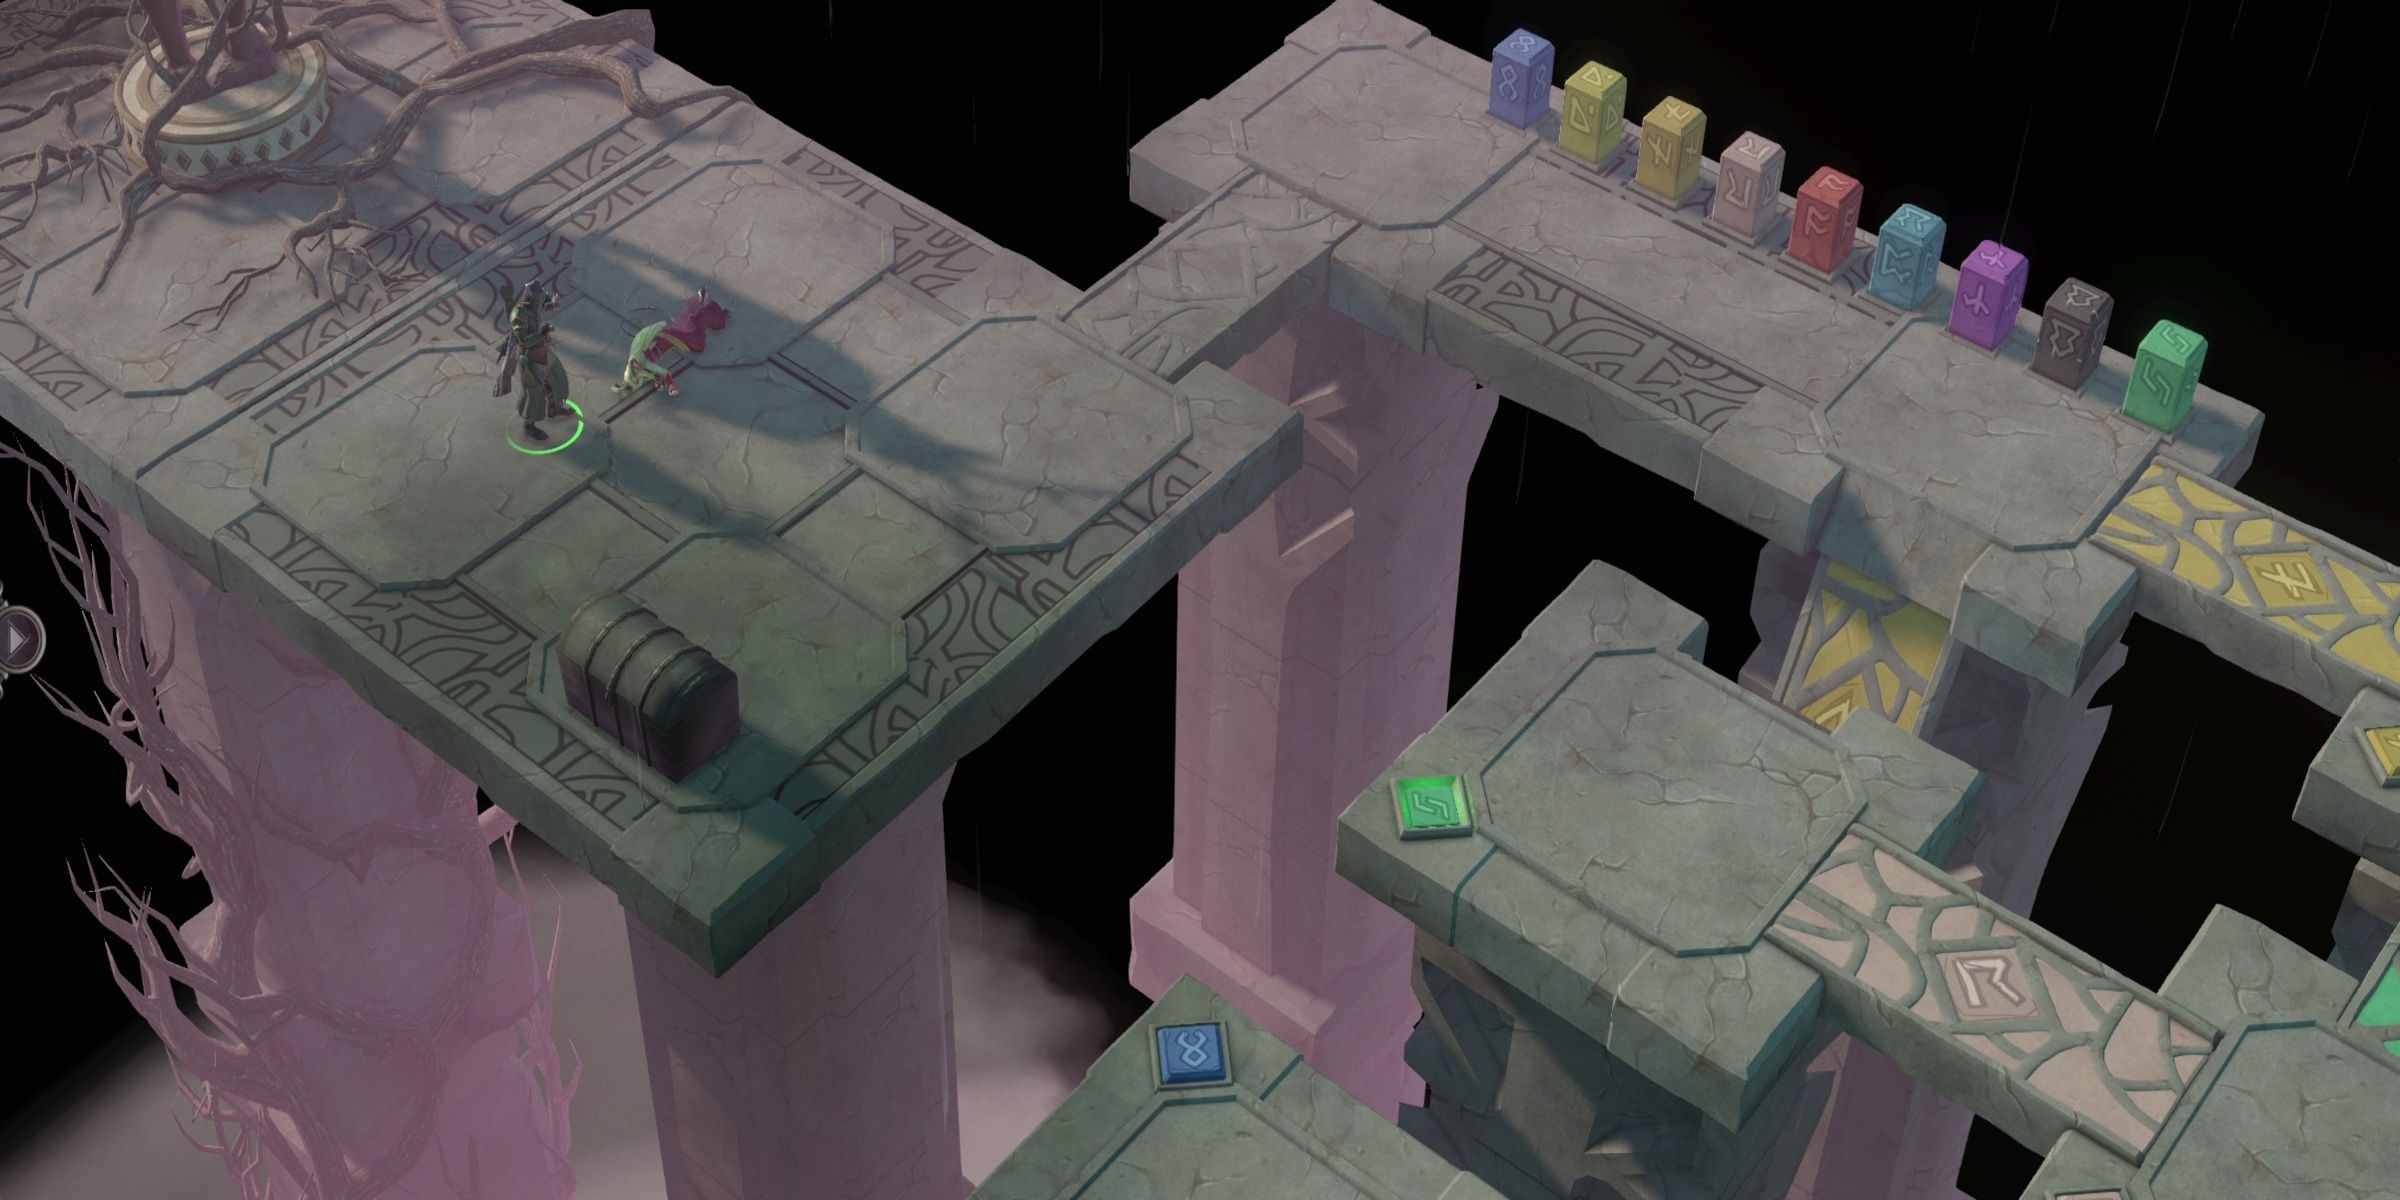
After heading down the ramp to discover the mysteries in the Shrine, colorful bridges lead the player from one platform to another.
Stone markers of various colors are apparent on the far bottom east side of the area. The final goal of the Pathfinder puzzle in the Sacred Lands is to have all the stone markers raised at the same time.
While getting the stone markers raised, there are two treasure chests to collect, with a third one upon completion. Getting the first chest is the easiest of the three, where the path is unimpeded by running over the light blue, black, red, and dark blue platform raised already.
Sacred Lands Puzzle: The Second Chest
Getting the second chest in Pathfinder: WotR's Sacred Lands is a bit more of a challenge. The buttons along the floor must get pushed to raise and lower colored platforms, creating a new path to travel.
- The first button to activate is the one back at the light blue bridge that looks dark blue, which raises the dark blue platform on the area's northeast corner.
- The next one is on the platform with two black, one red, and one blue buttons. On this platform, push the southmost black button and then the red button immediately afterward.
- Pressing those two buttons will open the pathway on the west to a single light blue button. Go along the black, red, and light blue paths and press the light blue button for the pink platform to fall next to it.
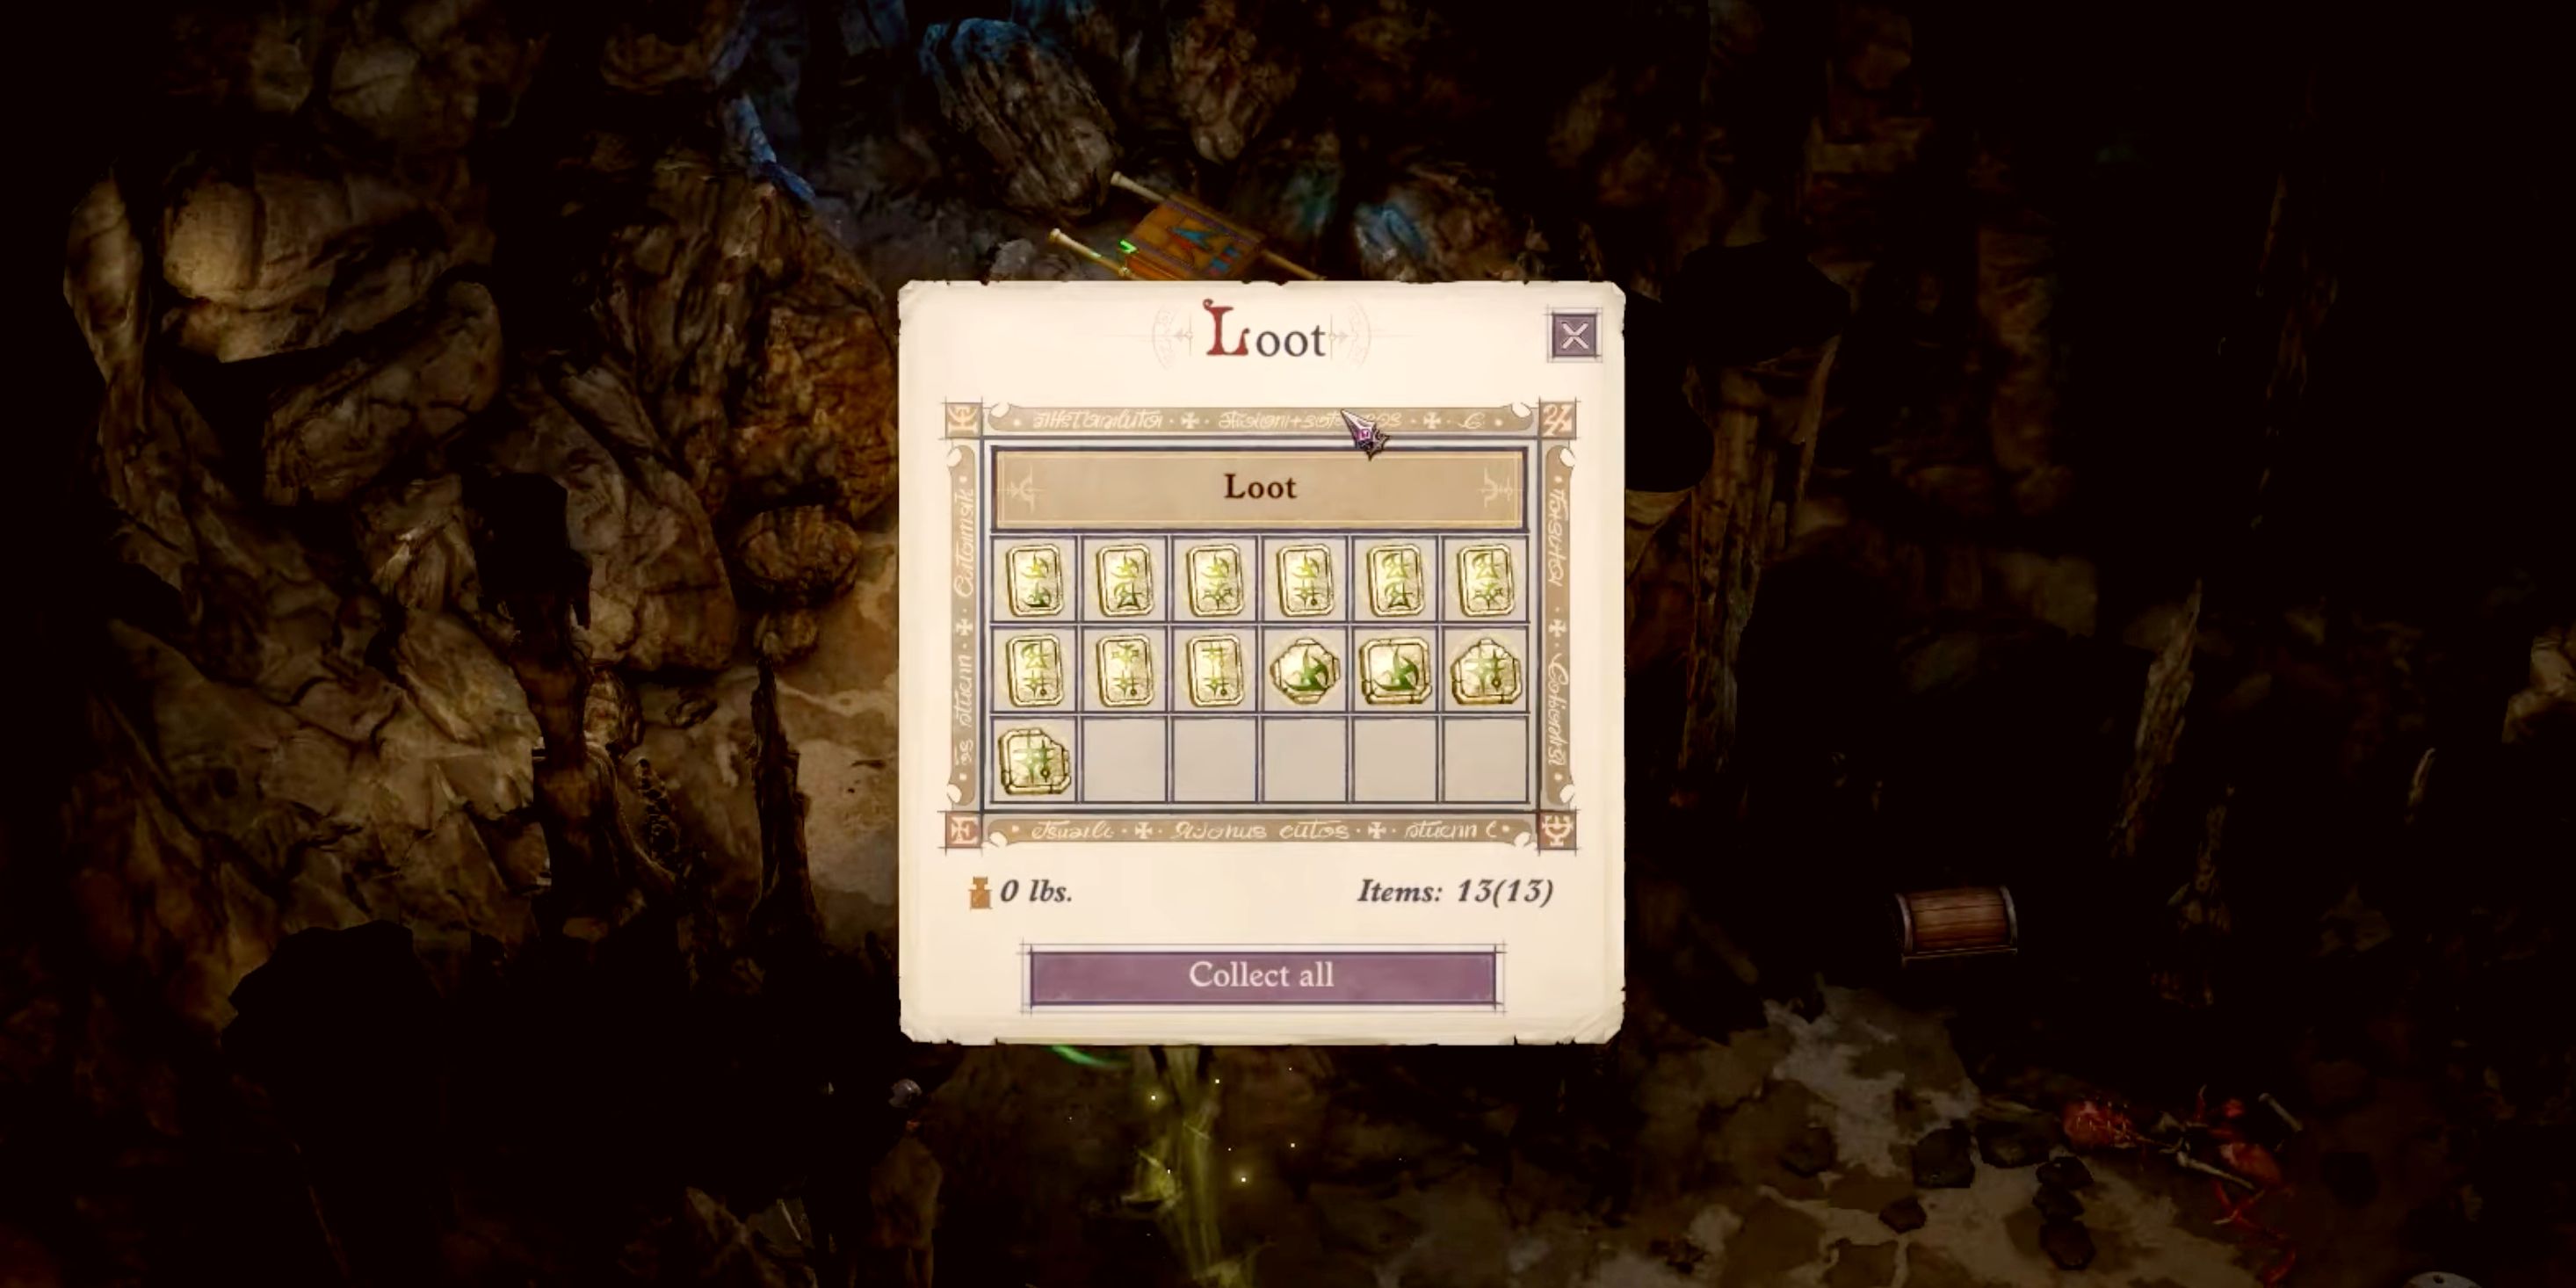
- On the same section, press the red button, creating a direct route to the second chest containing some Pathfinder summoning scrolls.
Sacred Lands Puzzle: The Final Chest
After getting the second chest, the focus of Pathfinder: Wrath of the Righteous' Sacred Lands Puzzle shifts to the stone markers and having them all up simultaneously:
- From the second chest, push the yellow button in the northeast corner, to the right of the purple button.
- Next, go over the light blue and green paths to a platform with a green and purple button, and push the purple one.
- Head back to the platform with the two black, red, and light blue buttons, and press the red button.
- The path opens up on the northwest corner, leading past a purple platform to a single yellow button. Press the yellow button to raise a yellow platform to the south.
- Go back over the light blue platform where the red and purple buttons are and press the red button.
- Now, go back to the platform to the east of the second chest and push the purple button.
- Go over the lone raised red platform and push the black button on the north side of the platform.
- Cross the black path and activate the pink button between the purple and yellow bridges.
- All paths should be clear for Pathfinder players to reach and press the green button on the east side of the map and the light blue button in the middle of the area.
The path to the final chest of the Sacred Lands rainbow bridge puzzle in WotR should be clear!


