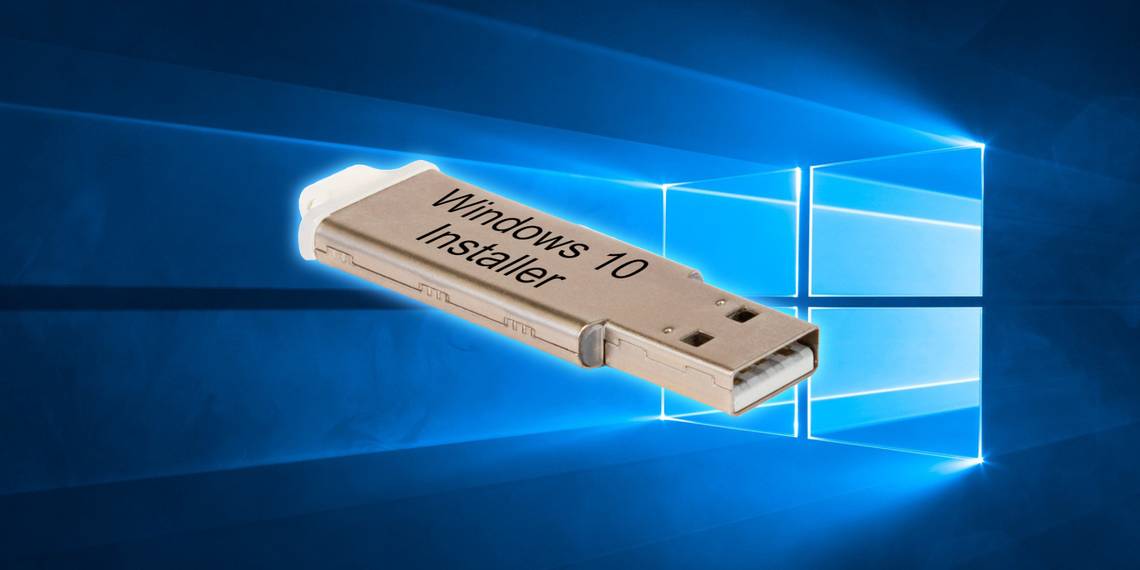
In order to install Windows 10 from a USB flash drive, a bootable installation drive must be created first. While a DVD installer is another option, it’s a good idea to have it in flash drive form, since DVDs are larger and require an optical drive. In the event a new computer is purchased that needs Windows 10 installed, a bootable portable drive with the Windows 10 installer will ease the pain. The installer is handy after a hard drive failure or virus infection, which requires reinstallation of the operating system.
Bootable is a technical term that means the computer can be started up using a USB drive. By default, only the startup drive or C drive is bootable. All other drives, internal and external are not bootable, instead being used mostly for storing data. The difference is that startup drives contain a hidden partition that contains code that initializes the computer and prepares it to run the operating system. It’s easy to create a bootable flash drive using Windows 10 Disk Management tool. Note that in order to add an installer, a Windows 10 ISO file or Windows Setup DVD is required, It is also recommended that the USB flash drive that has a capacity of at least 4-gigabytes.
Creating a bootable Windows 10 installation flash drive isn’t difficult, but does require several steps and may seem complicated for those new to formatting drives or working with Windows 10. The first step is to format the USB flash drive. This is accomplished by plugging it in to the computer, then opening Disk Management from the Start Menu. The USB drive should be shown in the drive list. Right-clicking it and choosing the ‘Format’ option, an option of file system will appear. FAT32 should be selected, which is required for bootable drives. After formatting is complete, right-clicking the USB drive again and choosing to ‘Mark Partition as Active’ will make the flash drive bootable. The next step is to copy the Windows installer to this drive.
Copying The Windows Installer & Installing
After the USB drive is formatted and bootable, the Windows 10 installer can be copied to the drive. A USB flash drive that is 4-gigabytes or larger is needed for this process to be as quick and easy as possible, though several smaller flash drives can be used if a larger capacity drive is not available. To copy the installer, use File Explorer to copy and paste all of the contents of the Windows 10 Setup DVD or ISO file to the USB drive. This may take several minutes depending on the computer and drives being used.
When the installer is copied, it’s a good idea to test that everything worked properly. This can be done by restarting the computer and holding the key that opens a boot-device selection menu. This varies from computer to computer, but it is usually the ‘Escape’, ‘F10’ or ‘F12’ key. When the boot menu appears, select the USB drive. If the computer starts up, which may take longer than usual, and shows the Windows 10 installer screen, the USB installer should work when needed. If there is a need to install on a new computer, it is just as easy to start up the new computer with the USB drive and proceed with Windows 10 installation. Simply follow the on screen instructions to install Windows.
Source: Windows