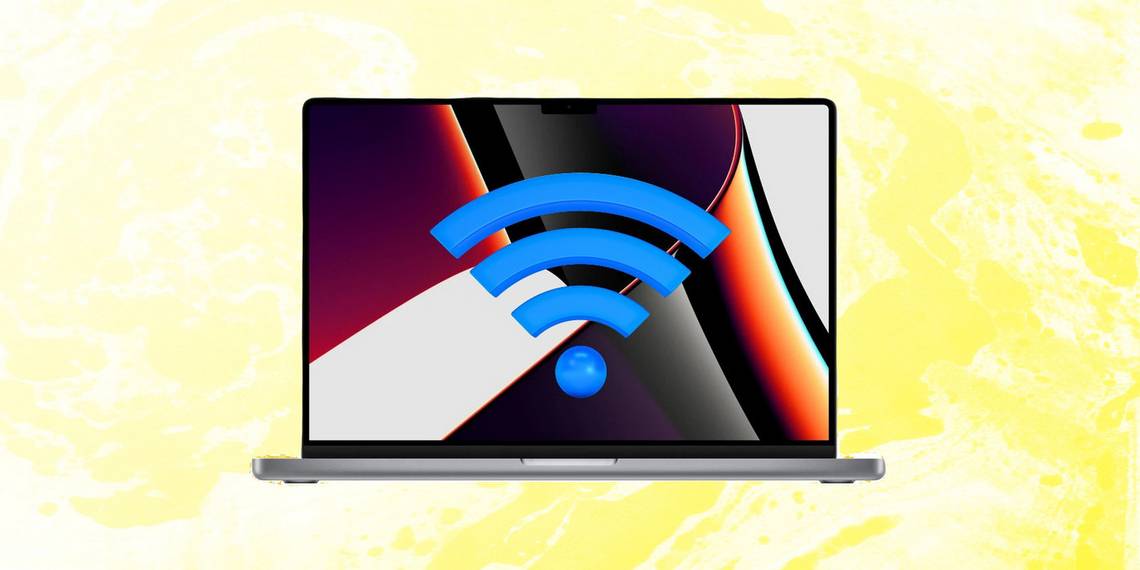
One of the first steps to troubleshoot a slow and unstable Wi-Fi connection is to check the network's signal strength, and Apple offers an easy way to do that on a Mac. Signal strength generally reduces with distance, which means the further away the transmitter (router) is from the receiver (computer, tablet, or smartphone), the weaker the signal will be. The signal quality also decreases if there's a thick barrier between the router and the receiving device. Ideally, they should be in the same room or on the same floor, especially in concrete houses. In large buildings, it is advisable to set up a Wi-Fi mesh system for improved connectivity.
Measuring Wi-Fi signal strength is pretty easy on both desktops and mobile, although it is the easiest on Macs. While Windows users need to download third-party apps to check the exact signal strength, Mac users can find out the RSSI (Received Signal Strength Indicator) of their Wi-Fi connection with just a single click. RSSI is measured in decibels per milliwatt (dBm) and is the most accurate measurement of signal strength.
Poor Wi-Fi signal can reduce speeds and increase latency, making the overall connection less reliable. On the other hand, a stronger Wi-Fi signal offers a more reliable connection, which enables users to access the internet at the fastest available speeds for that connection. As mentioned earlier, Wi-Fi signals depend on several factors, including the distance between the router and the computer, the thickness and density of the walls, and whether it’s a 2.4 or 5GHz connection. While 2.4GHz connections broadcast further, they are susceptible to interference, so the 5GHz band is generally a better bet for fast, low-latency, noise-free connection.
Higher RSSI Values Indicate Stronger Wi-Fi Signals

To check the Wi-Fi signal strength on a Mac, press and hold the 'Option' key while clicking on the Wi-Fi icon in the macOS menu bar at the top. The signal strength will be shown immediately alongside a host of other network-related information in a drop-down panel. Locate the 'RSSI' menu item on the panel and check the dBm value next to it to know the Wi-Fi signal strength of the active Wi-Fi network. It will be displayed as a negative integer. Do note that the Mac has to be connected to a Wi-Fi network for this method to work. It works with both traditional wired broadband connections as well as mobile hotspots.
An RSSI of around -30dBm offers top-quality Wi-Fi that has high speed and low latency. Any signal up to about -60dBm is good enough for everyday use, including VoIP, video streaming, etc. While signals around the -70dBm mark still allow users to perform basic tasks on the internet, like checking emails or surfing the web, anything on the wrong side of that can be patchy and may not offer reliable packet delivery. Networks with a signal strength of -80dBm and lower are essentially useless because of increased noise, which means users will be hard-pressed to use them for anything, even if they are somehow able to connect to them. People having issues with older, single-band routers can benefit by changing to the best Wi-Fi 6/6E routers that offer dual-band connectivity and super-fast Wi-Fi signals over longer distances.
Source: Apple