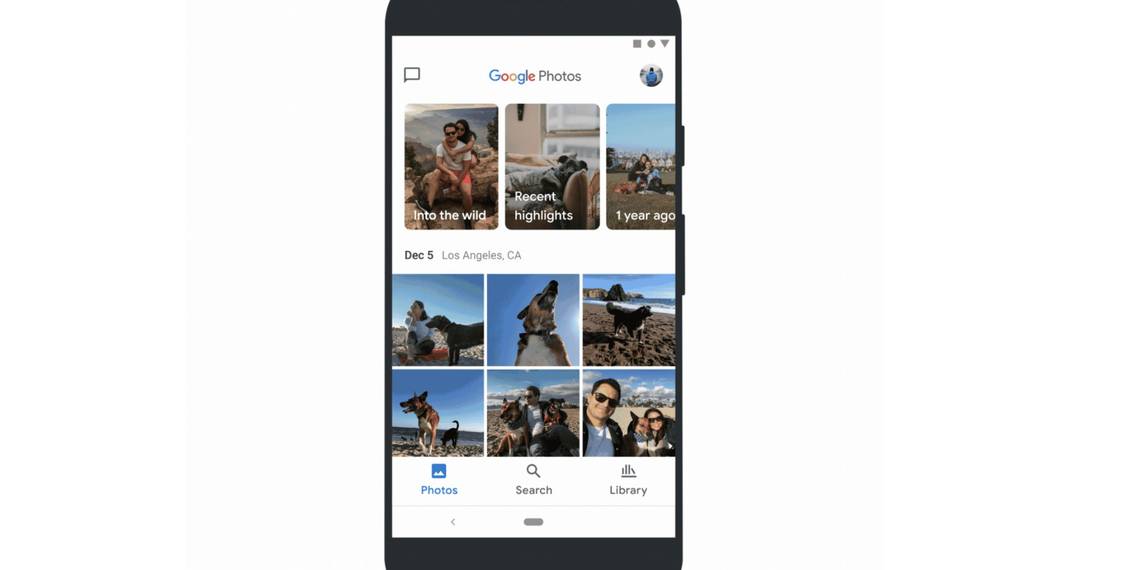
Google Photos is an excellent storage app for mobile photographers who like to document daily moments, but it's got limitations. The service no longer offers unlimited storage, so users will have to find ways to free up space manually to back up media content. People can tinker with settings to optimize how they use the app that works better while the device is hooked to a power source and stable Internet connection.
Some mobile phones automatically save photos and videos at the maximum resolution, but this yields larger file sizes. Unless users have a Google One account, anything backed up on Google Photos counts against the allotted 15GB worth of free storage. Those who don't plan to print large-scale images may want to switch to 'Storage Saver' mode for uploads. This reduces the original quality of images to 16 megapixels, enough to print photos up to 24 by 16 inches. In addition, videos will be resized to high-definition 1080p. Items stored in Storage Saver quality will still count against Google's allotted storage, but doing so will free up much-needed space for more files.
To switch upload size for photos and videos on the computer, go to photos.google.com/settings and choose 'Storage saver.' This ensures uploads going forward are stored at a slightly reduced quality, but items backed up through a Google Pixel phone or a Pixel 2 or 3 during the Original Quality offer period will not be affected. Users can use the Google Photos app for iPhone or Android phones to do the switch by signing in to their Google account and tapping on the account profile icon at the top-right corner of the screen. Choose 'Photo settings' then 'Back up & sync.' Next, select 'Upload size' and pick 'Storage saver.'
Compress Images and Remove Unnecessary Uploads On Google Photos

Users may want to regain storage space by compressing already backed up files down to Storage saver quality. This will affect every photo and video backed up and cannot be undone. As previously mentioned, files backed up through a Google Pixel phone or a Pixel 2 or 3 during the Original Quality offer period will not be affected. Additionally, this setting will not appear on the menu if there aren't any photos saved in Original Quality. Before starting, download any high-quality images and videos that need to be preserved in full resolution to the computer and re-upload them to Google Drive for safety. When done, go to photos.google.com/settings and click 'Recover storage.' Hit 'Compress' on the pop-up and be prepared for the process to take time to complete.
Cleaning up a Google Photos library by eliminating giant-sized photo and video files, screenshots, blurry images, and unsupported videos is a great option that frees up space on the app. While it may take a lot of effort and time to complete, it lets the user optimize their account without compromising the quality of their uploads. The 'Manage storage' tool—where people can review and delete these unnecessary uploads—is only one of Google Photos' many cool features. It will estimate how much storage is left based on how often a user backs up content to their Google account. On a computer, go to photos.google.com/quotamanagement. Under 'Review and delete,' tap each tab to preview and choose items that can be removed. Click on the checkmark next to a file to select it for deletion, or 'Select all' to select all files. If unsure, download items to the computer first before clicking 'Move to trash' on the top-right corner of the screen.
The same goes for getting rid of these unwanted files through the mobile app. Tap the account profile icon on the top-right corner of the screen, hit 'Photo settings,' then select 'Back up & sync.' To manage a Google Photos account, tap 'Manage storage.' Go through everything under 'Review and delete' by tapping on each file to preview. Choose 'Select' and highlight the radio button next to the files to delete, or 'Select all' to delete everything. Next, tap the trash icon and then 'Delete' on the pop-up. Once back to the Google Photos' Manage storage page, a message will appear showing how much space has been freed up by the recent deletion.