Romancing SaGa Re;univerSe has a huge cast of characters, bringing together heroes from across the franchise including games like Romancing SaGa, SaGa Frontier, and Unlimited SaGa. Even after building up your first team, you may want to rush out and complete the full storyline. However, enemies are ferociously powerful, and even with high levels and stats, your party may still falter without correct weapons and armor.
While some equipment can be bought with Aurum in the Daily and Weekly shops, it is typically way too overpriced to be affordable. Instead, story related Quests will have various free weapons, armor, and gear, shown under the Drop Rewards list. You can farm these stages to save money and wisely expend daily Stamina.
Gaining Weapons and Armor in Romancing SaGa Re;univerSe
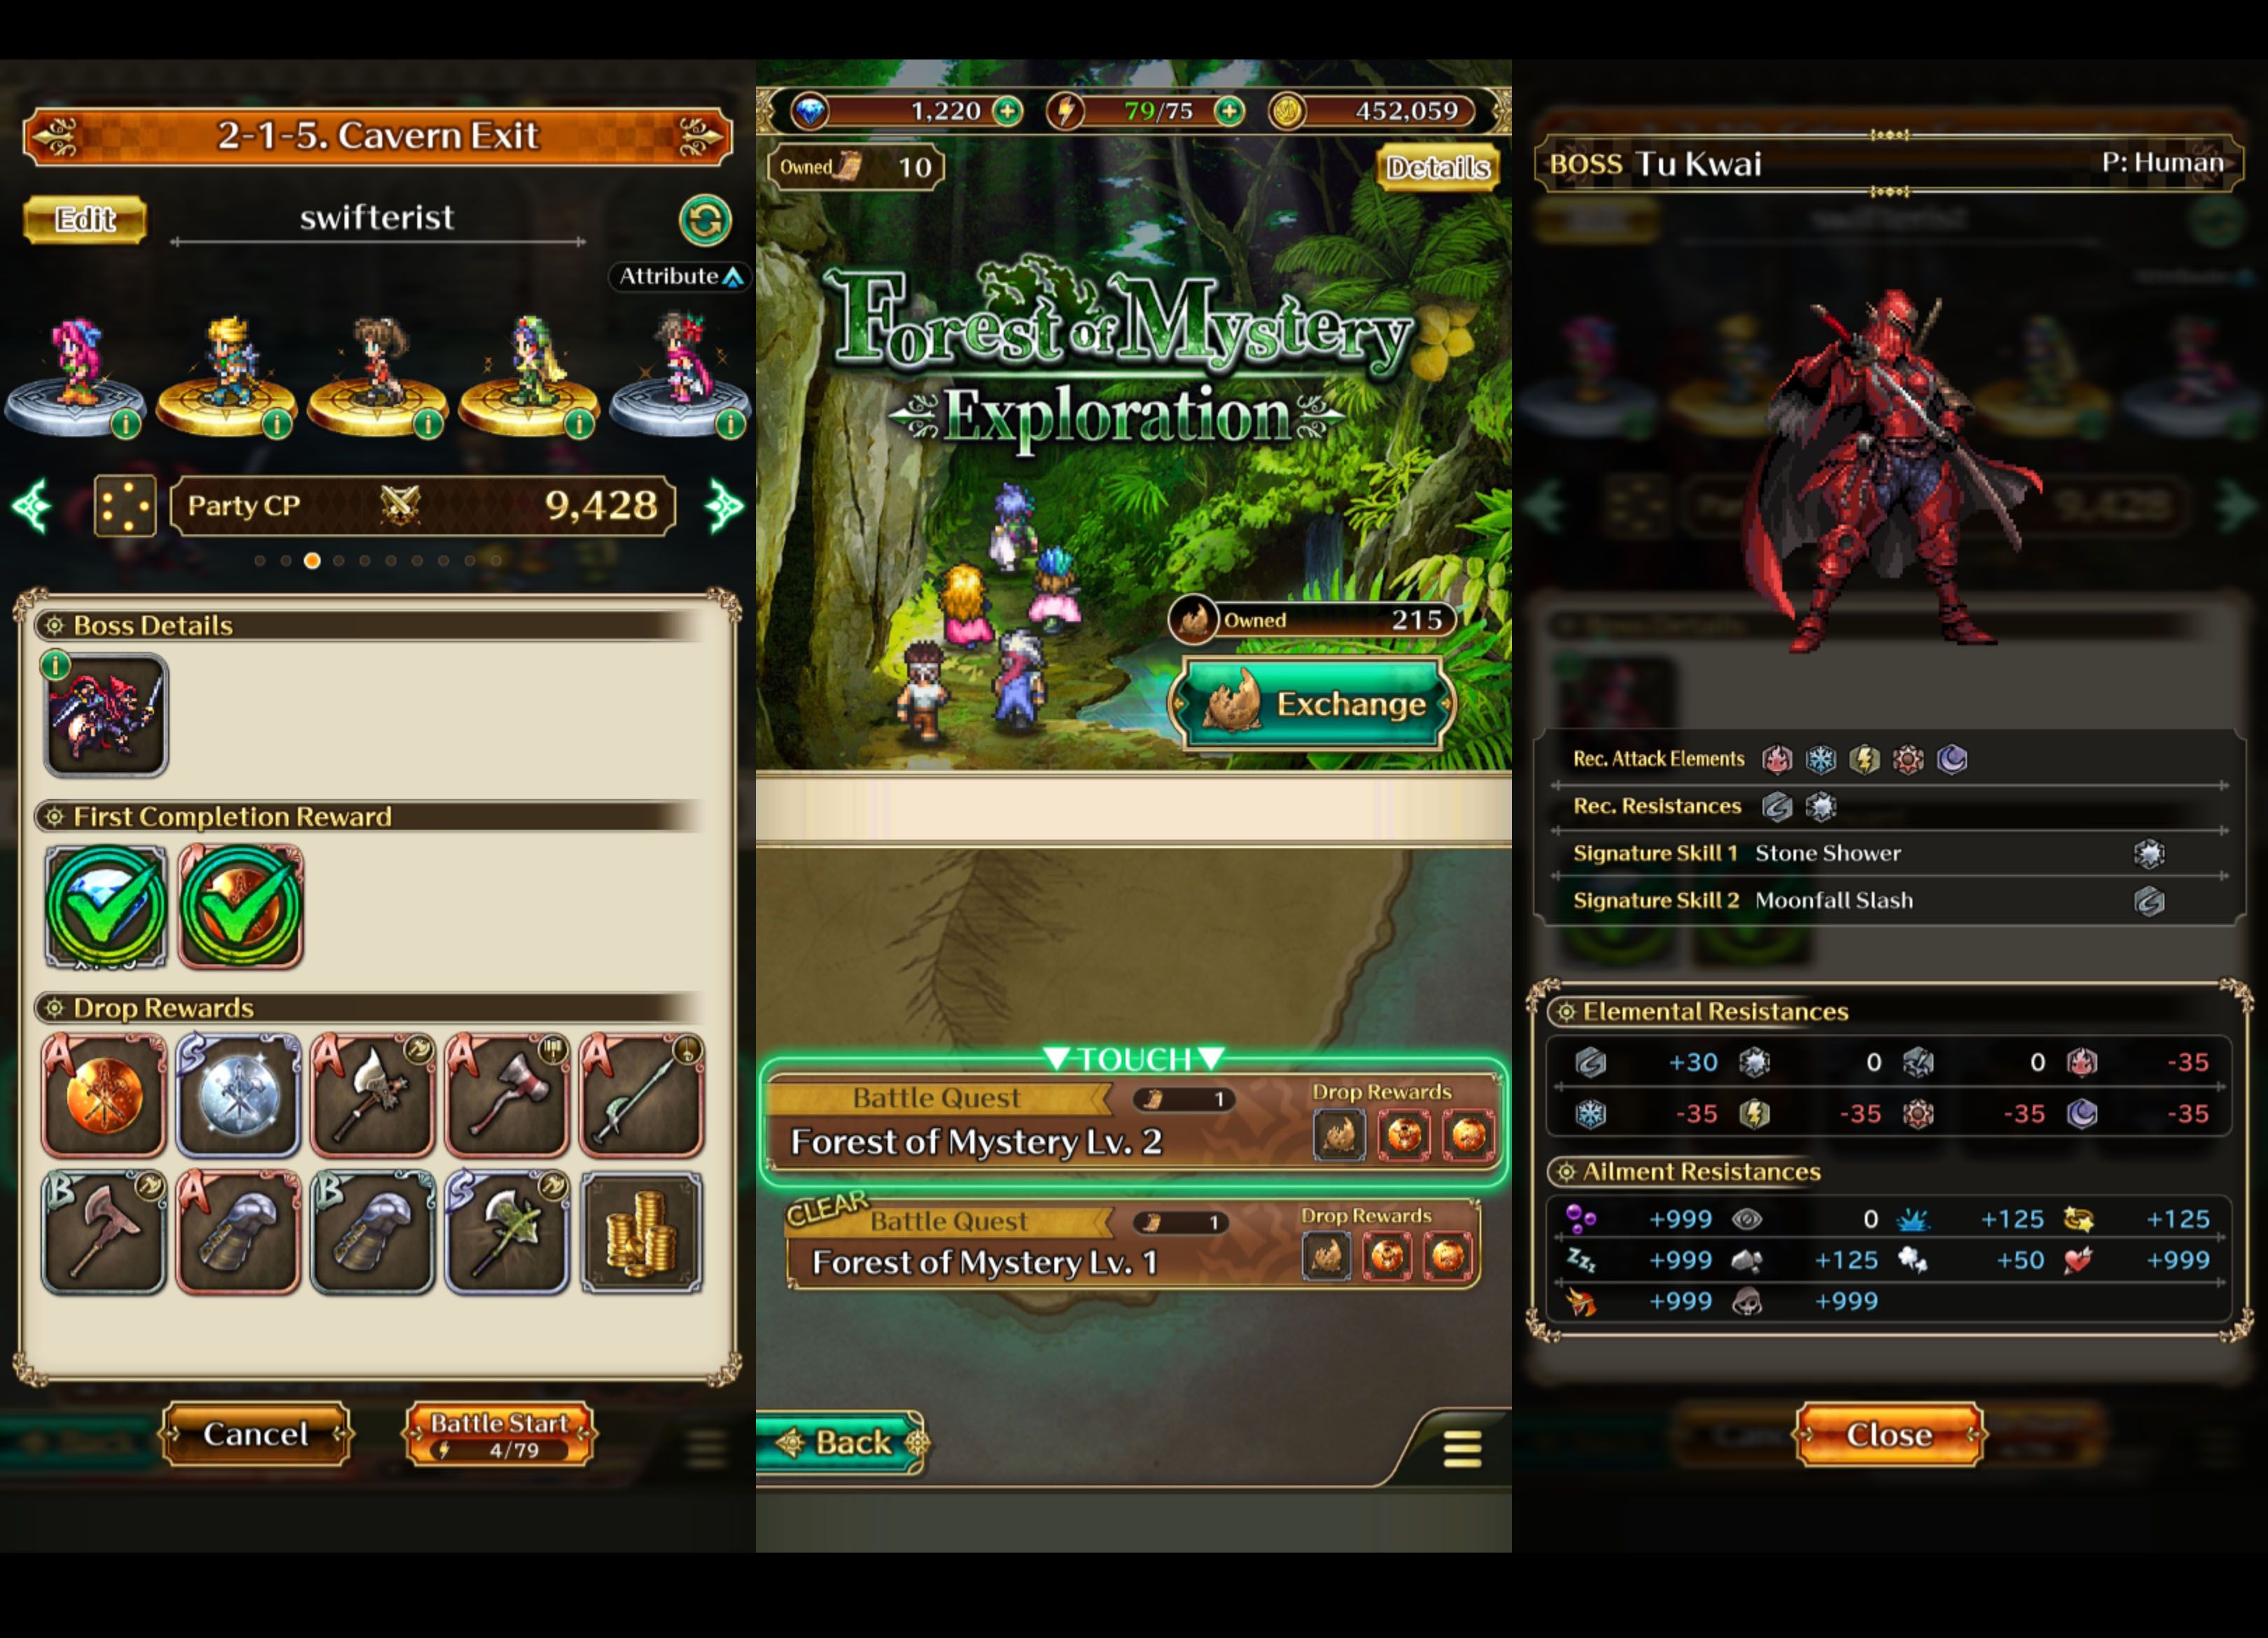
Only farm stages once your CP is high enough that you can guarantee to clear them using just the auto AI. If a boss fight is part of the third round, press the green exclamation mark to see that enemy’s strengths and weaknesses. Various skills are controlled by attributes, which most equipment will grant bonuses or penalties:
- STR: increases damage of Swords, Great Swords, Axes, Clubs, Martial Arts, and Spears.
- END: improves defense against skills.
- DEX: governs accuracy. Also increases the damage of Rapiers, Guns, and Bows.
- AGI: boost evasion and accuracy, as well as turn order. Makes Martial Arts stronger.
- INT: improves spell damage and accuracy. Also increases the chance of lowering the target’s attributes, resistance, or inflicting an ailment.
- WIL: controls spell defense. Also helps prevent attribute loss, lowered resistance, or gaining an ailment.
- LOV: improves how much you are healed by spells
- CHA: improves how much your own spells heal the target. Also increases the chance of inflicting ailments.
Weapons and Damage Types
Characters start with basic non-rank weapons. It would be a good idea to get a B rank weapon to replace these as soon as possible. However, don’t bother farming other weapons until reaching the first Quest of Very Hard Story mode, where S rank weapons have a good drop rate. These S ranks may also have random 3-4 bonuses in attributes or other stats. You will want to cover all damage types to exploit enemy weaknesses:
- Slash: the damage type on Swords, Great Swords, and Axes. Some spells also deal with this damage.
- Blunt: damage type on Clubs, Martial Arts, Guns, and Staves. Most “Earth” magic also deals Blunt damage.
- Pierce: damage type on Rapiers, Spears, and Bows.
- Heat: fire damage that is on many spells and staves. May also be a dual element on various weapon skills.
- Cold: water and ice damage that is on many spells and staves. May also be a dual element on various weapon skills.
- Lightning: electric damage that is on many spells and staves. May also be a dual element on various weapon skills.
- Sun: light damage that is on many spells and staves. Tends to inflict ailments and recover status.
- Shadow: dark damage that is on many spells and staves. Tends to inflict ailments.
Armor and Gear
While some B rank armor and gear can be picked up in Normal mode, it is best to wait until Hard to farm A rank equipment. After progressing far enough into the story, you will gain access to the Forest of Mystery challenge, which requires Exploration Tickets gained from Missions or as Presents (you can only hold a maximum of ten Tickets, so don’t let the game auto discard them when accepting rewards). This is one of the best means of getting S and SS rank armor. Because every character can wear any armor and gear, aim to get five full sets of each resistance type. The possible armor and gear include:
- Heavy Armor: likely to increase Slash and Blunt resistance by a large amount, and Piercing by a moderate amount. Tends to have an AGI penalty.
- Body Armor: likely to increase Slash and Piercing resistance by a large amount, and Blunt by a moderate amount. May have AGI or WIL penalties.
- Light Armor: likely to have good Blunt and Pierce resistance, and a fair amount of Slash resistance. Also likely to improve one elemental resistance or have an attribute boost.
- Robe: focuses on boosting Heat, Cold, and Lightning resistance. May boost INT or WIL, but also lower STR.
- Helmet: offers big Blunt resistance. May improve attributes like WIL or CHA.
- Gloves: gives more Slash resistance. May increase END or STR.
- Greaves: focuses on Pierce resistance. May increase AGI or DEX.
- Shirt: tends to improve Sun, Shadow, and other elemental resistances.
Accessories and Ailments
The accessory slot it is a mixed bag of functions. It would be best to avoid outright farming them, and simply accept whatever drops during Hard and Very Hard Quests. Some of them will increase attributes or resistance by a small amount. Others will also help to prevent an ailment by a small probability; note that unless you have 999 resist, you are not fully immune to these ailments:
- Poison: take damage at the end of the turn, based on maximum HP.
- Darkness: accuracy attacks and skills decreased.
- Stun: lose actions for one turn.
- Paralysis: cannot take any actions until it wears off.
- Sleep: cannot take any actions. Ends if attacked.
- Petrification: cannot take any actions, but wears off in the next round.
- Confusion: attack your allies or possibly take no action at all.
- Charm: attack your allies or possibly heal the enemy.
- Berserk: automatically attack the enemy only.
- Unconscious: instantly lose all HP and 1 LP. If all LP is lost, the character cannot be revived for the rest of the encounter.
Forging Weapons in Romancing SaGa Re;univerSe
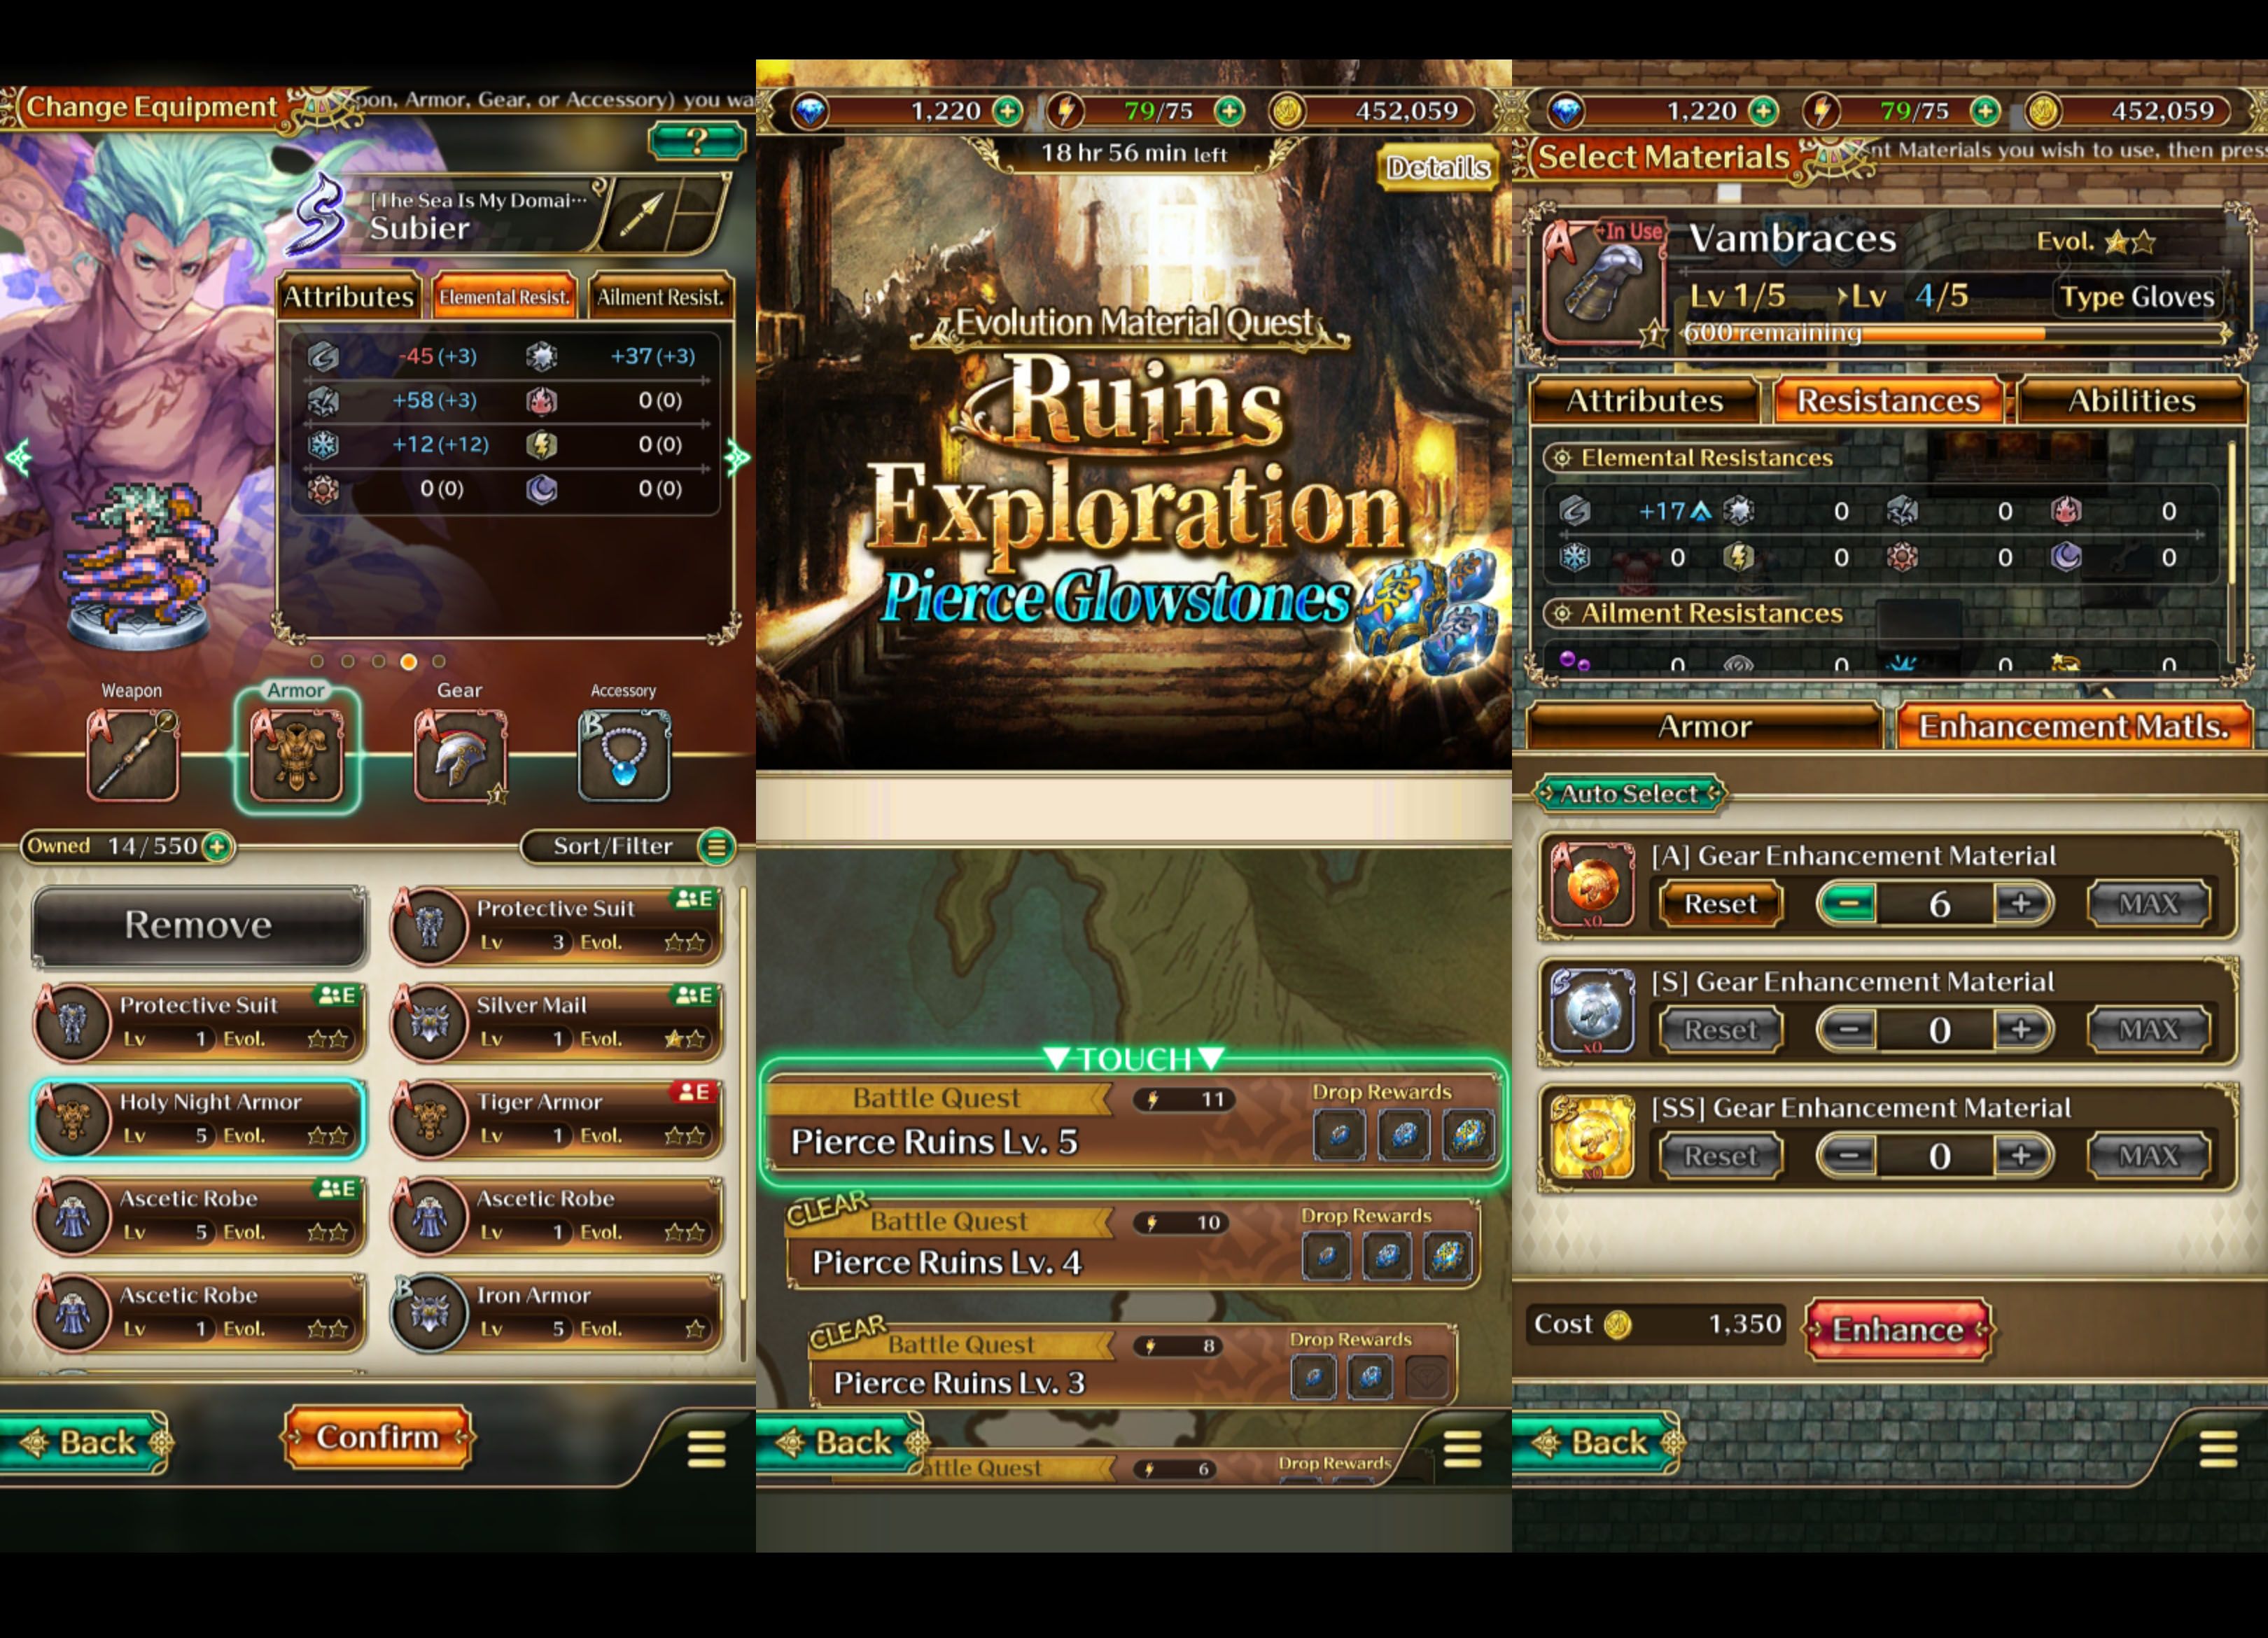
You can further improve equipment by visiting Nora’s Forge within the town. She will upgrade weapons, armor, and gear for Aurum along with the use of various materials; note that accessories cannot be upgraded. It is best to only improve S and SS rank equipment unless A rank is all you're able to acquire and are stuck on a particular Quest.
Enhance Equipment
The first stage of improving items is Enhancement. A piece of equipment can gain EXP by sacrificing an item of the same category (weapon/armor/gear). There is a +50% EXP bonus for using the same equipment type - like using a Sword to improve another Sword. However, doing this is not cost-effective, giving overall poor EXP and wasting tons of Aurum. You also don’t receive extra EXP for expending an already Enhanced/Evolved item.
Instead, first use Enhancement Materials, which are common drops from Exploration, Quests, and Missions. Ginny will also exchange them for drops in her shop. Sell that saved spare equipment directly to Nora for more Aurum.
When equipment levels it will improve some of its parameters, such as damage or defense. The max level or all equipment is 5.
Evolving Equipment
Once a piece of equipment reaches level 5, you can use Evolve. This will reduce its stats by a very slight amount and bring it back to level 1, allowing you to level it up again. This process can be done once with B ranks, twice with A ranks, thrice with S ranks, and four times with SS ranks.
To Evolve all equipment you will need Tri Glowstones, which always drop from the Ruins Exploration Daily Quest. You will also need specific Glowstones divided into Slash, Blunt, Pierce, Staff, Armor, and Gear. Only one of those aforementioned Ruins Exploration will be open a day (based on your server timezone). You can temporarily unlock additional Ruins Exploration types by spending Ruins Keys, which tend to be Mission rewards, sold in the Daily/Weekly Shop, or exchanged by Ginny. Glowstones themselves might also be sold in this manner, but often for inflated prices, making farming them a more lucrative option.
Each evolution step will require a greater amount and a higher grade of Glowstones. This includes A, S, and SS rank Glowstones. Nora will also offer to exchange low-rank materials into higher ones, often at a 10:1 rate. It is usually more efficient to farm yourself and only trade with Nora if you lack Ruins Keys or are conserving Stamina for other Quests.
It will take lots of grinding to outfit a full party, and even longer if you want to switch in many characters and Styles. But, over time you will have an impressive team that can crush any obstacle and survive deadly onslaughts.
Romancing SaGa Re;univerSe is available now on Apple iOS and Android.


