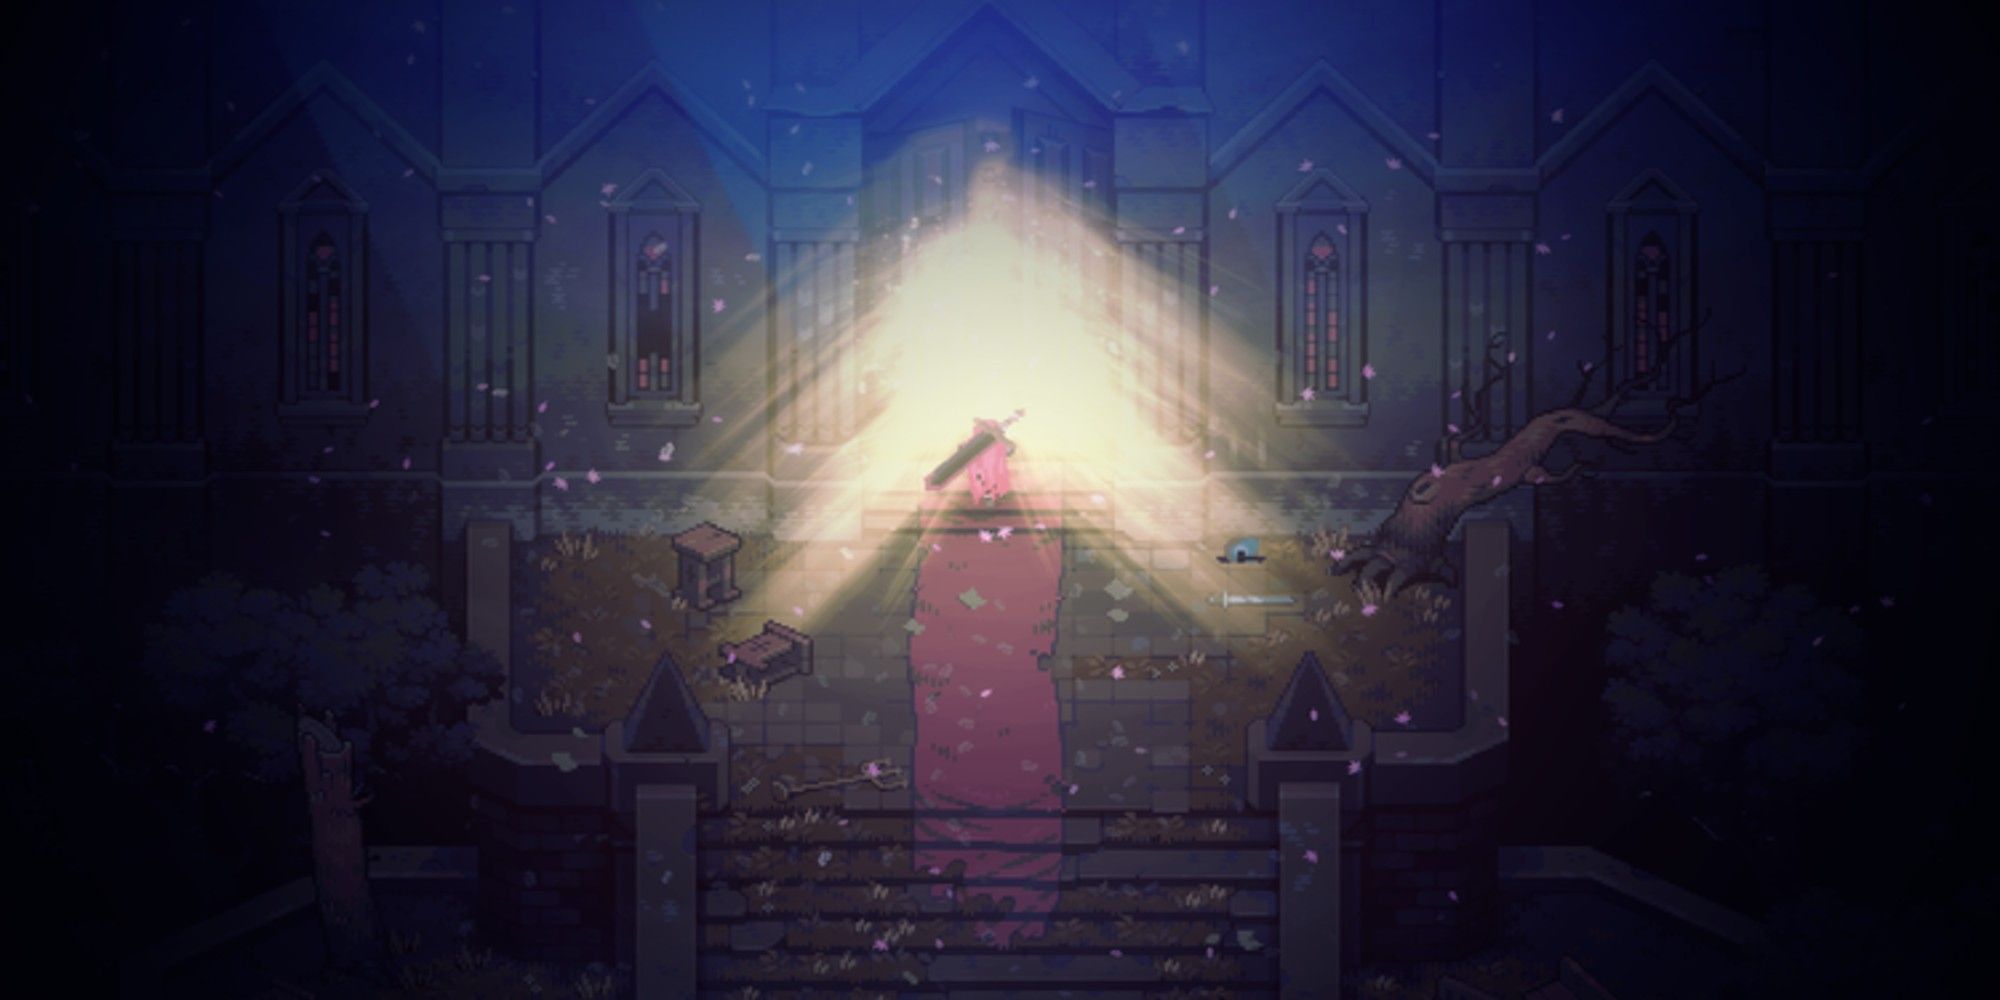
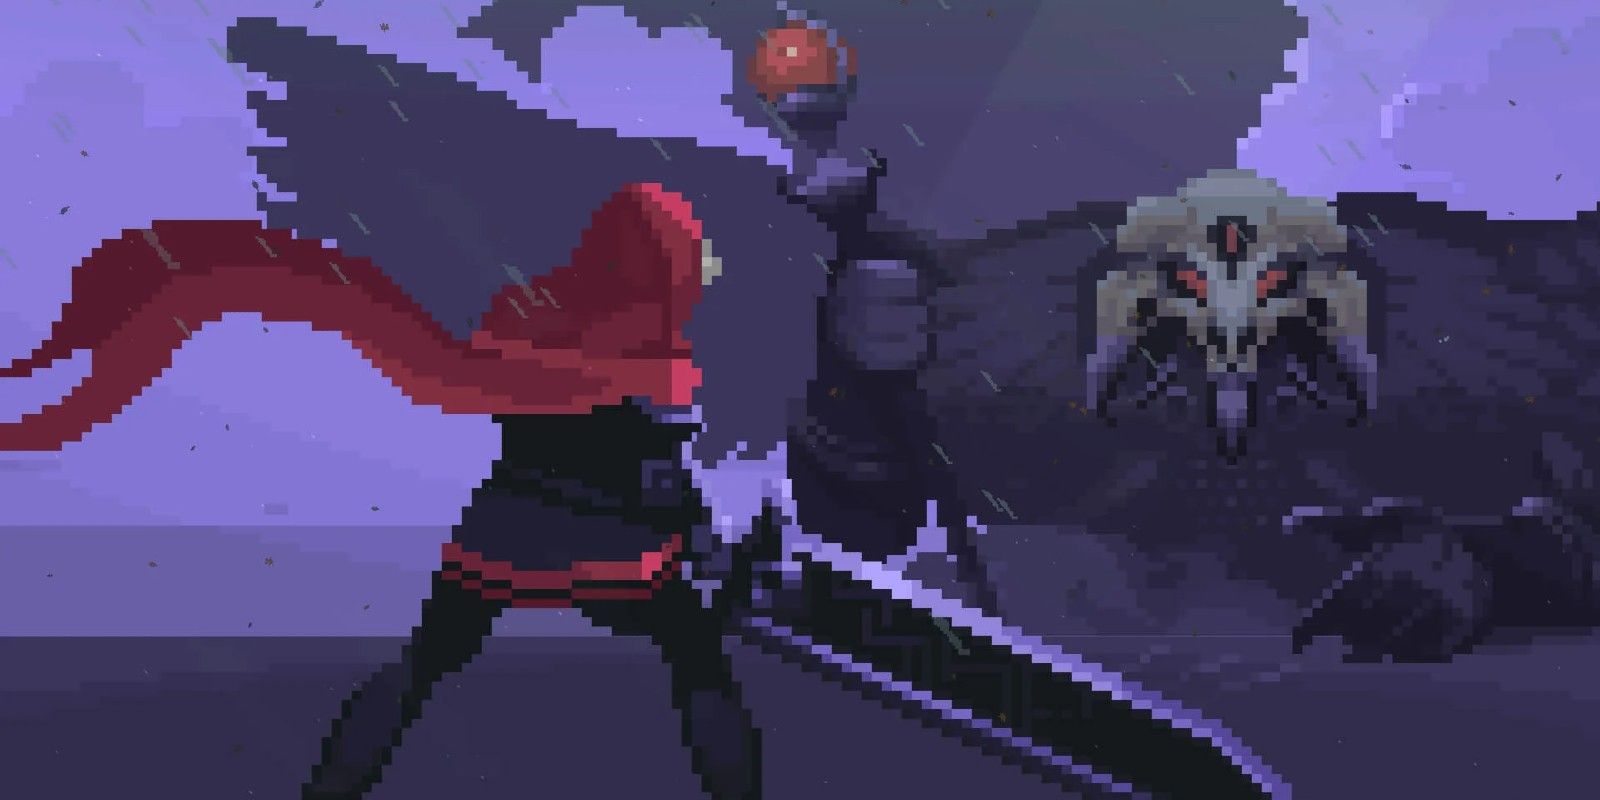
Eldest Souls is the latest in a long line of "Soulslike" games, featuring a top-down, eight-bit combat experience that should please fans of unforgiving combat. Each boss seems progressively more challenging than the last, even though there is no specific order in which they have to be fought beyond the starting few. It's a nice take on a familiar concept, and it's a unique experience because there are no weak enemy fights - Eldest Souls puts players right into challenging fights against bosses.
No boss-rush game is complete without a dark sorcerer, and in Eldest Souls, that role falls to Drakmur, the Nightmare. Players need to destroy moving platforms and mirrors in order to travel to his keep. Damaging black orbs filled with a dark aura randomly launch at the hero as they make their way to Drakmur, alluding to his attacks. Here's how to defeat Drakmur, the Nightmare in Eldest Souls.
How to Beat Drakmur, The Nightmare in Eldest Souls
The fight against Drakmur, The Nightmare is intimidating at first. He often spawns a multitude of black orbs that fly in every direction, making him one of the harder bosses to fight in Eldest Souls. To make matters worse, Drakmur will teleport shortly after being attacked and leave no trace of his presence for the hero to fight. He may reappear in the same spot, in the center of the platform, or with several clones of himself, all of which will summon their own hordes of orbs.
This fight is a lot to process all at once, but the real strength of Drakmur, The Nightmare doesn't come from any attack. Instead, Drakmur's combative strength draws upon illusion and confusion. His mobility and magic have no limits, but Drakmur is extremely vulnerable when he is standing still.
At the start of the fight, Drakmur casts a dark orb over the hero that follows them wherever they move. Shortly thereafter, the orb will stop moving and create a damaging pool. If timed correctly, players can execute a Charged Attack followed by a signature Eldest Souls Bloodburst Attack before the dark orb explodes and deals massive damage. After the Bloodburst attack, players should quickly move as far away from Drakmur as possible. Once the orb explodes, they can perform another Charged attack and Bloodburst attack to damage Drakmur.
After the second orb explodes Drakmur will most likely teleport and return with clones of himself. This isn't always consistent, but it's the worst possible thing to come after he teleports so it's best to be prepared. Much like The Guardian's snakes in Eldest Souls, these clones are just an extension of Drakmur's power. The safest place to engage each clone is in a circle around the outside of the arena. Players should keep moving, timing the gaps between orbs perfectly with a dash.
As the fight progresses, Drakmur will inevitably summon knights. Each knight is waiting for an opening to use their own charged attack, and proceed to disappear afterward regardless of whether they hit. They're easy to avoid, but several spawn at a time, so they can be overwhelming if left alone too long. Luckily, Drakmur is once again left open when summoning the knights. Like all boss fights in Eldest Souls, a well-timed Charged attack followed up by a Bloodburst attack will deal some heavy damage.
Lastly, Drakmur's most disorienting attack begins when he teleports to the middle of the platform. It's at this point in the fight that he will summon more dark orbs, this time with red auras. Touching one of these orbs teleports the hero to an alternate dimension filled with more dark orbs, knights, and crystals. Destroying all of the crystals will return the hero to Drakmur. Unlike the separate orbs during the boss fight with Eos, God of Unity, the crystals have a health pool separate from Drakmur's.
To defeat Drakmur, players should make sure the Windslide tree is selected. While it's true that Drakmur's fighting style does provide openings for player attacks, the dark orbs he summons are unlimited. The ability to deal small damage will chip away at the health bar, and selecting the Windslide tree and leveling up a few abilities will help players regenerate health lost during those stages of the fight. Letting Storm's Eye from the Windslide tree deal passive damage also allows for better dash management.
After defeating Drakmur, players receive a Shard that spawns a Singularity Orb. If this Shard is placed in the Active Shard slot, the Singularity Orb will deal damage over time. Additionally, the Shard can be placed in a different slot to create a copy of the hero and allow players to teleport between their current position and the copy's position, which is particularly useful when facing the final boss of Eldest Souls.
Eldest Souls can be played on PlayStation 4, PlayStation 5, Xbox One, Nintendo Switch, Xbox Series X, and PC.


