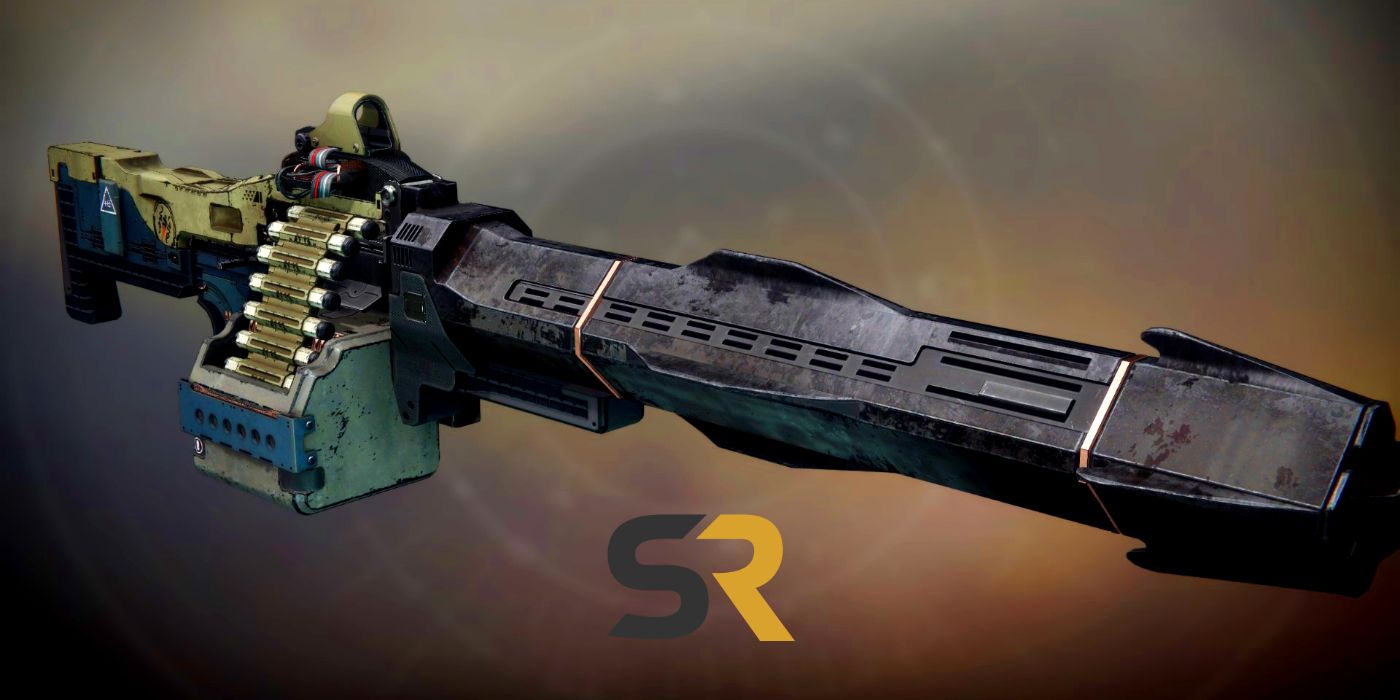
Eyes up, Guardian. Destiny 2 is well into its lifespan on PC and consoles, and patch 2.6.1 has provided players with a new Exotic weapon, the Xenophage machine gun. Instead of a speedy, bullet-spraying minigun, however, this is more of a heavy scout rifle which packs a powerful punch and deals bonus explosion radius that rips through clustered enemies with ease. Unfortunately, it does not crit by design, but can still wipe up enemies quickly should players need such deadly firepower. The patch also signaled the arrival of the Festival of the Lost Halloween event, changing the Tower into an extremely detailed spooky version of itself.
Adding to more of the horror theme is The Pit of Heresy, a brand new dungeon set deep below Destiny 2's Scarlet Keep. Players will puzzle the depths, face the horrors and sum up courage to make it through and come out alive. It's a lengthy and fun addition to Destiny 2's repertoire of 3-player challenges, and surely players will want to see through to the end. There are even three new weapons for these players to grind for: Blasphemer, a kinetic slug shotgun, Premonition, a pulse rifle, and Apostate, a sniper rifle, as well as an emblem reward at the end of the dungeon.
To start the Xenophage quest, we're heading to the Moon. If players haven't started the Pit of Heresy dungeon, the starting quest called The Deepening Wake can be picked up from Eris Morn in Sanctuary. It's required, as we'll need to go into the dungeon in the back half of this Destiny 2 Xenophage questline. Step 4, below, will detail more on this.
Step 1: The Enduring Abyss
Head to the Sorrow's Harbor on the Moon. Once players spawn in, use the Sparrow and go north to the large, crimson entrance where one would normally enter the Scarlet Keep strike. Ride inside and jump up the wall. Here players will want to head into the left door (not the right door, that leads into the strike area) and follow the left wall until they come to a new area with a title on the bottom left of the screen called "Enduring Abyss." Keep going, and once players pass a big, green, glowing light, look to the right and up for a cave which can be jumped into. Follow the cave and come to a room overlooking a giant pyramid.
What we're looking for are the statues lining the walls, 2 on each side. Our first puzzle is a very easy one: they all need to be lit at the same time. Standing in the doorway facing the pyramid, we'll be moving counter-clockwise, activating each one in turn. So, we will first activate the back right one, then front right, cross over to the other side for front left, and finally back left. Once all statues are lit, a chest will appear. Open it for the next quest step, Emergence. Reading the quest text will give observant players a clue as to where to go next. In this case, it's Anchor's Light.
Step 2: The Path of Lights
Now that we're in Anchor's Light, players will want to head to the large tower on the left side. Once arrived, players should go past the ramp and go along the side of the building until they see an entrance. Go inside and to the back of the room to discover a large structure with a ball of fire inside. Now, this step is going to be a lot of running around with this ball and activating red plates on the ground. The first of these plates is in this room against the wall. When the first plate is activated, you'll gain a timed buff called Torch Bearer. Players will have 1 minute between plates to get the light transferred, but there's plenty of time to reach each plate so don't worry.
Below is a video courtesy of GamesRadar which illustrates the best path to traverse, since the plates are spread out pretty far. The final plate is on the very top of the round building. Once it's lit, the last spot to reach will be revealed in the form of a quest marker. Follow it to complete the step. Next up is Pathfinder.
https://thumbs.gfycat.com/CircularForkedDrever-mobile.mp4
Step 3: Solving The Moon's Puzzles
This part of the quest requires the player to go into all four of the Moon's Lost Sectors and clear them of all enemies, including the bosses. The Sectors should be completed like one normally would, but at the very end the player needs to go to where the alternate exits routes have opened. Within these will be some puzzle symbols on the wall, arranged in a 3x3 square. The goal is to shoot the symbols once in the correct order to make them all match the solution at the top of the grid, which will reward them with part of a map. It's easiest to do this use a Handcannon. For the sake of the player's sanity, we've included the proper order in which to do this below.
Archer's Line: Top Left, Bottom Left, Middle, Middle Right
Anchor of Light: Bottom Left, Bottom Right, Top Middle (x2)
Hellmouth: Top Right, Middle Left, Middle, Bottom Middle, Bottom Right (x2), Bottom Middle (x2)
Sorrow's Harbor: Middle Left, Middle (x2), Middle Left, Middle Top, Middle Bottom, Middle, Middle Right
Once the player has acquired all 4 pieces of the map, they'll be awarded with Descent, the next portion of the quest. It's time to go into the Pit of Heresy.
Step 4: Keep Away From The Ogre
For our next step, players will need Destiny 2's Pit of Heresy unlocked. To do this, grab the quest from Eris and go to Sorrow's Harbor. There's an ongoing event called "Altars of Sorrow" which players need to complete and get the chest from. This is easily done with more people, so if there aren't many players on the server it's recommended to keep fast traveling to Sorrow's Harbor until the player finds a large enough group. Once that's finished and the dungeon is unlocked, go inside and clear all the way up until the players are in front of a massive wall of doors. There is one door that does not have a medallion hanging above it, which should be to the left, one section up and three down. One person on the fireteam needs to jump up to the door and find the glowing rune inside. Activate it and the next step, Discovery, is revealed.
Proceed further into the dungeon by finding an open dark slot in the wall at the bottom of the wall of doors. Go inside and press on, coming into the second part of the quest. Follow it down and the player should come upon a long, maze-like section. Joining in the fun are a few Harrowing Ogres, which are invulnerable. As the fireteam enters (indicated when the screen starts shaking and a roar is heard) the player will want to stay to the left until they come across a massive chasm with a ledge they can drop down onto. Do so (minding the Ogre) and go to the edge of the ledge. Look for a plate with some cryptic Hive writing on it. Activate this, and three platforms across the chasm will rise up.
Use these platforms to jump to the last platform with another of those structures containing a light ball. Grab the ball and hop back over. Sometimes the Ogre will see this movement and start shooting, but don't panic and just keep jumping back to safety under the overhang. When the player gets back onto the main path, stay to the right. Players are headed for a door which has some bright Hive writing by the side of it. The objective here is to get to the door with two balls, one for each plate beside the door. Once you reach the door, place the orb, and when the door is opened it will give the next step of the quest, the Destiny 2 secret boss Volmar, the Tempted.
Step 5: Defeat Volmar, the Tempted
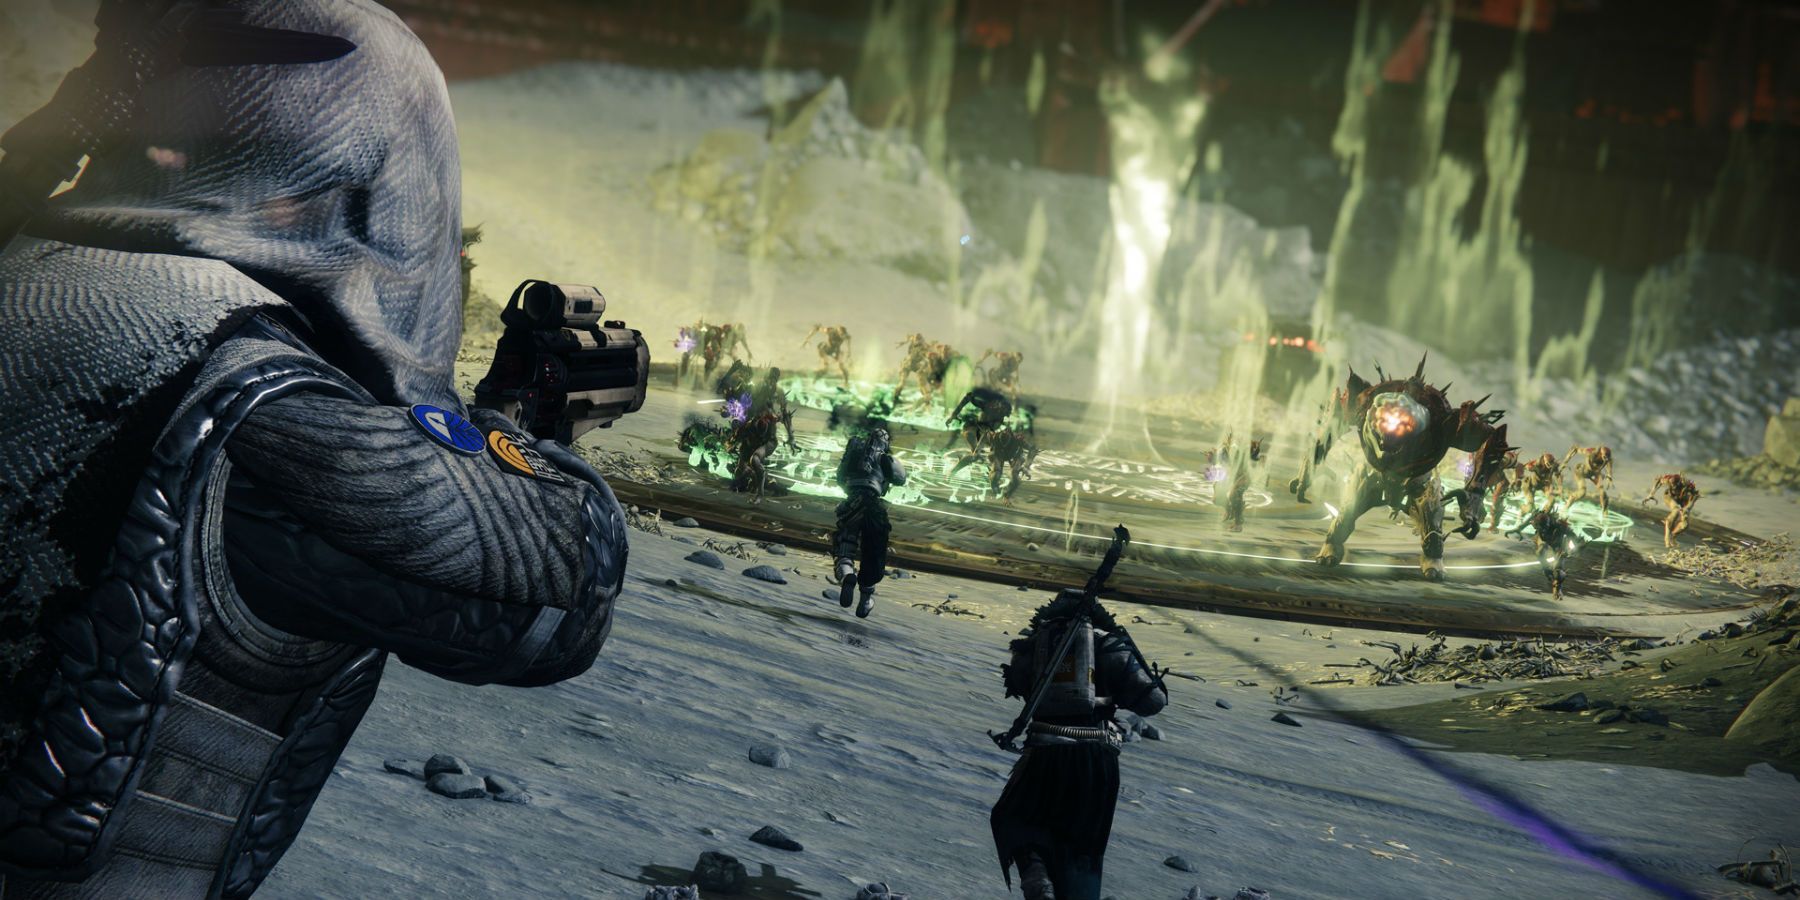
It's time for a boss fight. Players must make their way through the twisty, dark halls to the end where there is a room full of guarding Thralls, with the boss beyond them. He will be immune to damage until players satisfy some conditions. Once the fight is underway, players will notice obtaining a buff, one of four Dreads: Thunderous, Fiery, Abyssal or Neutral. As players enter the first room, they'll see there are colored, glowing nodes in each corner which correspond to the 4 elements, Arc to blue, Solar to red, Void to purple, and Normal to white. Players should take note of which one they are afflicted with according to the buff, and then go to the boss room.
This room will fill with Thralls, with the boss hovering around the middle. In the middle is a ball, and around the arena are 4 of the same plates from the previous room. The mission is to get that ball in the middle and dunk it in whichever plate that corresponds to the element the player has in the bottom left of their screen. They are in specific spots, and there is a lower area as well. Here's a handy guide to each of them, when standing in the door to the boss arena:
Abyssal Dread (Void): Front left corner, upper level
Thunderous Dread (Arc): Back left corner, lower level
Fiery Dread (Solar): Front right corner, lower level
Neutral Dread (Normal): Back right corner, upper level
Once the orb is dunked in the correct spot, a timed buff pops up which allows damage to the boss but only with the element the player is afflicted with, and only for 30 seconds, after which the process will repeat. If the ball is placed in the wrong spot, a debuff will appear called "Path Unclear" and you'll have to try again. Keep doing this until the boss is dead, and players will get the last quest step, Finality. Note that the dungeon does not need to be completed, so just back out and return to Eris to receive Destiny 2's Xenophage. Congratulations!
Source: GamesRadar

