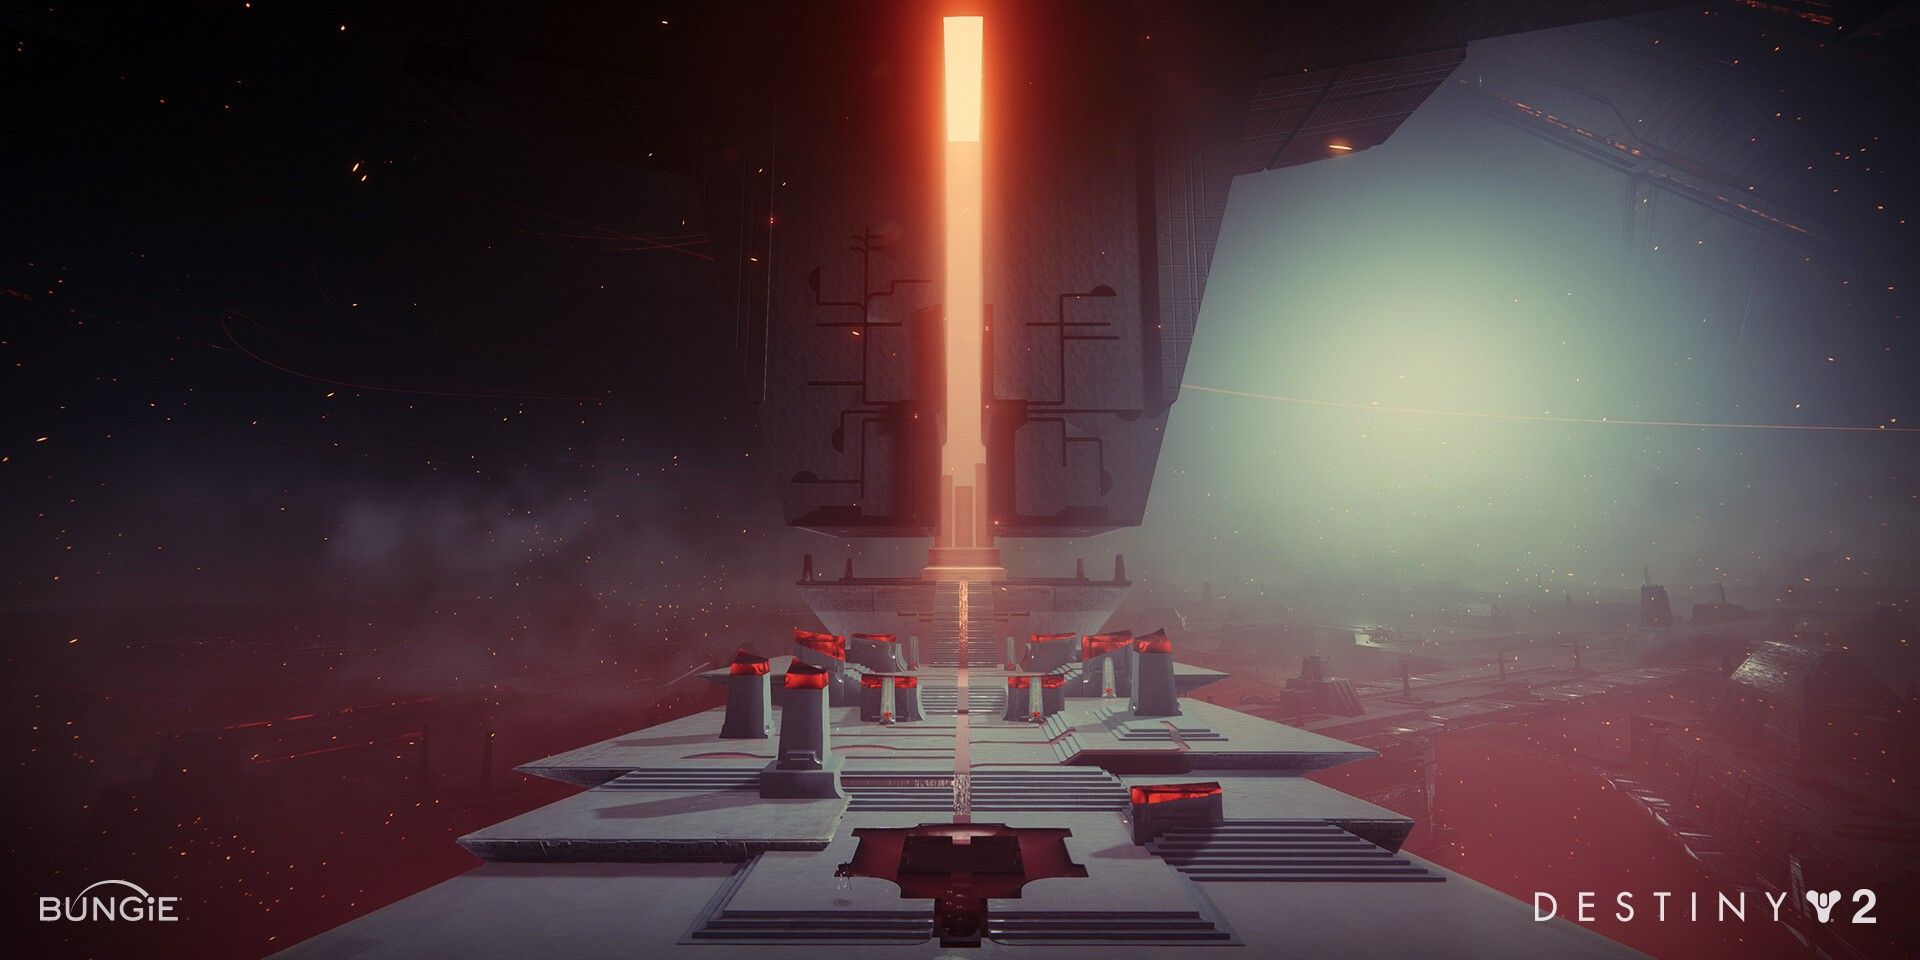
Rhulk is the final boss in the Vow of the Disciple Raid in Destiny 2, and this fight is also the last encounter that the fireteam will have to complete in order to beat the Raid. Before players are able to damage Rhulk, they'll have to complete two phases that involve the symbols present throughout the Vow of the Disciple. Fortunately, the mechanics for this fight aren't actually as complex as they appear to be. Instead, the main threat is Rhulk himself and the massive amount of damage he can deal to the fireteam.
While the Gjallarhorn Rocket Launcher with its Catalyst is perfect for the damage phase against Rhulk, only one teammate needs to use it in order for the rest of the fireteam to gain the Wolfpack Rounds for their Rocket Launchers. Four of the remaining Guardians should ideally be using the Izanagi's Burden Exotic Sniper Rifle, a Rocket Launcher with the Auto-Loading Holster perk, and whichever primary weapon they see fit. Alternatively, those who don't have Izanagi's Burden can use another Sniper Rifle and substitute their Rocket Launcher for Sleeper Stimulant, or just outright use Gjallarhorn as well. The final Guardian should have Divinity equipped since Rhulk is constantly moving during the damage phase and will easily knock the fireteam outside of a Well of Radiance, forcing the team to constantly be moving as well.
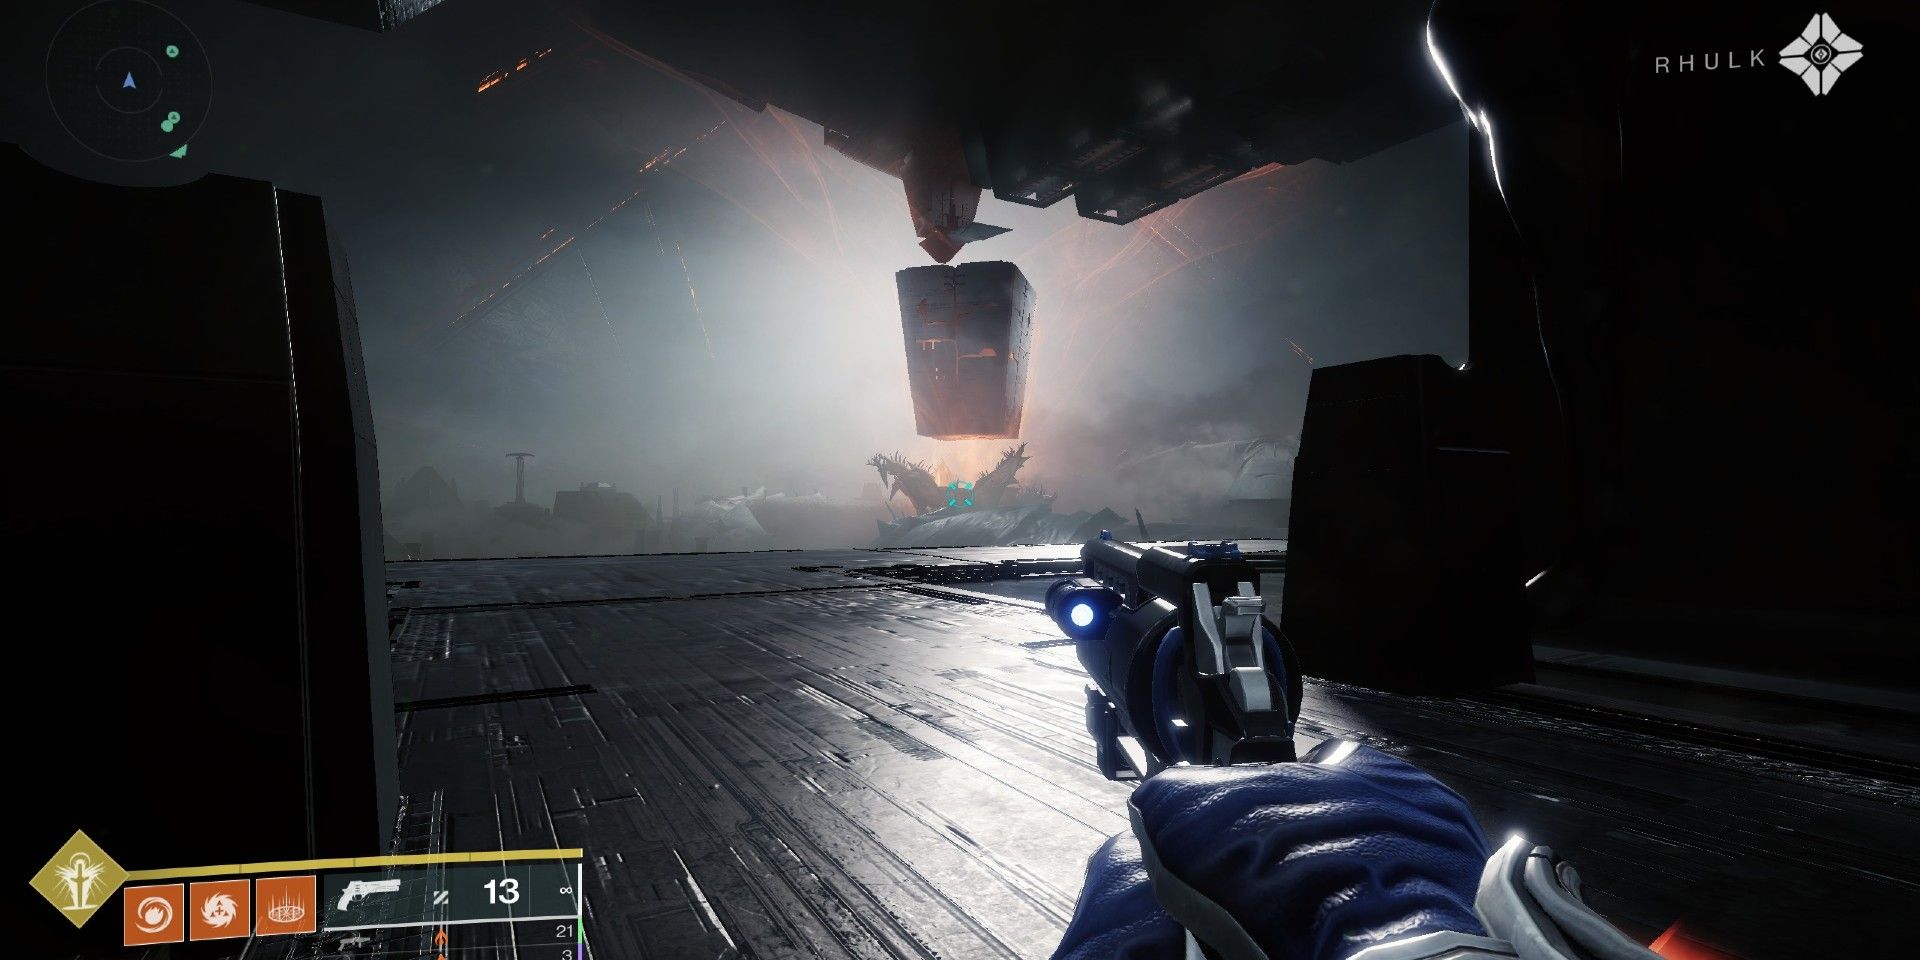
Similar to the Caretaker encounter in Vow of the Disciple, the fireteam will need to be split up into two teams to manage everything occurring through each phase, although the whole group will remain in the same location. This time, however, the fireteam will have three Guardians designated to crowd control while the other three teammates prioritize handling the buffs and debuffs from Rhulk. To begin the encounter, shoot Rhulk as he hovers over the staircase.
Rhulk, Disciple Of The Witness Phase One
As soon as the encounter begins, one teammate needs to shoot the pyramid shard above Rhulk to gain the Leeching Force debuff. The fireteam then has 44 seconds to kill the newly spawned enemies, including the Glyphkeepers. Any weapon in Destiny 2 that uses primary ammo should be used here so that the Special and Heavy Ammo weapons can be saved for Rhulk's damage phase. Once the Glyphkeepers are dead, the teammate with the Leeching Force debuff needs to step onto the central plate. Two more pyramid shards will spawn above Rhulk, and two more teammates need to destroy them so that each of them has the Leeching Force debuff. Shooting these new shards will remove Leeching Force from the original teammate.
Next, one of the two new Guardians that have Leeching Force will need to jump into the energy beam that Rhulk fire to transform the debuff into Emanating Force. The Guardians with Leeching Force or Emanating Force can see the set of symbols revealed by defeating the Taken Glyphkeeper, much like how the Artifact holders could see the symbols revealed during the Exhibition encounter earlier in the Raid. The other set of symbols revealed by defeating the Scorn Glyphkeeper can be seen by Guardians without either effect. Just like the previous encounter, whichever symbol matches is the symbol that the Emanating Force player needs to know the location of from one of the six small pillars in the arena.
One Guardian without either effect needs to tell the Emanating Force player to head to the pillar that matches the symbol. That Guardian can then deposit the debuff, but they immediately have to get ready to gain Leeching Force once more. As soon as the Emanating Force is deposited, the second player with Leeching Force needs to stand on the central plate again two spawn the pyramid shards once more. The first player who had Leeching Force needs to shoot one shard while the player that just had Emanating Force needs to shoot the other. Using a Sniper Rifle in Destiny 2 will allow players to one-shot the shards, making it easier to transfer the Leeching Force debuff instantly.
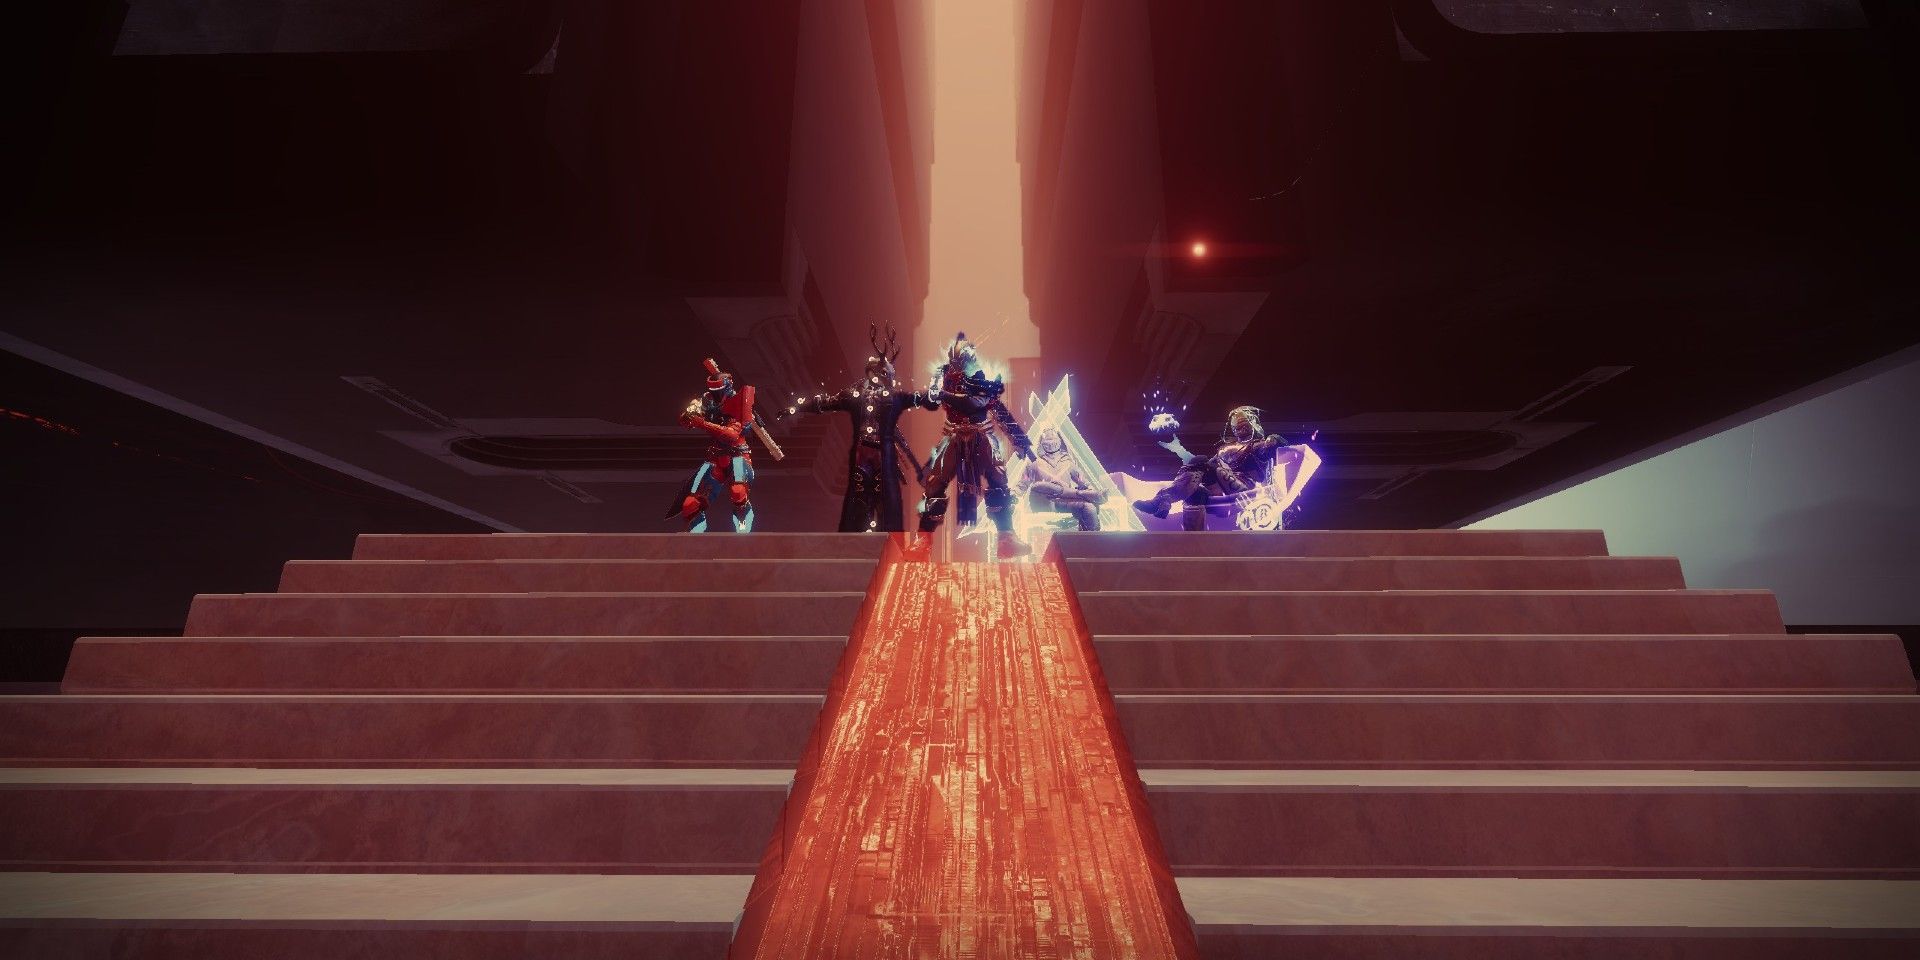
These steps repeat themselves as six Emanating Force debuffs need to be deposited. The first four should be deposited one by one, but the final two can be deposited at the same time. If the Leeching Force debuff is lost at any time, Rhulk will return to his original starting point to spawn another central pyramid shard. If Leeching Force is lost once more then the team will instantly wipe, forcing the encounter to begin again. Once six Emanating Force debuffs have been deposited, the fireteam will head up the stairs to begin the next phase of this encounter in the Vow of the Disciple Raid.
Rhulk, Disciple Of The Witness Phase Two
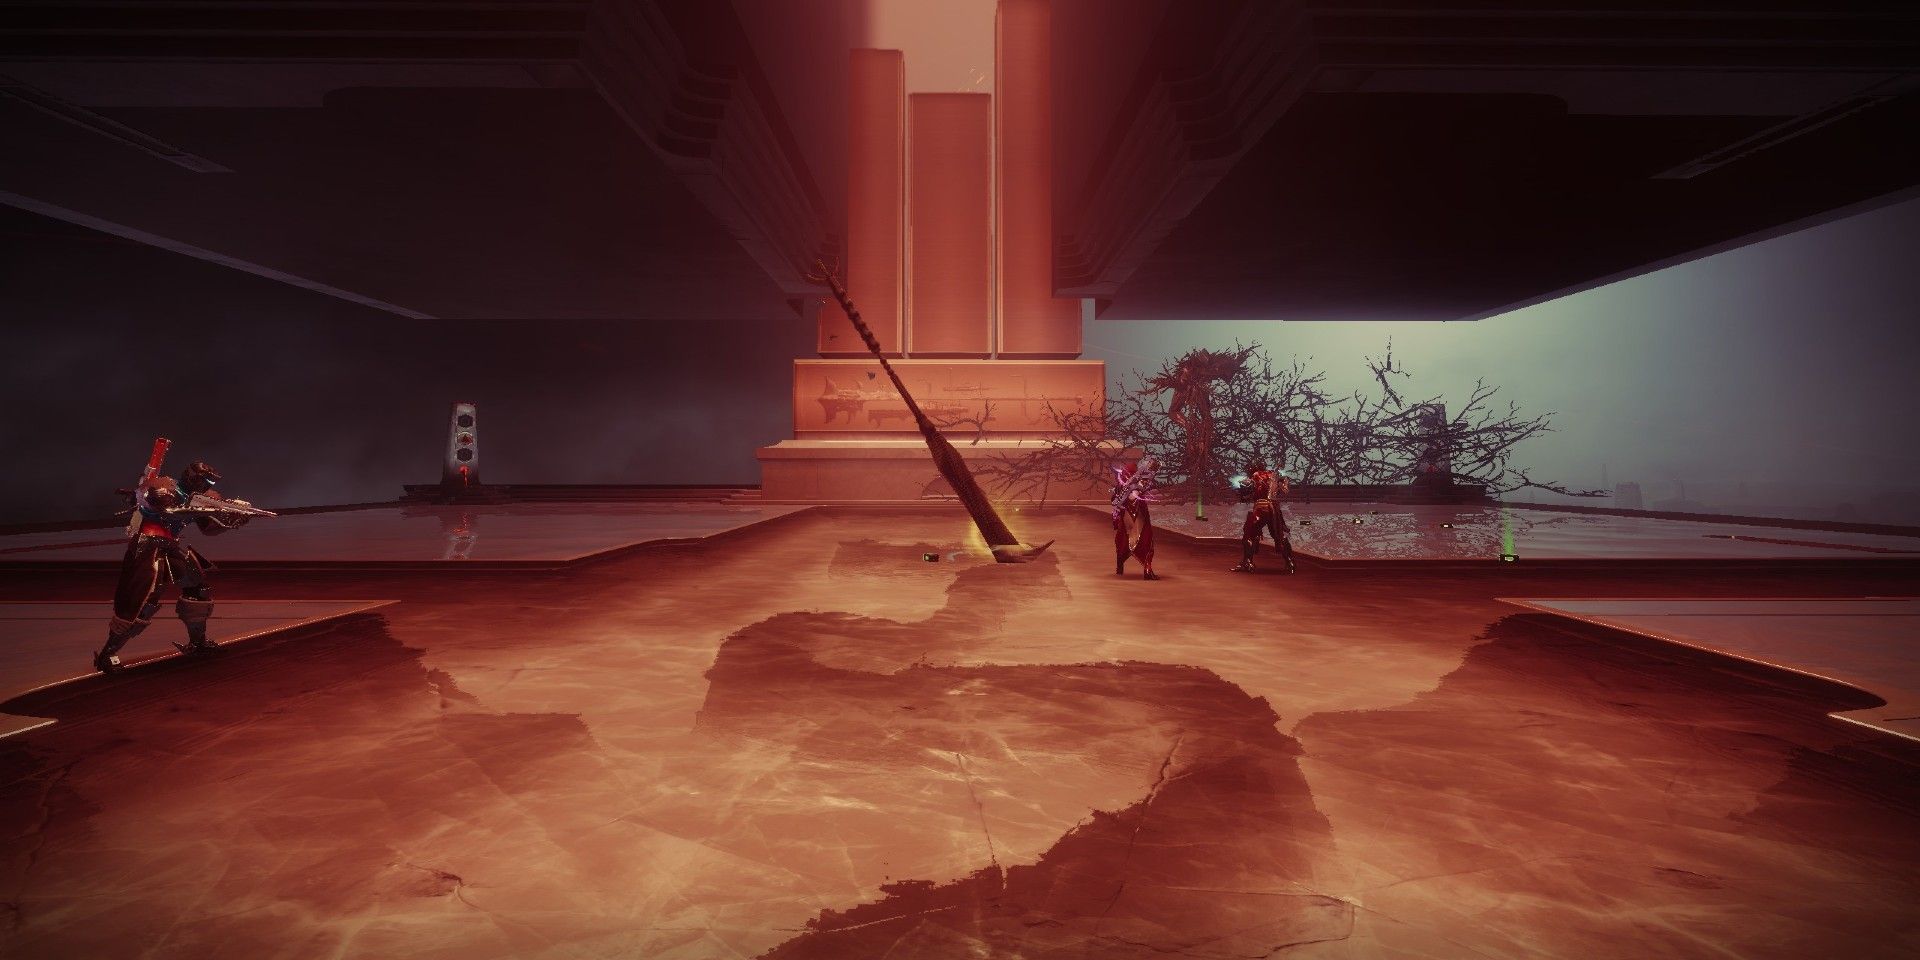
In phase two, Rhulk will begin attacking the fireteam directly alongside some shadow Hive Thrall. Rhulk's attacks need to be avoided at all costs, and luckily his attack directions are indicated by a small glowing wave or beam before he lunges or fires an area-of-effect attack, respectively. After Rhulk attacks, he'll leave behind his weapon. One fireteam member needs to shoot it to gain the Leeching Force debuff and look at the symbol that appears in his weapon's place. Afterward, that same teammate will have to jump into Rhulk's beam attack to gain Emanating Force once more. Any of the weapons in Destiny 2 can easily destroy Rhulk's glaive, so players will need to be careful of their bullet spray if they aren't the teammate that's supposed to gain the Leeching Force debuff.
The other Guardians will be able to see the symbols that are around the four small pillars at each corner of the arena. The Emanating Force Guardian cannot see any of the symbols, so the rest of the team will have to communicate where the debuff needs to be deposited. Once it's deposited, a small glowing section will appear on Rhulk, and the team will have to destroy it. This process repeats several times over before the damage phase is ready to commence.
Rhulk, Disciple Of The Witness Damage Phase
With Rocket Launchers, Linear Fusion Rifles, and Sniper Rifles in hand, five of the six Guardians can begin firing at Rhulk during the damage phase while the sixth Guardian uses Divinity to increase their attacks. Rhulk will attack more aggressively during this stage as well as he immediately transitions from lunging to using an area-of-effect attack almost instantly. After the damage phase ends, the team will need to rush back down the stairs to begin the process from phase one again.
The fireteam will have three attempts to lower Rhulk's health down to the last portion of his health bar that is separated from the rest. As soon as Rhulk's health is lowered to that portion he will enter a Final Stand, and the team has 10 seconds to defeat him once and for all. Aside from one Ward of Dawn Titan, damaging Supers such as the Nova Bomb in a Warlock Void build, Titans with Thundercrash, and Hunters with Mobius Quiver are all excellent choices to finish off Rhulk and complete the Vow of the Disciple Raid in Destiny 2.
Destiny 2 is available on PC, PlayStation 4, PlayStation 5, Xbox One, Xbox Series X|S, and Google Stadia platforms.


