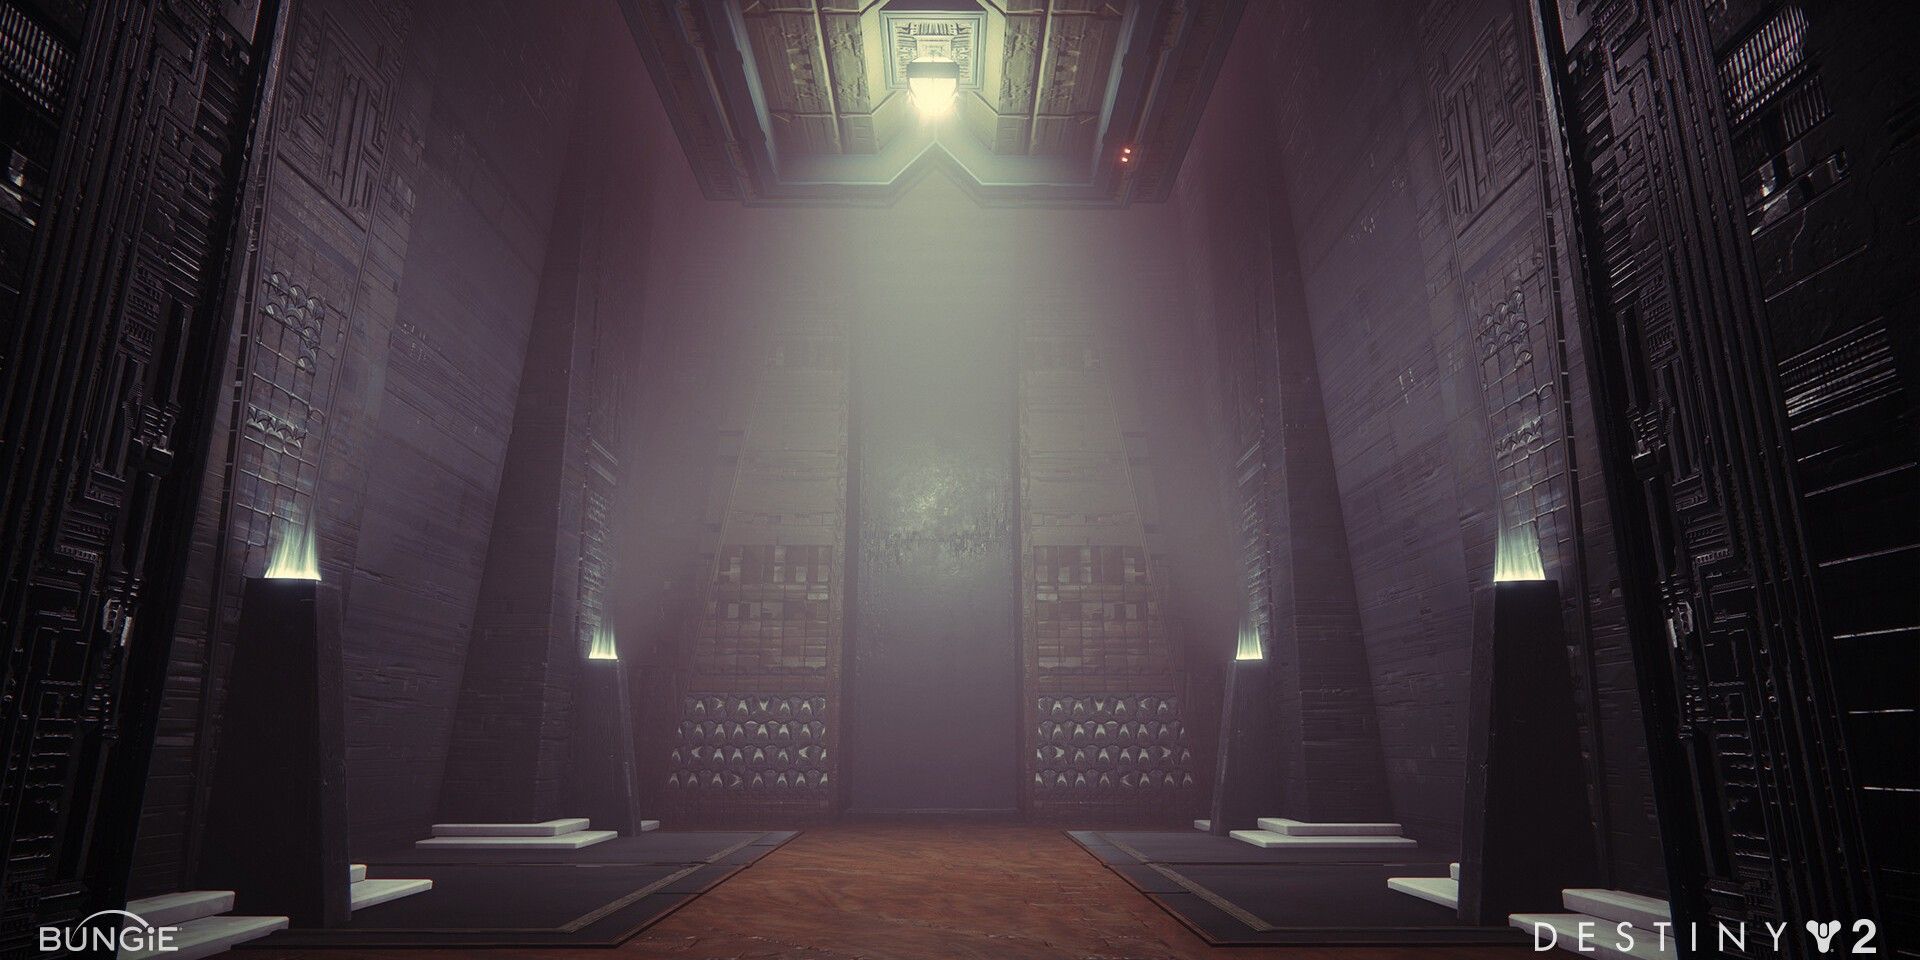
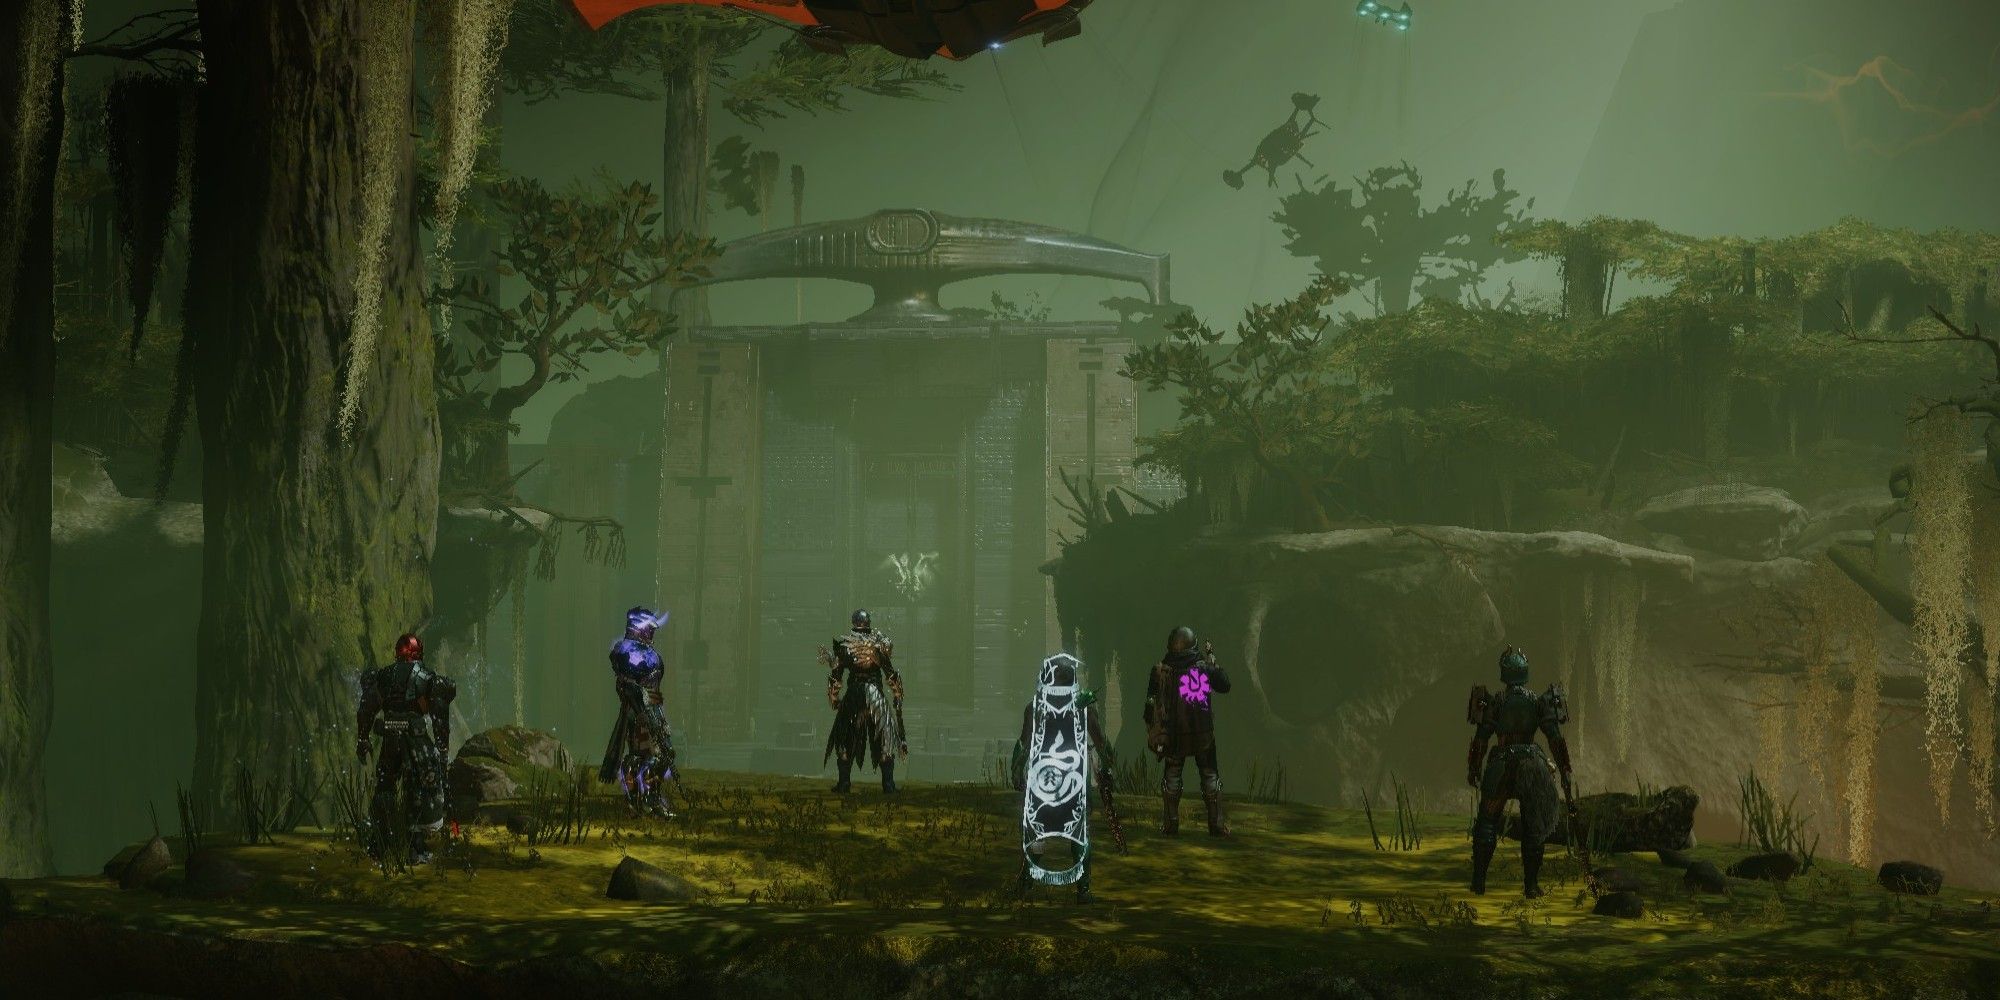
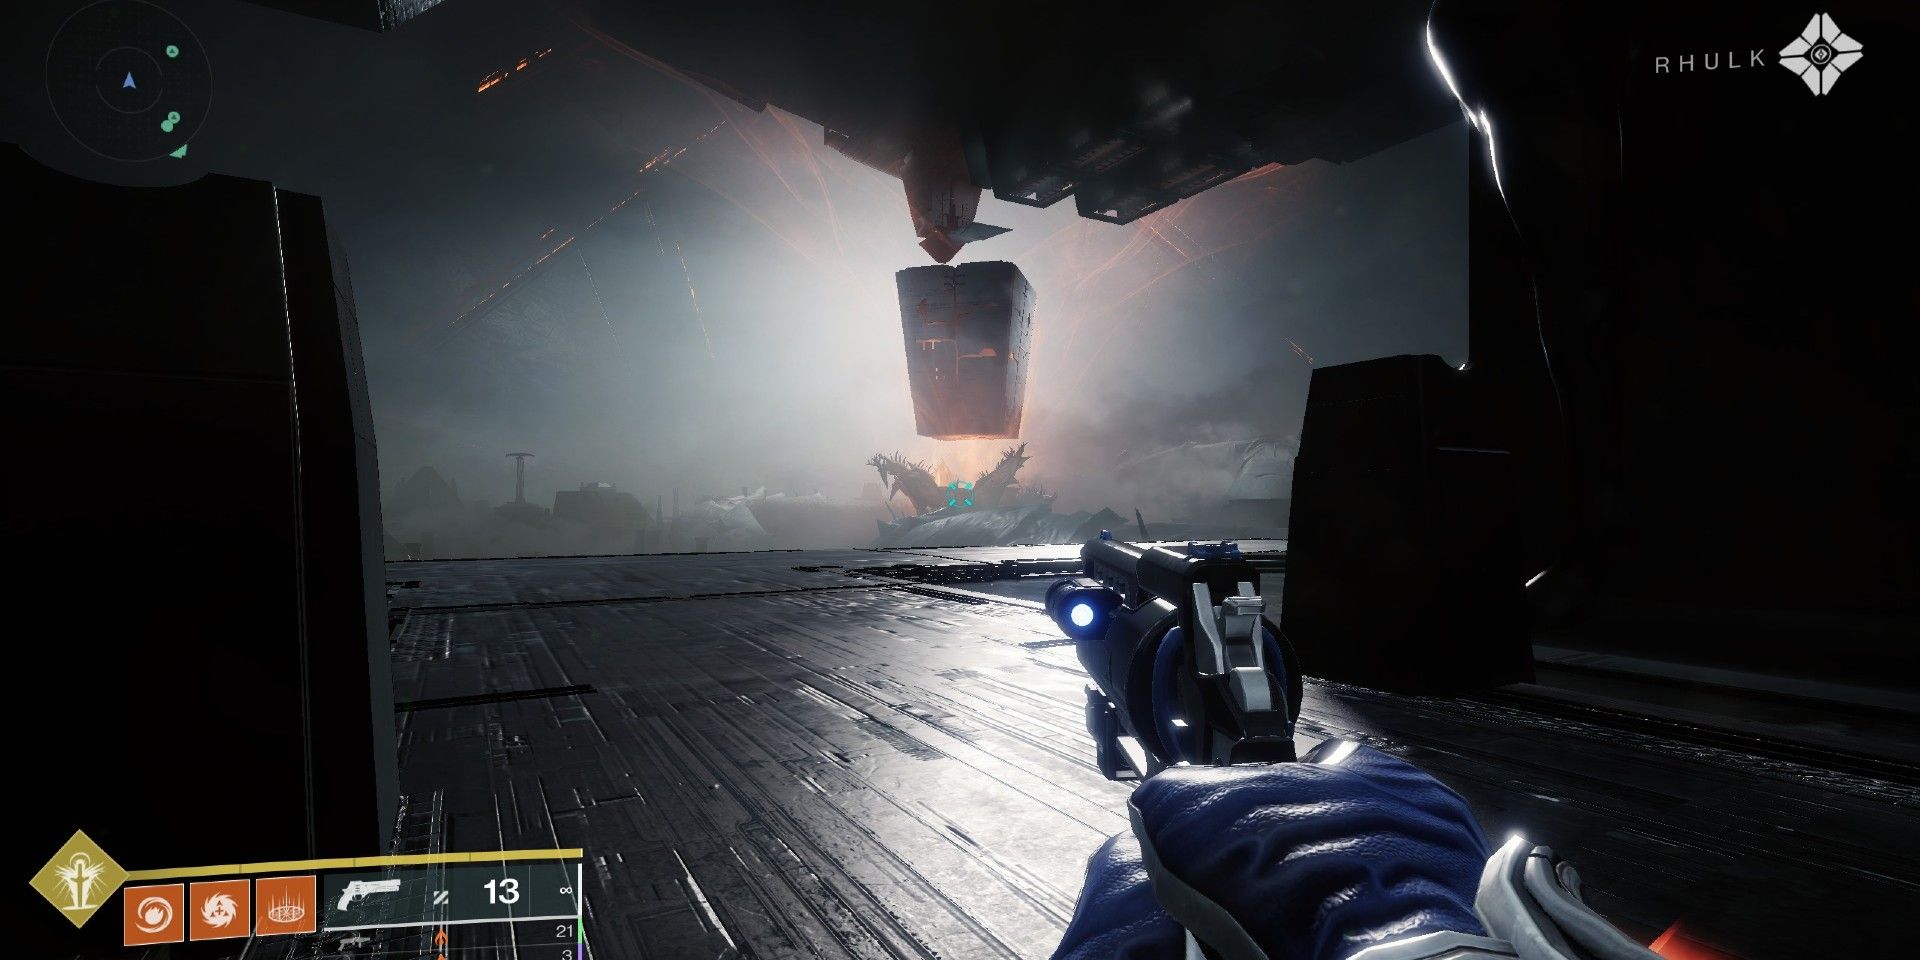
The Vow of the Disciple Exhibition encounter is one of the most challenging and exciting activities to ever be included in a Destiny 2 Raid. The entire counter is broken up into four phases that are timed, forcing players to both quickly move and communicate effectively as they venture from one room to the next. Exhibition continues the symbol mechanic seen earlier in both the Caretaker and Acquisition encounters in Vow of the Disciple, though additional mechanics prevent players from being able to see every symbol per room.
Although there isn't a Raid boss in this encounter, Exhibition does have plenty of red bars and yellow bars enemies that have to be taken down quickly. Every member of the fireteam should have crowd control Supers selected, as well as weapons that can both defeat enemies quickly and multiple enemies at a time. Rocket Launchers aren't the best option to bring along for this encounter, however, as it's very easy to accidentally shoot an enemy or teammate standing a point-blank range resulting in the death of whoever fired the rocket. Instead, players may want to choose one of Destiny 2's fantastic Linear Fusion Rifles like Threaded Needle, Reed's Regret, or Sleeper Stimulant as their Power weapon.
Unlike previous Raid encounters in Vow of the Disciple, every fireteam member will have to both assist with crowd control and pick up at least one of the three relics. No teammate can use a relic for more than one phase at a time, and anyone who drops their relic will be met with the Curbed Resonance debuff that prevents them from picking it up again for 30 seconds. To help explain the Exhibition Raid mechanics better, a hypothetical fireteam will be used to describe each role per phase, and the Guardians' names are Alpha, Beta, Delta, Gamma, Epsilon, and Omega. Although Exhibition isn't as long as the Caretaker encounter in Vow of the Disciple, it can be complicated to understand without proper designations.
Vow Of The Disciple Exhibition Artifacts & Debuffs
The Exhibition encounter uses three different Artifacts, namely the Resonant Shard, Vex Relic, and Taken Relic. The Resonant Shard is present through all four phases, the Vex Relic is used from phases two through four, and the Taken Relic is used in phases three and four. Unless a member of the fireteam dies, no Artifact should be dropped throughout any of the four phases.
As soon as the Resonant Shard is picked up, the entire team will get a debuff called Terminal Resonance. This debuff begins counting down from 1-minute and 14-seconds, and if it reaches zero the entire team will wipe. A second debuff called Pervading Darkness is applied once someone picks up the Vex Relic, the same relic from the Vault of Glass Raid. These are the only ways all debuffs can be reset, increased, or decreased:
- Terminal Resonance: When the Resonant Shard holder kills a Taken Knight called the Disciples Hourglass the debuff timer increases.
- Terminal Resonance: When the next room is reached and everyone deposits their Artifacts the debuff timer resets.
- Pervading Darkness: When the Vex Relic holder cleanses a teammate that teammate's debuff is reset.
- Pervading Darkness: Resets when the next room is reached and everyone deposits their Artifacts.
- Curbed Resonance: Resets after 30 seconds or once that fireteam member dies.
Lastly, when a fireteam member dies they drop their Artifact wherever they were defeated. If any Artifact falls off the map, however, it will respawn in the most recent room that it was picked up from.
Vow Of The Disciple Exhibition - Best Weapons & Supers
Many of the Season of the Risen and Witch Queen weapons will work perfectly for this encounter, but these are some of the best loadouts that players can use for this part of Vow of the Disciple:
- Loadout 1: Witherhoard/Funnelweb/Reed's Regret
- Loadout 2: Krait/Null Composure/Falling Guillotine
- Loadout 3: Wastelander M5/Funnelweb/Sleeper Stimulant
The idea is that anyone who isn't holding an Artifact should have a weapon that can take care of yellow bar enemies quickly, a weapon that can take care of Overload Champions, and a weapon that has a fast reload time and high magazine capacity. Witherhoard, Falling Guillotine, and Wastelander M5 all deal high amounts of damage to enemies up close, especially when the Wastelander M5 has the Subsistence and Trench Barrel perks. Both the Krait auto rifle and Funnelweb SMG fit the fast reload time and high magazine capacity, and the Funnelweb SMG also compliments any Void 3.0 build in Destiny 2. The Krait, dealing Stasis damage, compliments Stasis builds as well. Both Null Composure and Sleeper Stimulant are accurate weapons that can be used to close down the range from some of the yellow bar enemies as well.
These are the best Supers that players should use during this encounter as well:
- Titan: Sentinel Shield, Thundercrash, Glacial Quake
- Hunter: Shadowshot Deadfall, Silence and Squal
- Warlock: Nova Bomb Cataclysm, Winter's Wrath
Glyphkeepers, Symbols, & Taken Blight In Vow Of The Disciple
In each phase, Scorn and Taken Glyphkeepers will spawn only after the other enemies have been defeated. Once the Glyphkeepers are killed, they'll each reveal three symbols with only one symbol being the same in both sets of three. The symbol that matches is the same symbol that has to be shot on the doorway in order to open the next room. The Krait or Funnelweb SMG in Destiny 2 can activate the symbols with a single shot, so there is no need to use any weapon with limited ammo on the symbols. Only teammates that are holding an Artifact can see the symbols displayed after the Taken Glyphkeeper is defeated, while the Scorn Glyphkeeper symbols can only be seen by teammates that aren't holding an Artifact.
After the first room is cleared, the only time the Disciple's Hourglass Taken Knight will spawn is after a pair of Glyphkeepers has been defeated. Using the Resonant Shard, that teammate can take out the Taken Knight to extend the amount of time the fireteam has to complete that phase by about 40 seconds. The Disciple's Hourglass has an immune shield that prevents others from injuring it, which is why it's important for the Resonant Shard wielder to keep an eye out for it.
The Taken Relic from the Last Wish Raid is present in the third and fourth stages of this encounter in Vow of the Disciple. One teammate will need to grab the orb, find the Taken Blight throughout the area, and use the grenade action button or key to destroy it. The Taken Blight makes the enemies in its immediate vicinity immune, so the Taken Relic holder will need to destroy all of the orbs so that the fireteam can kill those enemies and get the Glyphkeepers to spawn in.
Vow Of The Disciple: Exhibition Encounter Tips, Tricks, & Strategies
As mentioned, the hypothetical names of the Guardians in this Destiny 2 fireteam are Alpha, Beta, Delta, Gamma, Epsilon, and Omega. Keeping the Curbed Resonance debuff in mind, below is an outline of the roles that each fireteam member has to fulfill. Although it isn't required, it's much easier to have the same Guardians be responsible for one Destiny 2 Artifact instead of multiple.
Phase One Responsibilities
- Alpha: Grabs Resonant Shard and defeats the Disciple's Hourglass - Reads the symbols from the defeated Taken Glyphkeeper - Deposits Resonant Shard in the next room.
- Other Guardians: Defeat the Glyphkeepers - Reads the symbols from the Scorn Glyphkeeper - Shoots the matching symbol to open the door.
Phase Two Responsibilities
- Beta: Grabs Resonant Shard - Reads symbols from the defeated Taken Glyphkeepers - Defeats Taken Hourglass - Deposits Resonant Shard in the next room.
- Delta: Grabs Vault of Glass/Vex Relic - Cleanses fireteam - Reads symbols from the defeated Taken Glyphkeepers - Deposits Vex Relic in the next room.
- Other Guardians: Defeat red bars, yellow bars, and Glyphkeepers - Reads symbols from Scorn Glyphkeepers - Shoots the matching symbols to open the door.
Phase Three Responsibilities
- Alpha: Grabs Resonant Shard - Reads symbols from the defeated Taken Glyphkeepers - Defeats Taken Hourglass - Deposits Resonant Shard in the next room.
- Gamma: Grabs Vault of Glass/Vex Relic - Cleanses fireteam - Reads symbols from the defeated Taken Glyphkeepers - Deposits Vex Relic in the next room.
- Epsilon: Grabs Taken Relic - Destroy Taken Blight - Reads symbols from the defeated Taken Glyphkeepers - Deposits Vex Relic in the next room.
- Other Guardians: Defeat red bars, yellow bars, and Glyphkeepers - Reads symbols from Scorn Glyphkeepers - Shoots the matching symbols to open the door.
Phase Four Responsibilities
- Beta: Grabs Resonant Shard - Reads symbols from the defeated Taken Glyphkeepers - Defeats Taken Hourglass - Deposits Resonant Shard in the next room.
- Delta: Grabs Vault of Glass/Vex Relic - Cleanses fireteam - Reads symbols from the defeated Taken Glyphkeepers - Deposits Vex Relic in the next room.
- Omega: Grabs Taken Relic - Destroy Taken Blight - Reads symbols from the defeated Taken Glyphkeepers - Deposits Vex Relic in the next room.
- Other Guardians: Defeat red bars, yellow bars, and Glyphkeepers - Reads symbols from Scorn Glyphkeepers - Shoots the matching symbols to open the door.
This Raid encounter in Destiny 2 ends once the Artifacts have been deposited at the end of phase four, so be sure not to drop them or leave them behind.
Destiny 2 is available on PC, PlayStation 4, PlayStation 5, Xbox One, Xbox Series X|S, and Google Stadia platforms.

