The K1 Crew Quarters Lost Sector in Destiny 2 can be one of the more challenging activities to complete on Legend or Master difficulty, due to the abundance of Fallen enemies. Guardians must stay on their toes because there are plenty of hard-hitting foes found inside. Equipment will be locked, so players should prepare the proper loadout beforehand. The K1 Crew Quarters Lost Sector is located in the Hellmouth region of the Moon destination.
Inside the activity, Guardians will face multiple Barrier and Overload Champions. Bringing weapons to counter these enemies is paramount to success. Currently, in season 17, the Piercing Sidearms mod is still disabled, making Pulse Rifles the only Anti-Barrier option. Alternatively, the Arbalest Exotic Linear Fusion Rifle excels in this Lost Sector because it inherently has Anti-Barrier capabilities. There is also an Arc burn in the activity, which increases the Arc damage dealt and received by 50%. Destiny 2's new Linear Fusion Rifle Stormchaser benefits greatly from this effect and is fantastic for taking out foes from a distance. Guardians can use an SMG, or Auto Rifle, to stun an Overload Champion and quickly switch to an Arc weapon for massive damage. However, these powerful enemies are not the only threat Guardians will face in the Lost Sector.
Both Legend and Master difficulty feature the Hot Knife modifier, giving all Shanks encountered a Solar Shield. They can be a major hazard in the Lost Sector and players should eliminate them as soon as possible. Those using Arbalest will have no problem, but others can utilize Solar abilities. The Master Lost Sector adds the Attrition modifier, greatly impairing regeneration, but defeating enemies has a chance to spawn healing wells of Light. Applying Restoration, with one of Destiny 2's new Solar 3.0 subclasses, will effectively counter this modifier.
K1 Crew Quarters Lost Sector In Destiny 2 (Solo Legend & Master)

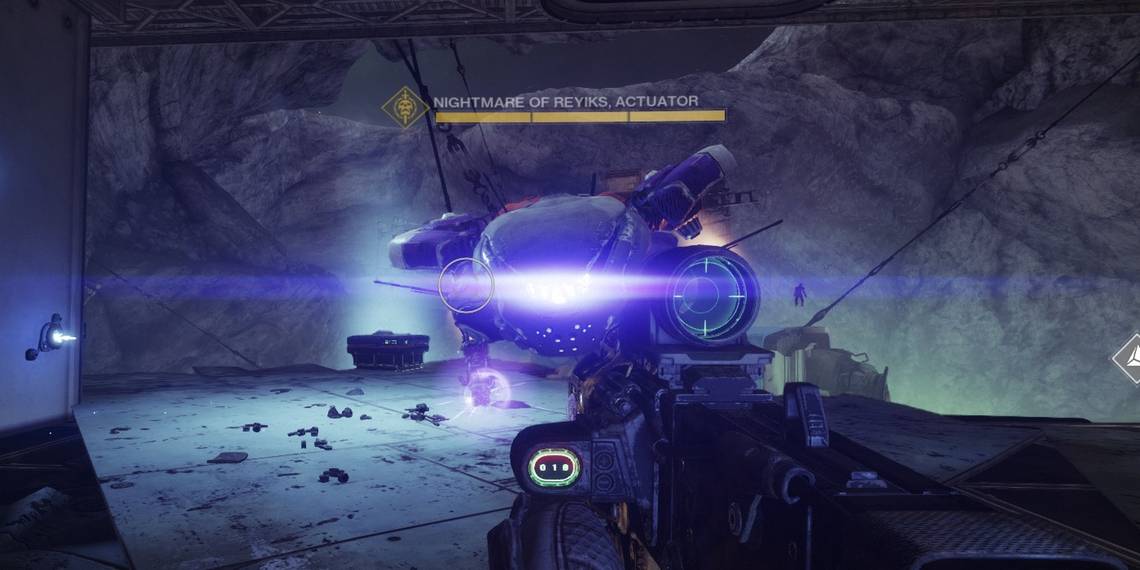
Immediately upon entering K1 Crew Quarters in Destiny 2, players will encounter multiple Overload Champions, as well as Dreg and Vandals. To minimize the chances of dying, Guardians should stun the powerful foes and clear out the weaker units. Past a couple of Solar shielded Shanks, there are hidden Exploder Shanks. Along with a Barrier Champion, the next open area contains the same enemies as the entrance. Guardians should pay attention to the right side of the map because a couple of hard-hitting shanks will spawn. Beyond these two foes, there will be a group of Shanks on the hill. While they are unalerted, players should use Solar damage to quickly take them out. Finally, Guardians will be faced with a giant Shank. There will be a large number of enemies and more will spawn at certain thresholds of the boss's health. Accessing the chest will finish the Lost Sector in Destiny 2.
Legend and Master versions of K1 Crew Quarters can be difficult to complete without the right setup. The activity is longer than many of the other Lost Sectors and is crawling with Fallen. These enemies can be difficult to kill at times because they are extremely agile and hit hard. This Lost Sector is not one that players can rush through to the end. While Guardians are timed and have limited revives, tactically moving through the activity is the best option for success.
Destiny 2 is available for PC, PlayStation 4, PlayStation 5, Xbox One, and Xbox Series X/S.