Editor’s Note: A lawsuit has been filed against Activision Blizzard by the California Department of Fair Employment and Housing, which alleges the company has engaged in abuse, discrimination, and retaliation against its female employees. Activision Blizzard has denied the allegations. The full details of the Activision Blizzard lawsuit (content warning: rape, suicide, abuse, harassment) are being updated as new information becomes available.
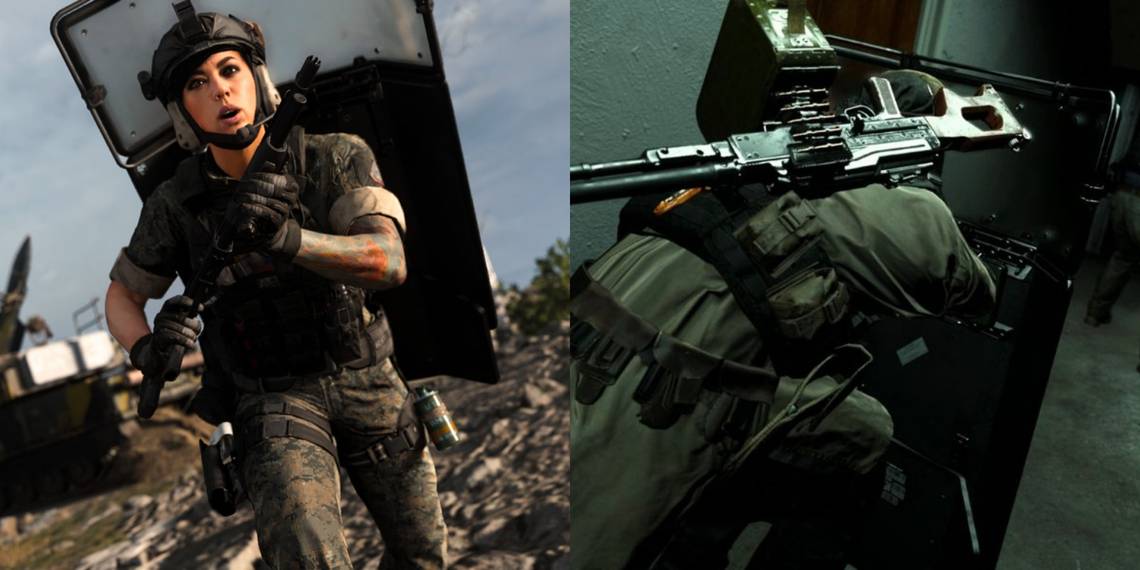
While Call of Duty: Warzone has many great weapons for dealing damage, the riot shield is the only one that can deal damage while also keeping the user safe. The ability to push enemies and clear corners in relative safety can be invaluable whether playing solo or with squadmates.
The shield can be an easy weapon to use, but a hard one to master. With inconsistent bullet detection, a variety of effective counter-methods, and most CoD gamers being used to fighting against them, using the riot shield isn't always easy. Fortunately, there are plenty of tactics to be the vanguard.
Push On The Left Side

Whether advancing on enemy positions or simply looting an area, riot shielders benefit from choosing the left flanks. The shield is held in the player's right hand and will only cover the front-right side of the user while doing actions such as sprinting and sliding.
Pushing the left side will allow the player to aggressively approach positions while still having some protection against incoming fire. Whether the shielder is the target of a distant sniper or lining up a close weapon swap, going left is advised.
Wait For The Backup Plan

When most players run into a Riot Shielder, their first instinct will be to immediately start shooting, as they would've had they encountered any other enemy. This will usually last for a second or two before they defer to their backup plan.
Depending on the opponent, the backup plan could be a throwing Semtex or Thermite grenade, running around to create a new shooting angle, trying to slide past the shield, or maybe they'll lie down and shoot at the shielder's feet. This is the chance to fire back.
Try To Fight One At A Time

Getting outnumbered as a Riot Shielder is usually certain death, as enemy squads can co-ordinate their fire to suppress and flank for an easy kill. Therefore, creating one-on-one scenarios within a larger fight is key to surviving prolonged engagements.
If opponents are pushing from different distances, a useful tactic is to wait for the first opponent to aggressively approach, and then kill them while the second enemy is catching up but without a shooting angle. Baiting enemies into range is an imperative aspect of using the riot shield.
Avoid Open Areas

Whether trekking through the open fields and plains in Verdansk or simply standing in the middle of Superstore, any exposure is too much exposure for shield users. Unless the user is crouching, static, and facing an enemy at a certain distance and elevation, part of their body will be exposed to gunfire.
While certain equipment can extend their effective range, riot shielders excel in close quarters, backing opponents into rooms and quick-swapping shotguns or SMG. Staircases and ladders also work as great choke-points.
Camp On The Trophy System

One of many useful field upgrades, the Trophy System, will destroy incoming explosives and most enemy equipment. As such, this little gadget can be a riot shielder user's best friend, safeguarding the user from the most effective shield counters like Semtex and Thermite.
The combination of shield and Trophy can allow a single player to hold a position against an entire squad's worth of incoming fire. Without throwables to displace the shielder, enemies may become vulnerable as they try to maneuver into a better position.
Keep The Shield And Secondary A Secret

When possible, a Riot Shielder shouldn't allow the enemies to see them until they're within range to fight unless trying to bait their opponents. Enemies will behave differently when they see the shield and possibly begin coordinating with squadmates.
The choice of secondary weapon, whether it be a shotgun, SMG, or melee weapon, should also be a secret the shielder shouldn't reveal until the enemy is within range to finish the kill. The element of surprise is crucial in capitalizing on an opponent.
Jump And Drop On The Swap

Quickly swapping weapons is a fundamental aspect of using the Riot Shield. Getting into range, lining up the shot, and swapping to the secondary weapon is a good start, but there's a maneuver that will provide a better chance of winning the gunfight.
Just before the switch, strafing side-to-side will build momentum for a jump on the switch, and holding the prone button right after will drop the shielder to the floor. This sudden change in circumstances can be too much for an opponent to react to while under fire.
Accept The Shield Is Fallible

Just like how bullets can sometimes fail to register in CoD, the riot shield can seemingly fail to register with incoming bullets, allowing the user to be shot through their shield. It will also often fail to lock on during a melee hit, rendering the user briefly immobile.
Enemies will often try to take advantage of the thin margins for error provided by the shield by sliding, jumping, and sprinting around the riot shielder. Players should rely on their shield for positioning and their second weapon for killing.
Customize Your Weapon Accordingly

While a single loadout can only contain one primary weapon and one secondary weapon, players in Warzone often take advantage of multiple loadout drops to have two primary weapons and their choice of perks. Gamers who want a gun with their shield should consider customizing their weapon for Mobility.
Boosts to weapon swap speed, hip-fire accuracy, ADS speed, sprint speed, etc., will aid in the style of combat for which the riot shield is best suited. Quickly switching from defense to offense is a great ability.
Don't Be Afraid To Fight Dirty

The heartbeat sensor is the go-to equipment for most gamers in Warzone, and for a good reason; detecting enemies before a fight begins can be the difference between life or death. However, certain throwable equipment can leave opponents nearly defenseless, leading to an easy, if "cheap," victory.
The stun and flash grenades are great options for allowing a riot shielder to close the distance or make a quick getaway. The gas grenade—thanks to its quick detonation time—is also a great tool to use before a weapon swap.