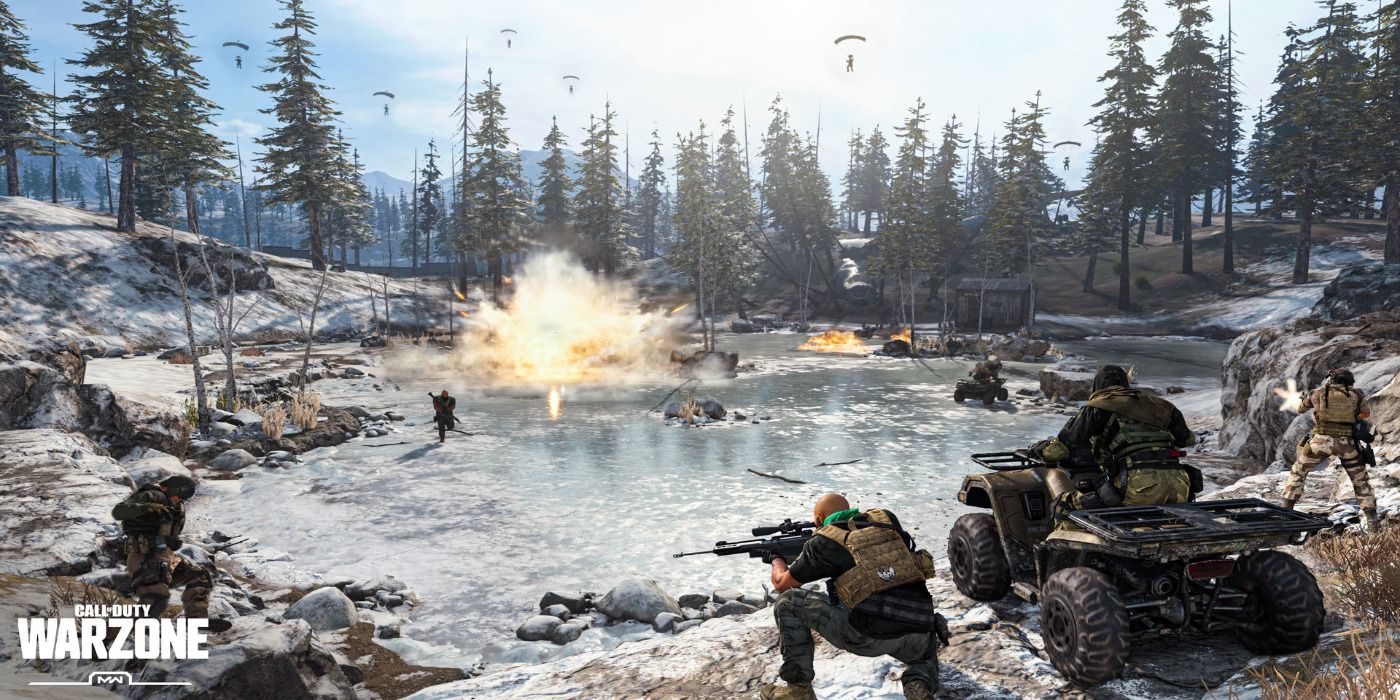
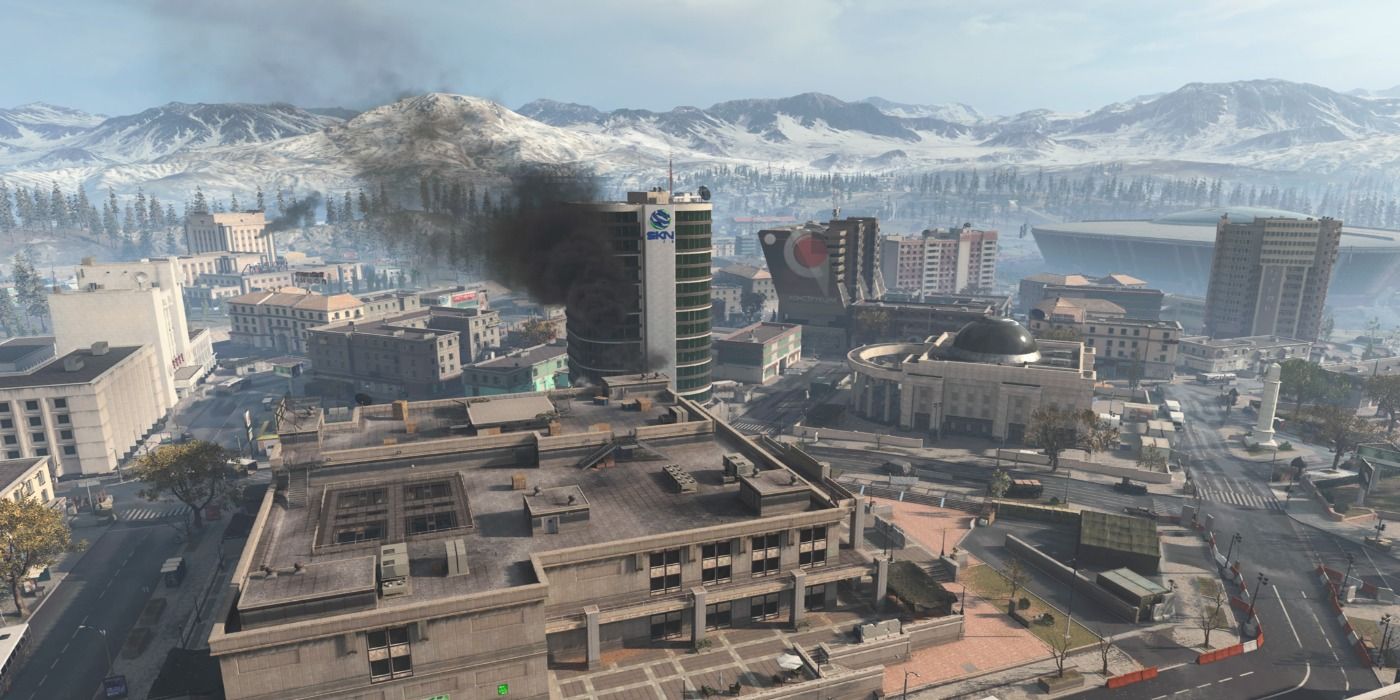
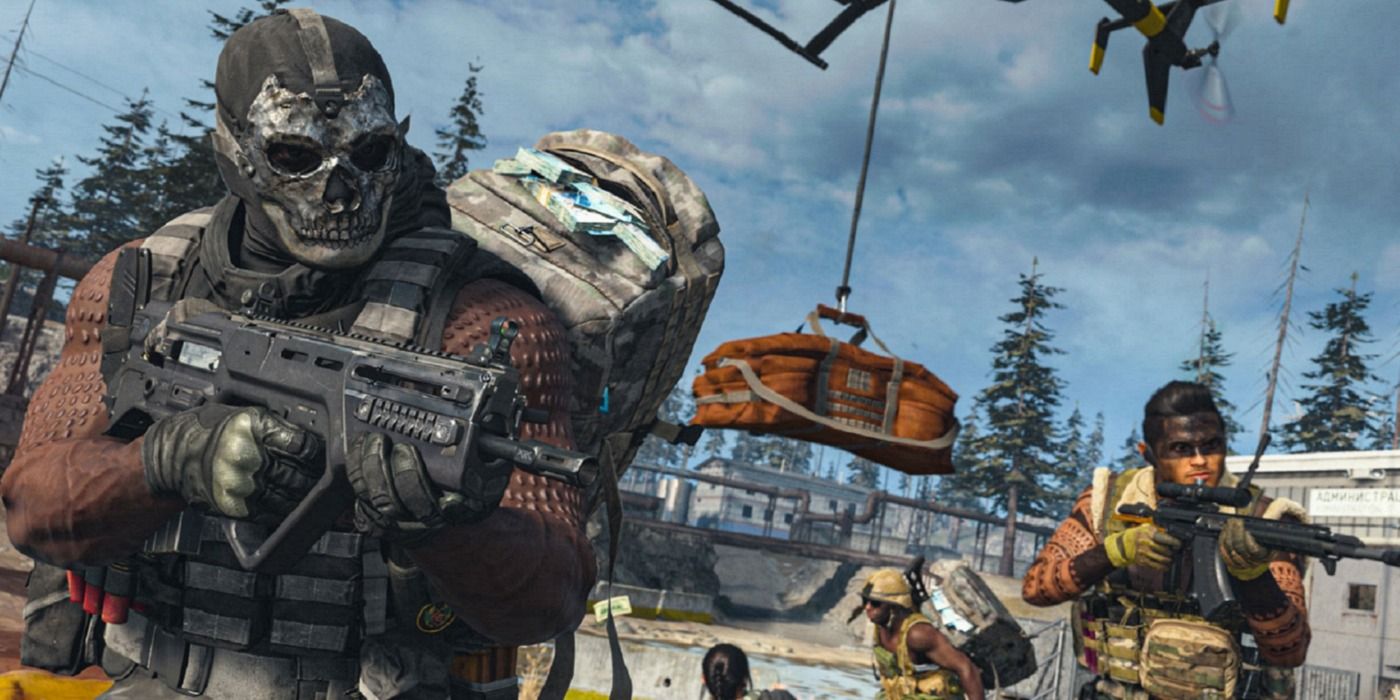
With the recent release of Call of Duty: Modern Warfare, a reboot of the gargantuan series, comes the series's second take on a Battle Royale title, with Call of Duty: Warzone. The game mode provides a fun and addicting take on the Battle Royale genre, utilizing a hyper-realistic style of gameplay. Providing players a variety of guns stripped from the game's multiplayer and inserted into the context of a Battle Royale match, the transition feels seamless. A property unique to Warzone is the inclusion of "loadout drops" a care package that allows players to use one of their custom multiplayer load-outs in Warzone. The free-to-play game is a masterclass in the ever-growing genre and is a game that is as fun as it is equally hard to put down.
Another aspect of Warzone that separates itself from its Battle Royale counterparts is the inclusion of several Call of Duty killstreaks. These killstreaks that would normally be connected to racking up a set amount of kills during a match are now connected to either a lucky drop from a weapon chest or purchasing one from the buy stations placed throughout the map. Purchasing or finding these killstreaks provide a substantial advantage on the battlefield, so understanding how they operate and the best way to use them is essential for aspiring players. This guide will explain the properties of each killstreak and the most effective way to utilize them throughout Warzone.
How to Use the UAV in Call of Duty Warzone
Throughout the history of the legacy franchise's choke-hold of the competitive First-Person-Shooter genre, the UAV has been a commonly used killstreak. It provides excellent recon ability, and this versatility is still applicable in the context of Warzone. However, the killstreak has some hidden utility that makes it an incredibly useful tool in the right hands.
Using the UAV provides several seconds in which the location of enemy players will appear as red blips on your mini-map. However, their locations are limited to just one or two seconds in which their location at that moment will appear as a stationary red-dot on the map. As you can imagine this provides insane use throughout a match of Warzone. Being able to pinpoint enemy locations is a luxury many other games do not have.
Adding onto its powerful use in Warzone, if a player or a squad of players manages to call 3 UAVs in quick succession, then that player/squad will receive an Advanced UAV for a set period of time. This advanced UAV allows players to see enemy movement and their exact location for a set period of time. Their location will by a triangular reticle, which shows players which direction they are looking towards. This is an insanely powerful tool, all-be-it incredibly expensive, but if used in the later stages of Warzone than taking out squads of enemies becomes trivially easy.
How to Use the Shield Turret in Call of Duty Warzone
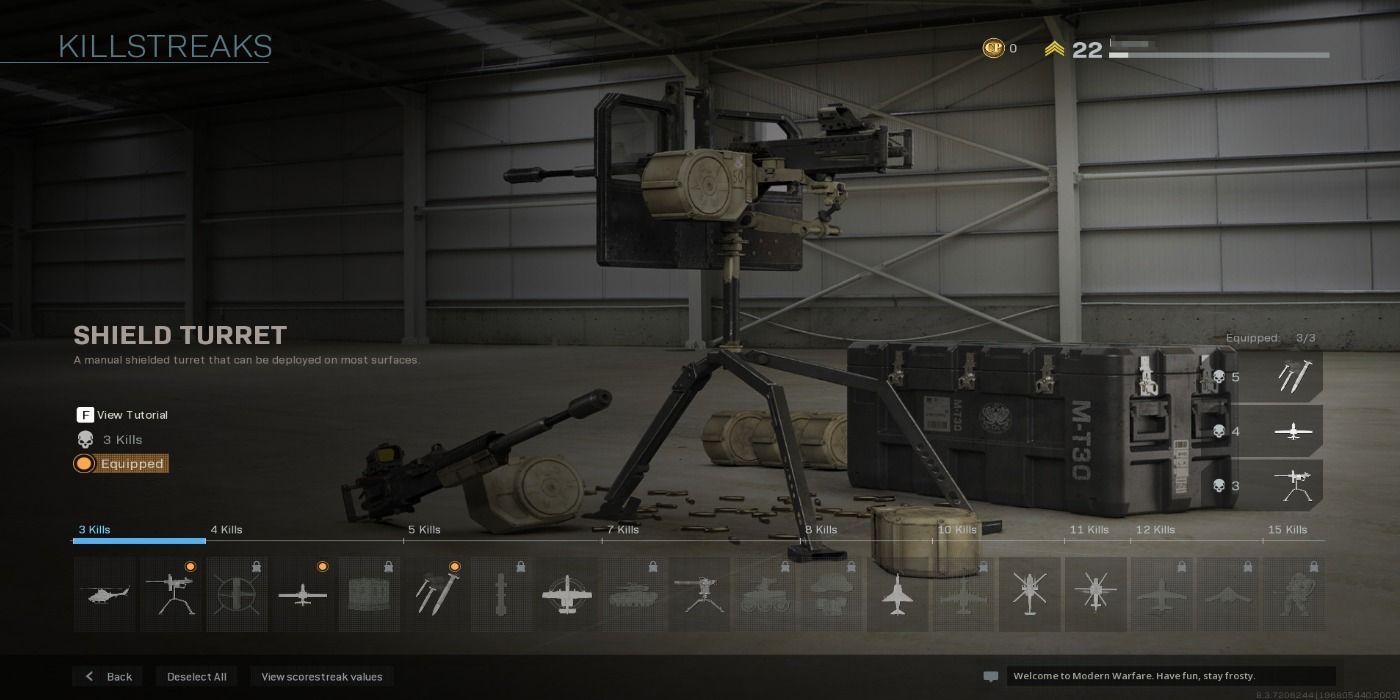
The worst of the given killstreaks, the Shield has limited use, but don't underestimate its power in the right hands.
Using the Shield Turret is fairly straight forward, it is a weapon mainly used for holding down one position against large groups of enemies. It provides decent cover while giving players insane killing power. Essentially the Shield Turret will be used to take out enemies who are rushing your given position, with insane firepower and decent cover.
How to Use the Cluster Strike in Call of Duty Warzone
The last two killstreaks to discuss are among the strongest in the game. The first being the powerful Cluster Strike, a killstreak illustrated with a laser pointer that marks the location where a barrage of missiles will rain down destroying anything in its path. However, the killstreak has more versatility than a barrage of missiles.
When using the Cluster Strike the enemy team will be warned of the missiles about to descend on their position. If in a house or some sort of structure, players may be able to take to lower cover and escape the power of the missile. However, the Cluster Strike can kill enemies hiding in the top floor of a two-floor building or simply wipe a smaller structure. This killstreak is at its most powerful during the final circle, as 9 times out of 10 there will be a dearth of cover to escape the missiles.
However, the Cluster Strike is incredibly slow. It provides players plenty of time to escape its barrage. But this works well for the Cluster Strike's versatility. A smart group of players will place a Cluster Strike on a given building where enemies are hiding, or any sort of defendable cover and then wait for the enemies to scatter. This allows players the chance to pick off the enemy players as they are fleeing the area. The Cluster Strike is the perfect tool to flush out enemy players and can provide some easy kills if used wisely.
How to Use the Precision Airstrike in Call of Duty Warzone
Having similar properties to the Cluster Strike, the Precision Airstrike is a much more powerful version of the mentioned missile barrage. With much more speed and killing power, the Precision Airstrike can wipe out an entire group of enemies if used wisely.
Similar to the Cluster Strike, the Precision Airstrike is a devastating tool if used in the final circle. It can clear out an entire circle given its large range and incredible speed. It also has the potential to kill enemies hiding in the top floor of a given building or inside smaller shed-like structures. The Precision Airstrike is all that is good with the Cluster Strike, but with ten times the versatility. Use this killstreak to provide easy kills, however, be wise when calling it in, the Precision Airstrike can kill you and your squad if you are not careful.
Call of Duty Warzone is available on PS4, Xbox One, and PC.

