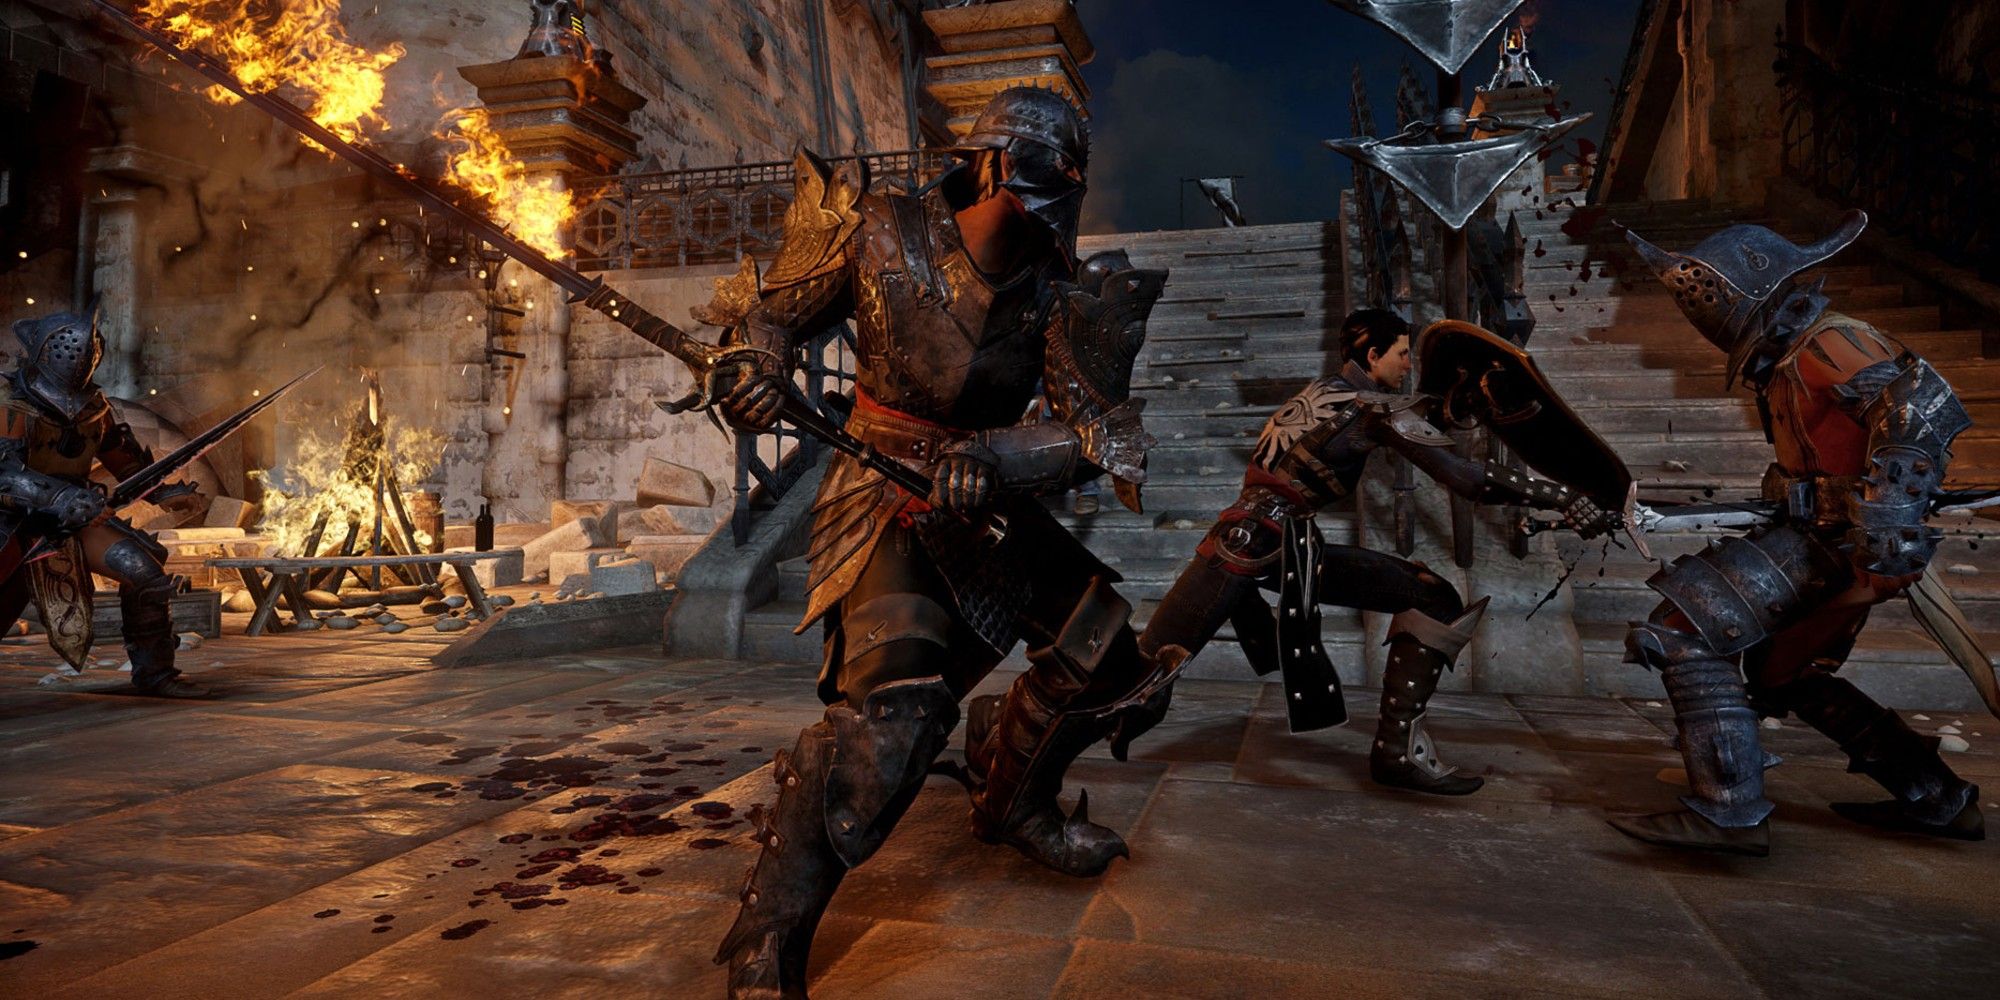
When taking on dragons, demons, and darkspawn in Dragon Age: Inquisition, it's important to have a character who can deal massive damage and move around the battlefield with ease. The warrior class in Dragon Age: Inquisition allows players to withstand heavy blows from enemies and deal massive damage that mages and rogues can't always achieve. Characters of any race can be warriors, and players can choose whether their warrior primarily uses a two-handed weapon or a weapon and shield. At the start of the game, they will have access to four skill trees they can use to build their warrior. About halfway through the game, they can choose a specialization: Templar, Champion, or Reaver.
Most warrior builds focus on dealing heavy damage and taking as little damage as possible, or, tanking. However, the Reaver specialization follows a different strategy. Reavers need to take damage and lose health to use their abilities, which can make them effective and powerful warriors, if not a somewhat risky choice. Most players would follow the default build for companion The Iron Bull when building a Reaver and use a two-handed weapon, but an armored weapon and shield Reaver is often more effective. Players can use the Armored Sword & Shield Reaver build for their warrior in Dragon Age: Inquisition to get the most out of their class, serving as a massive damage-dealer and tank all at once.
The Armored Sword & Shield Reaver Build in Dragon Age: Inquisition
An Armored Sword & Shield Reaver warrior will need to start by using Reaver abilities and letting their health drop somewhat. Then, when their health is low, they can use their armor abilities, especially from the Vanguard and Sword and Shield trees, to stay alive. This will allow them to tank for a while before dealing more massive blows.
Players won't have access to the Reaver specialization and skill tree until about halfway through the game. Until they get it, it is a good idea to build the character using the required skills from the other trees and then pick up the Reaver skills later. Alternatively, players can respec the warrior later using a Tactician's Renewal amulet.
As with any Reaver build, there is always the chance players will accidentally kill their character a few times until they get the hang of this strategy. That is normal and expected, and players can practice this build on Iron Bull before using it for their Inquisitor if they prefer.
The essential skills for this build are:
Sword and Shield
- Shield Wall
- Payback Strike & Sweet Revenge (upgrade)
- Bear Mauls the Wolves
- Warrior's Resolve
- Turn the Bolt
- Turn the Blade
- Shield Bash & Ring the Bell (upgrade)
Vanguard
- War Cry & Call to Arms (upgrade)
- Untouchable Defense
- It'll Cost You
- Livid & Still Standing (upgrade)
Reaver
- Ring of Pain & Torrent of Pain
- Blood Frenzy
- Fervor
- Rampage
- Scenting Blood
- Devour & Consume (upgrade)
- Dragon Rage & Ravage (upgrade)
Players can also pick up the following optional skills from the Battlemaster tree, which can be helpful once they have extra skill points to spend:
- Grappling Chain & Give them the Boot (upgrade)
- Crippling Blows
- Coup De Grace
There is also the option of picking up Charging Bull and its upgrade, Gore and Trample. This can be useful to close the distance between the warrior and enemy, knock down the enemy, and allow the warrior to use another ability without using stamina. It's a good skill to have, but not essential. It can also be taken in place of Untouchable Defense, It'll Cost You, and Livid and its upgrade.
Players should set up their skill bar with Ring of Pain, Devour, Dragon Rage, Payback Strike, Shield Bash, War Cry, and Rampage. The last slot can be used for Charging Bull, Grappling Chain, Livid, or, if the Inquisitor is the Reaver, Mark of the Rift.
To maximize damage, players should craft their own armor and weapons. When crafting, they should use materials and Masterworks that increase critical chance or add a critical damage bonus. In their shield particularly, they will want to use materials that increase defense and lower the stamina cost for abilities. The Battlemaster Armor schematic will be especially useful, and players should build with materials that include bonuses to defense and attacks.
It can also help to use certain accessories to make the build work even better. The following items can be used to stack stat bonuses that will make the Armored Reaver even more powerful:
- Enhanced Belt of Urgency
- Superb Ring of Attack
- Superb Ring of Critical Damage
- Kitty's Collar
- Superb Amulet of Dexterity
Players using this build should not be afraid to watch some of their health decrease, as that will only make them more powerful as a Reaver and allow them to take down even the toughest enemies with relative ease. This build can maximize damage output, tank potential, and survivability.
Dragon Age: Inquisition is available for PC, PlayStation 4, and Xbox One.


