On Mac computers, Apple allows users to quickly and easily access screen recording controls that let them record the entirety or selected portions of their screen. By using a simple keystroke, Mac users can record their screen or capture a still image of whatever they're working on.
Now that the use of screenshots and screen recording has become so ingrained in modern technology, knowing how to access screen recording settings is extremely useful. In response to this, Apple has made it easier by including screen recording software as part of the operating system on Mac computers. Much like making a screen recording on an iPhone, Mac users can easily record their screen without downloading any third-party software.
This setting makes it easier than ever to get high quality videos of programs on Mac, which can be helpful for users who may be working from home due to the COVID-19 pandemic. The screen recording controls are only available for users running macOS Mojave or later. Once users finish recording, they can edit the video in separate software, such as iMovie. Some programs and applications, like the Mac DVD Player, do not let users record the screen for copyright reasons.
Recording A Mac's Screen

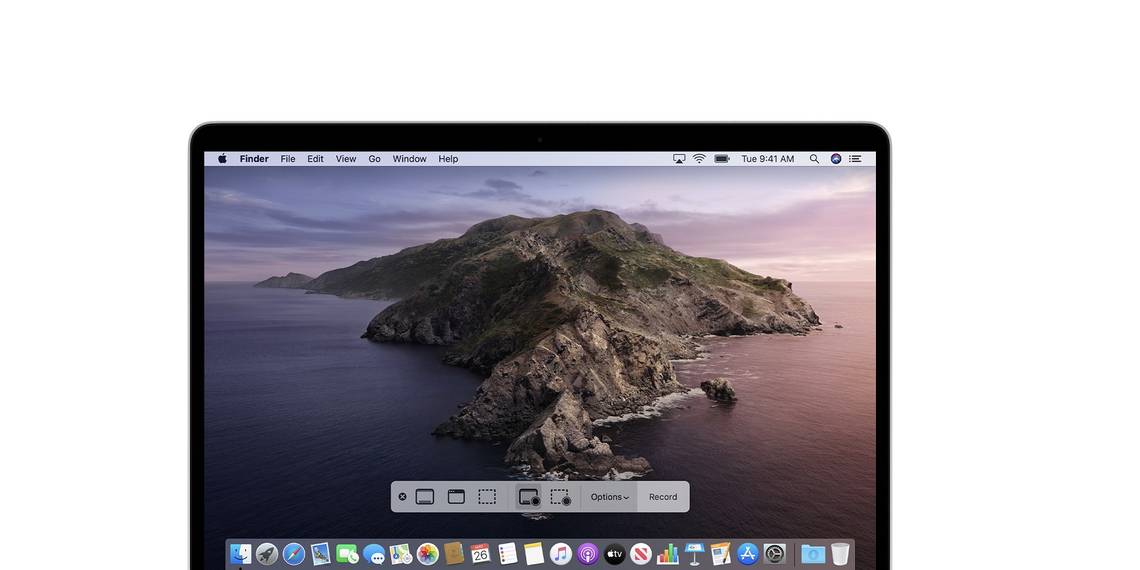
To record the screen, press Shift-Command-5 on the keyboard. This will bring up onscreen controls that allow users to choose whether they would like to record the entire screen, record a small portion of the screen, or take a screenshot. Alternatively, users can also use the QuickTime Player app to record their screen. To exit the control settings, users can simply press the Escape button.
Much like using screenshots on iOS, the process for recording the screen on a Mac is straightforward. When recording the full screen, users will press the Record Entire Screen button. To start the recording, users can click anywhere on the screen. To stop recording, either press the Stop button or use the keystroke Command-Control-Escape. When only recording a selected portion of the screen, users can use the Select Portion control and drag the edges to match the desired area, or they can also simply select the specific window they would like to record.
Once the screen recording has been stopped, a small thumbnail will appear in the lower-right corner of the screen. By clicking on the thumbnail, users can trim or share the recording. Users can also change where they would like their Mac videos stored and even use the microphone to record audio by changing the screen recording settings under Options.
Source: Apple