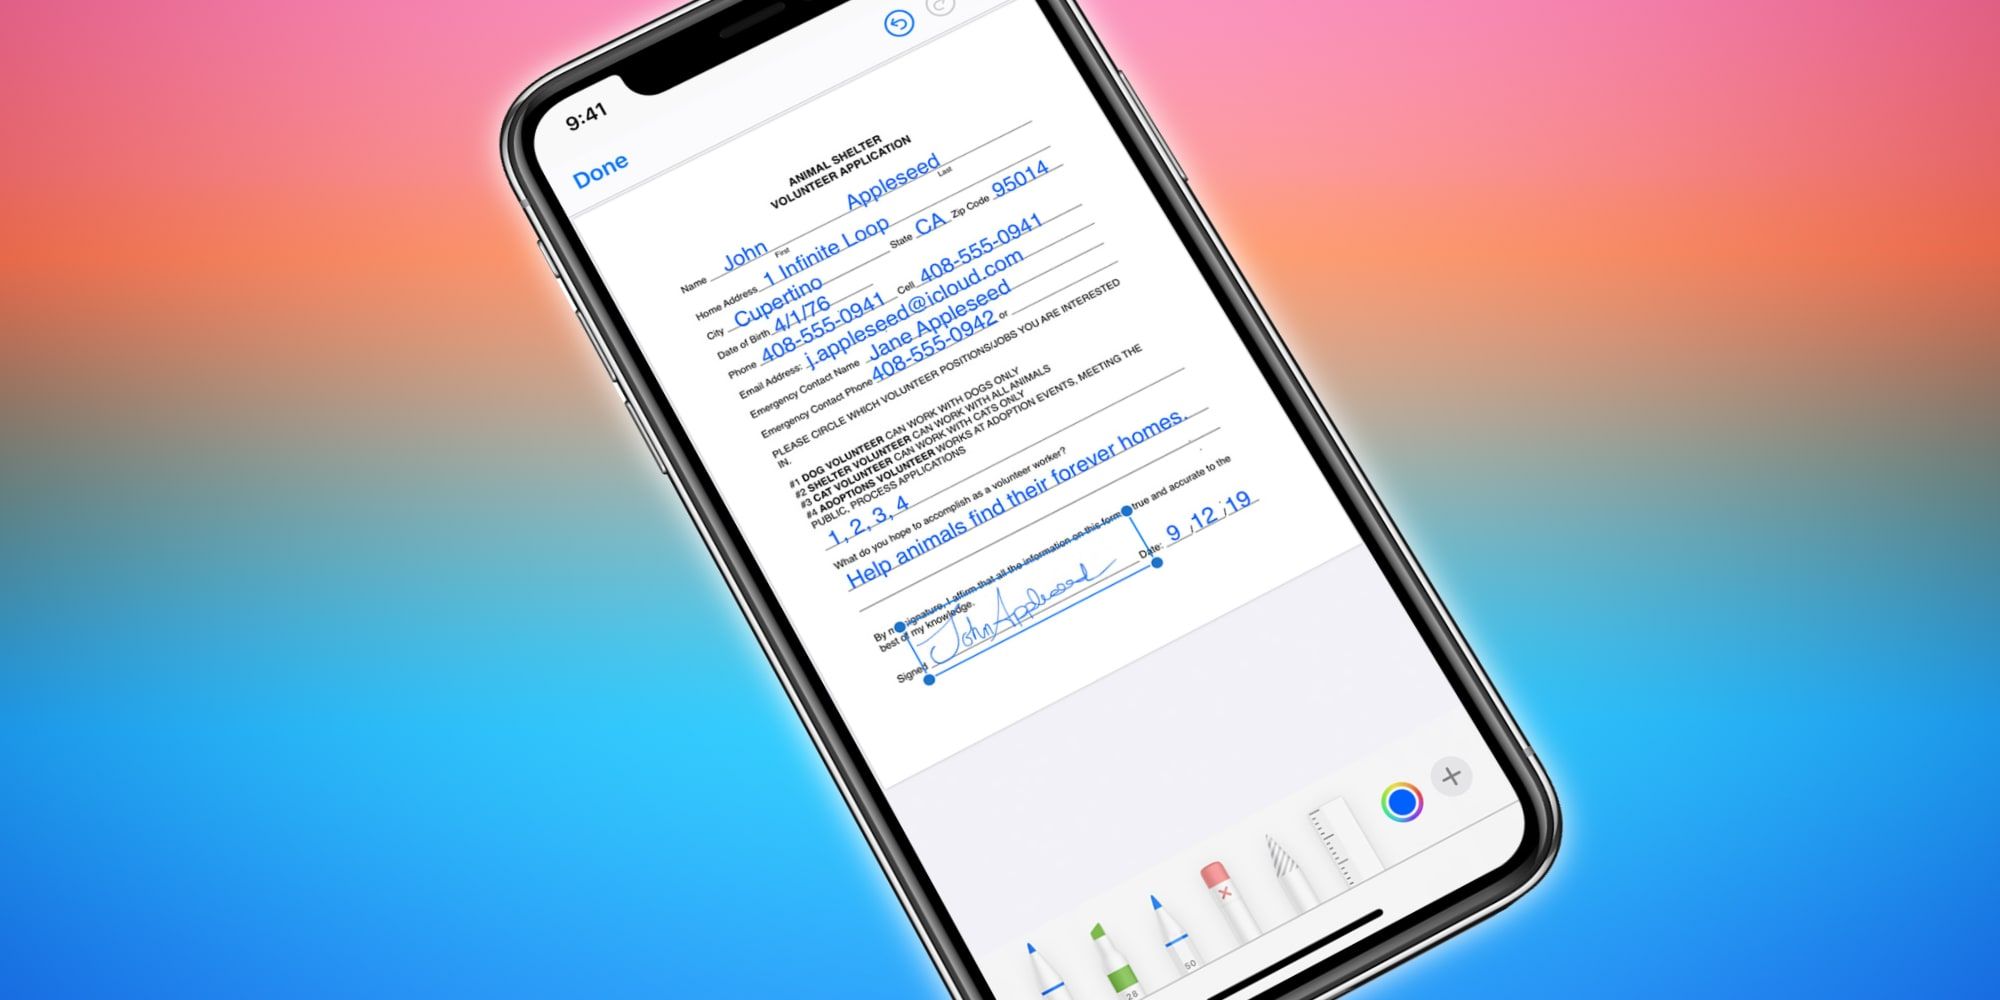
Apple's smartphone is powerful enough to handle quite a bit of work when away from a computer or tablet and the iPhone can even be used to annotate a PDF document. Text, drawings, and more can be added to existing PDFs and the edited file can be saved, shared, or printed for easy reference, making it simple to make personal notes or share changes with others. While some of the tools that allow this are intuitive, others are a bit hidden and so an overview of how it works might be helpful to an iPhone user.
From the first Macintosh desktop computer, Apple has made working with documents easy with its pioneering WYSIWYG (What You See Is What You Get) word processor, MacWrite in the early 1980s. MacWrite was bundled with the Macintosh and became the 'killer app' that gave Apple an early lead in desktop publishing. Adobe rose to prominence on this same wave and went on to create the dominant software and printing systems, notably giving rise to the PDF (Portable Document Format) file format that is the most universally accepted way to share documents via the internet. Apple quickly adopted PDF and built support into all of its devices, including the iPhone. With iOS 15, which is coming later this year, this capability becomes even more powerful.
Apple's built-in Markup app allows an iPhone to annotate PDF documents quickly and easily. Whether the document is stored in the Files app or in Apple Books, once open, the Markup icon should be visible at the top of the screen. It looks like the tip of a pen outlined by a circle and tapping that icon will instantly open the Markup toolbar. The pen is selected automatically, so writing on the screen with a finger will begin drawing. The row of tools at the bottom of the screen, from the left to right, are a pen, a highlighter, a pencil, an eraser, a lasso, and a ruler. There is also a color selector and a plus sign. Tapping any of the drawing tools will show options for line thickness and opacity, which can be set lower to allow the color to be drawn with transparency, showing what is beneath.
iPhone PDF Markup Details
Most of the drawing tools are fairly obvious since they behave quite like their real-world equivalents, but can be applied to a PDF document by dragging a finger on the iPhone's screen. It's possible to zoom and pan around a document with pinch and drag gestures that are done with two fingers to annotate in finer detail. The lasso tool is actually a selection tool, even though it looks more like an artist's blending stick. Selecting any part of an annotation will allow it to be repositioned, resized, or deleted. The ruler provides an edge for drawing straight lines, just like a physical ruler. It can be moved to a new location and angled by dragging with two fingers. Then any drawing tool that comes near the edge will snap to it allowing perfectly straight-line drawing and highlighting. Undo and redo arrows appear near the top of the screen, making it easy to correct mistakes.
The plus sign tool contains the shape, text, signature, and magnifier tools. Squares, circles, speech bubbles, and arrows can be chosen for perfect shapes and each can have its own fill color, outline color, and thickness. Shapes have points that allow reshaping them in various ways, such as curving the arrow. As there are so many options, a little exploration will prove beneficial. The signature tool allows drawing a signature and sizing it to fit well in the document. Finally, the magnifier, or loupe as Apple calls it, can show an enlarged circular portion of a document. When finished, tap 'Done' in the upper-left corner to save the PDF document with annotations. These changes can then be adjusted and deleted later if the need arises. Once all done, the annotated document can be viewed, printed, and shared as with any other file, making this a convenient and powerful way to make personal notes and communicate changes to others, all from an iPhone.
Source: Apple


