Apple Pay is among the most convenient ways to pay for goods and services at a physical store using an iPhone. Simply bringing the device close to the payment terminal is enough to complete the purchase with no need to enter a PIN code, swipe a card or sign. In addition, Apple Pay may be available for some in-app payments and purchases made on websites. However, there is some initial setup required before getting started.
Mobile payment systems for retail shopping have been in place for many years, with Apple Pay launching in 2014. Google Pay and Samsung Pay followed in 2015 and Fitbit added mobile payment to its smartwatches in 2018. In the beginning, the use was a little awkward with retailers unfamiliar with the technology. However, the locations where mobile wallets can be used have greatly expanded since then, making paying with a smartphone or smartwatch more commonplace. Since the COVID-19 pandemic, there ahs been increased concerns over limiting personal interactions making contact-free payments even more valuable than before
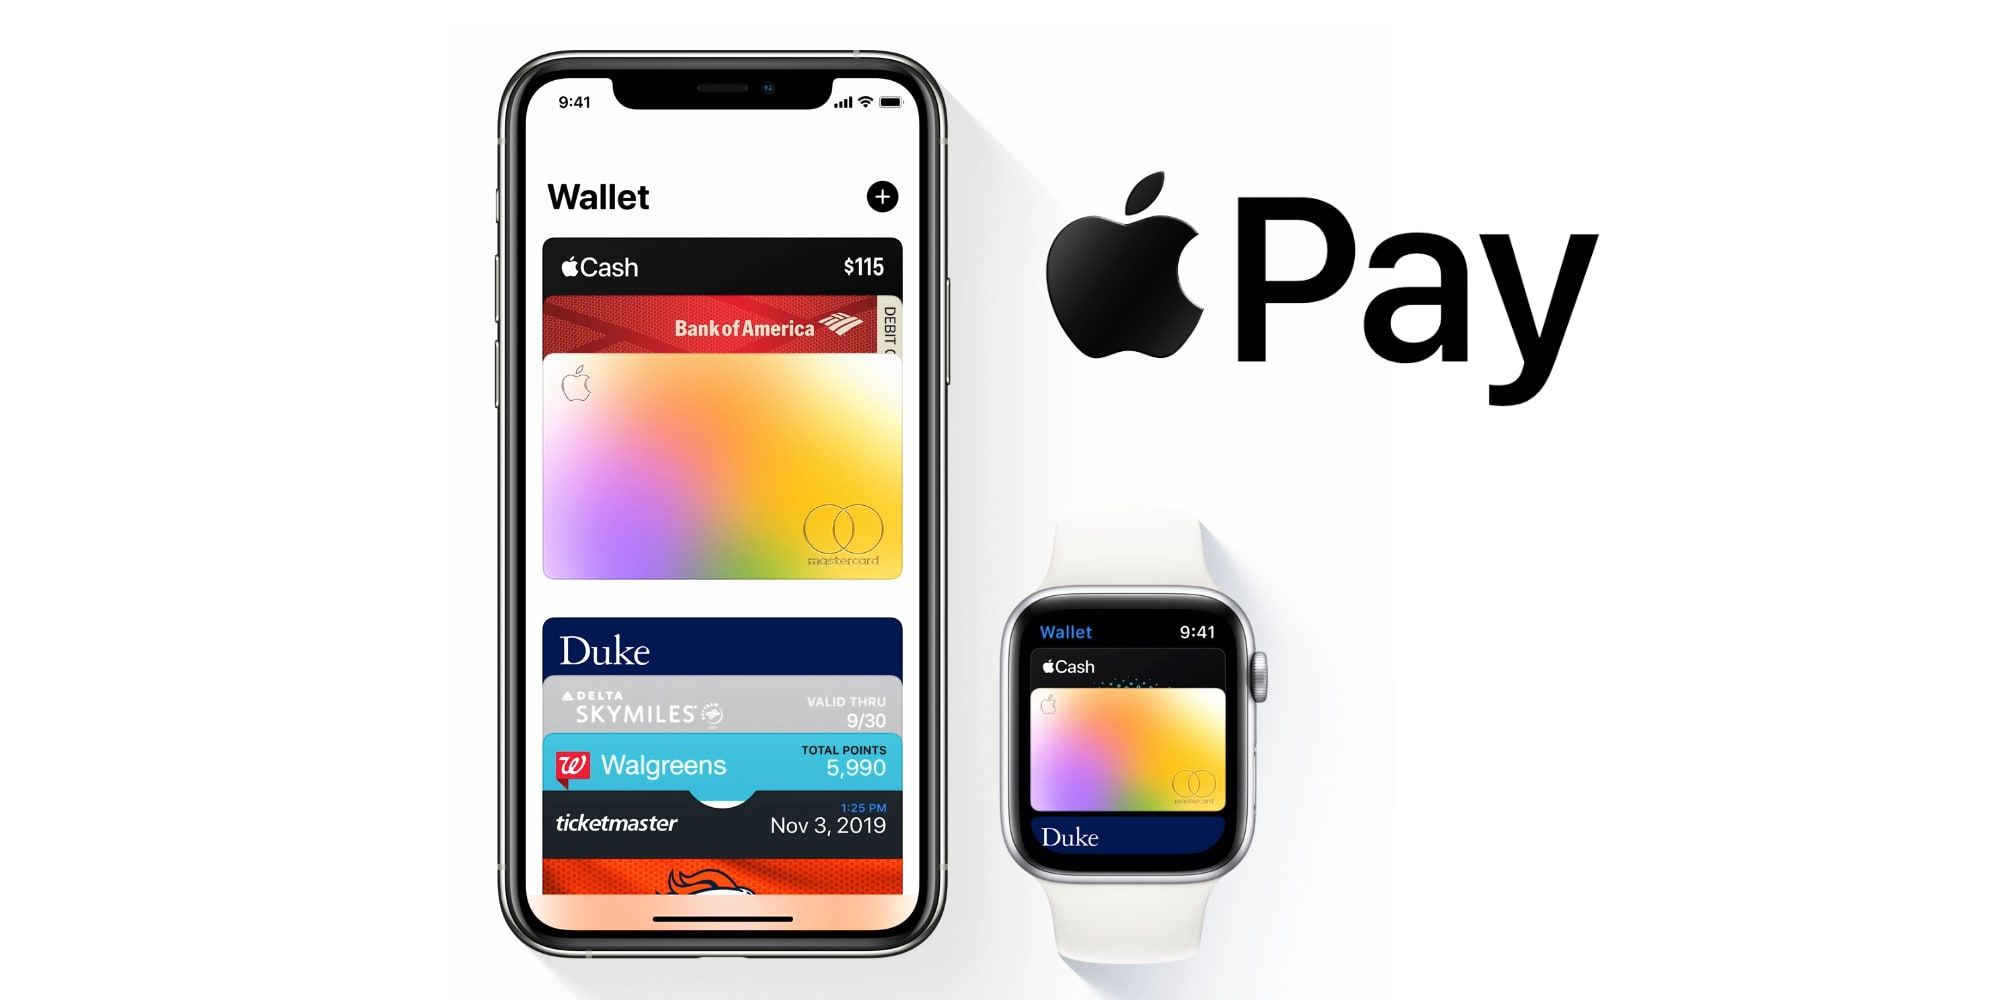
Before using Apple Pay with an iPhone 12, the credit and debit cards that will be charged must be added to the Wallet app. This is relatively quick and easy to do. With the Wallet app open, tapping the plus symbol will allow adding a new card, or selecting an existing Apple Pay card if the user already has one or more associated with their Apple ID. The app will ask for an Apple ID login to begin. If adding a new card, the Wallet app will switch on the iPhone’s rear camera and provide instructions to position the card so that it appears within the frame shown on-screen. This allows the iPhone to read the card number. If there isn’t enough light or if the automatic scan is not used for some reason, the card information can also be manually added by typing in. For some cards, the issuer may require the use of their own app for verification.
After one or more credit and debit cards have been added, Apple Pay is ready to use. If the Apple Wallet has more than one card, it is important to select which card is the preferred option, since this card will be the default when making purchases. To select a preferred card, simply touch and hold one and drag it to the front of the stack.
How To Use Apple Pay After Setting Up
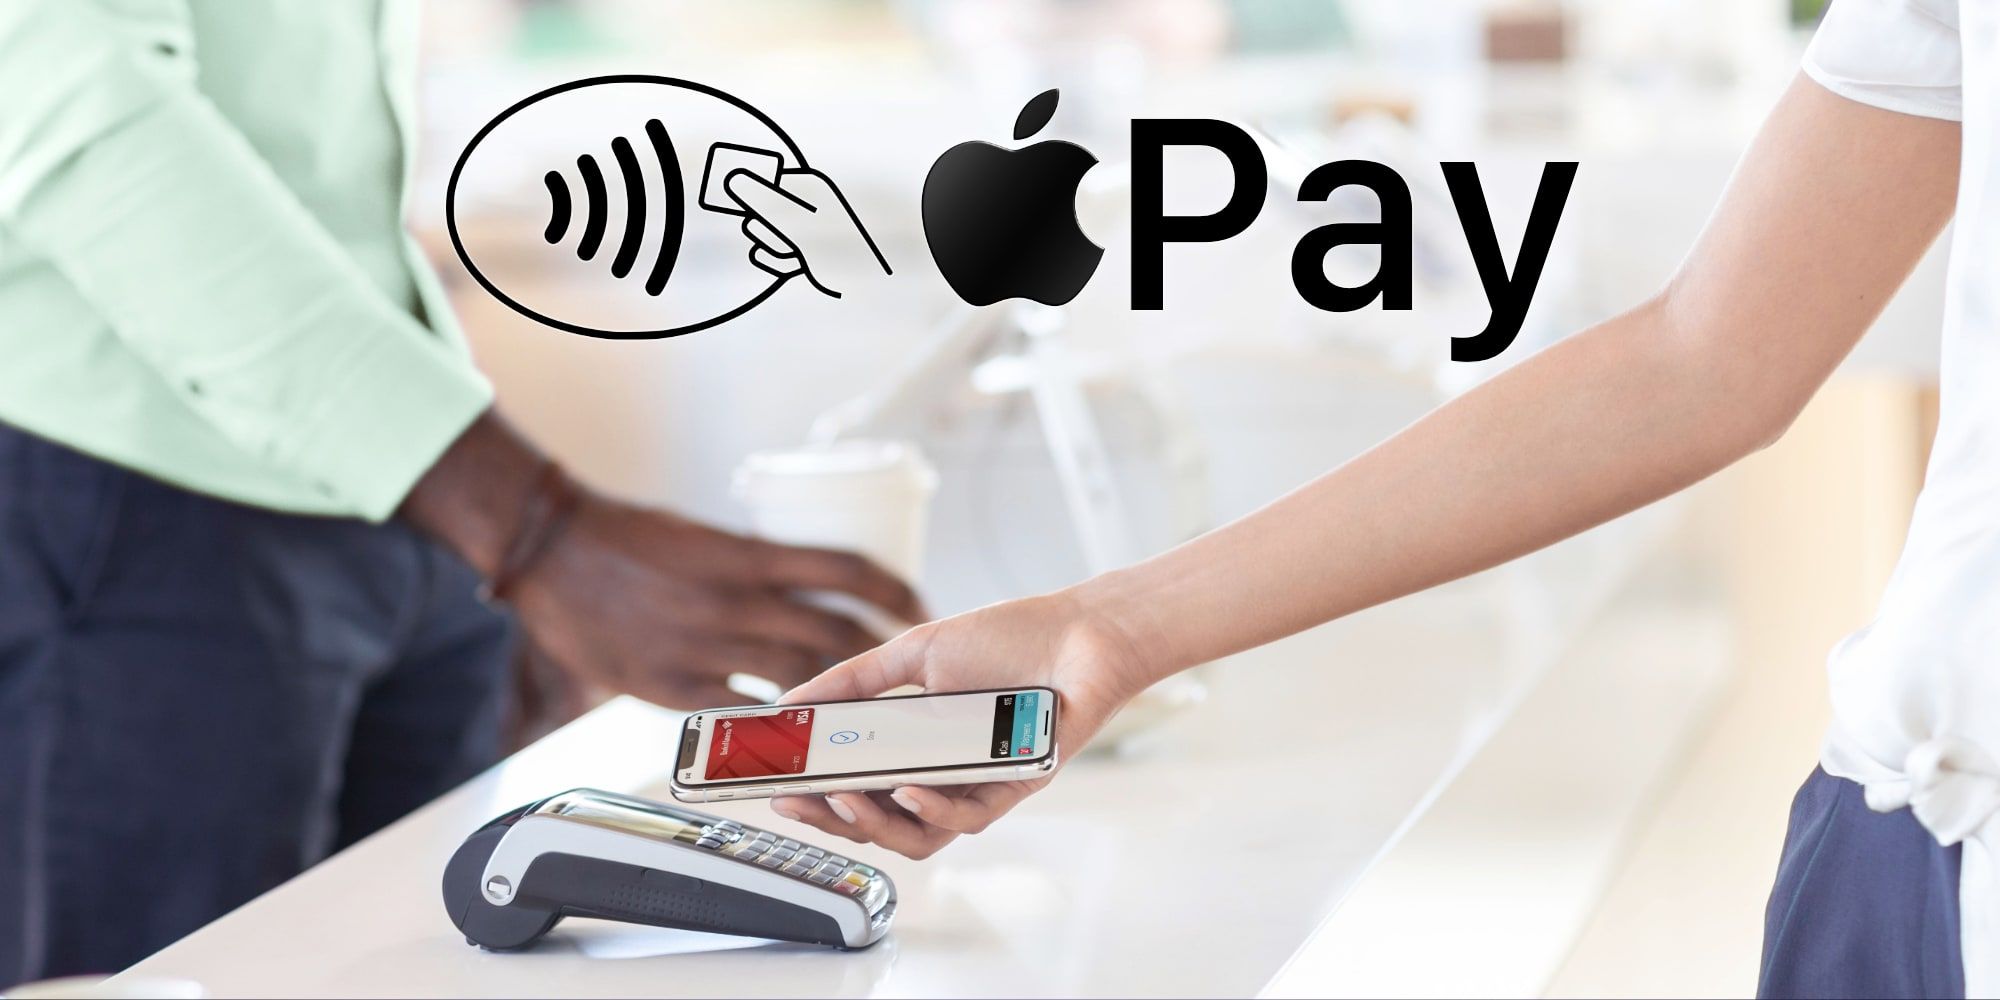
Look for the Apple Pay logo or EMV contactless payment logo at a retail store or physical terminal. When using the default card in the Apple Wallet, preparing the iPhone to pay is as easy as double-clicking the sleep button on the right side of the device. Since the iPhone 12 has FaceID, it would normally be possible to simply glance at the phone to authenticate, but if wearing a mask or if FaceID has been switched off, entering a passcode will also work. The iPhone should then be held near the card reader until done and a checkmark appears on the screen. There may also be an audible signal of completion as well. Some terminals may still request a PIN code, but this should be a rare occurrence. To use a different card, double-click the sleep button, but when the default card appears, tap the card to select an alternate from the Apple Wallet.
Apple Pay can also be used online to pay at participating websites and within some apps to make in-app purchases. If the user’s billing, shipping, and contact information have been entered on the iPhone in the Settings app, those will be used for online and app purchases when needed. When checking out, there is an opportunity to change the card, address and name used. To complete the purchase, the iPhone will prompt the user to double-click the side button (the sleep button) as confirmation. At this point, FaceID or a passcode is needed to authenticate and complete payment. Anywhere the Apple Pay logo is seen, there should be an option to use this method of payment. Online payment and in-app payments may have a button labeled as ‘Donate with Apple Pay’ or ‘Buy with Apple Pay.’
Source: Apple


